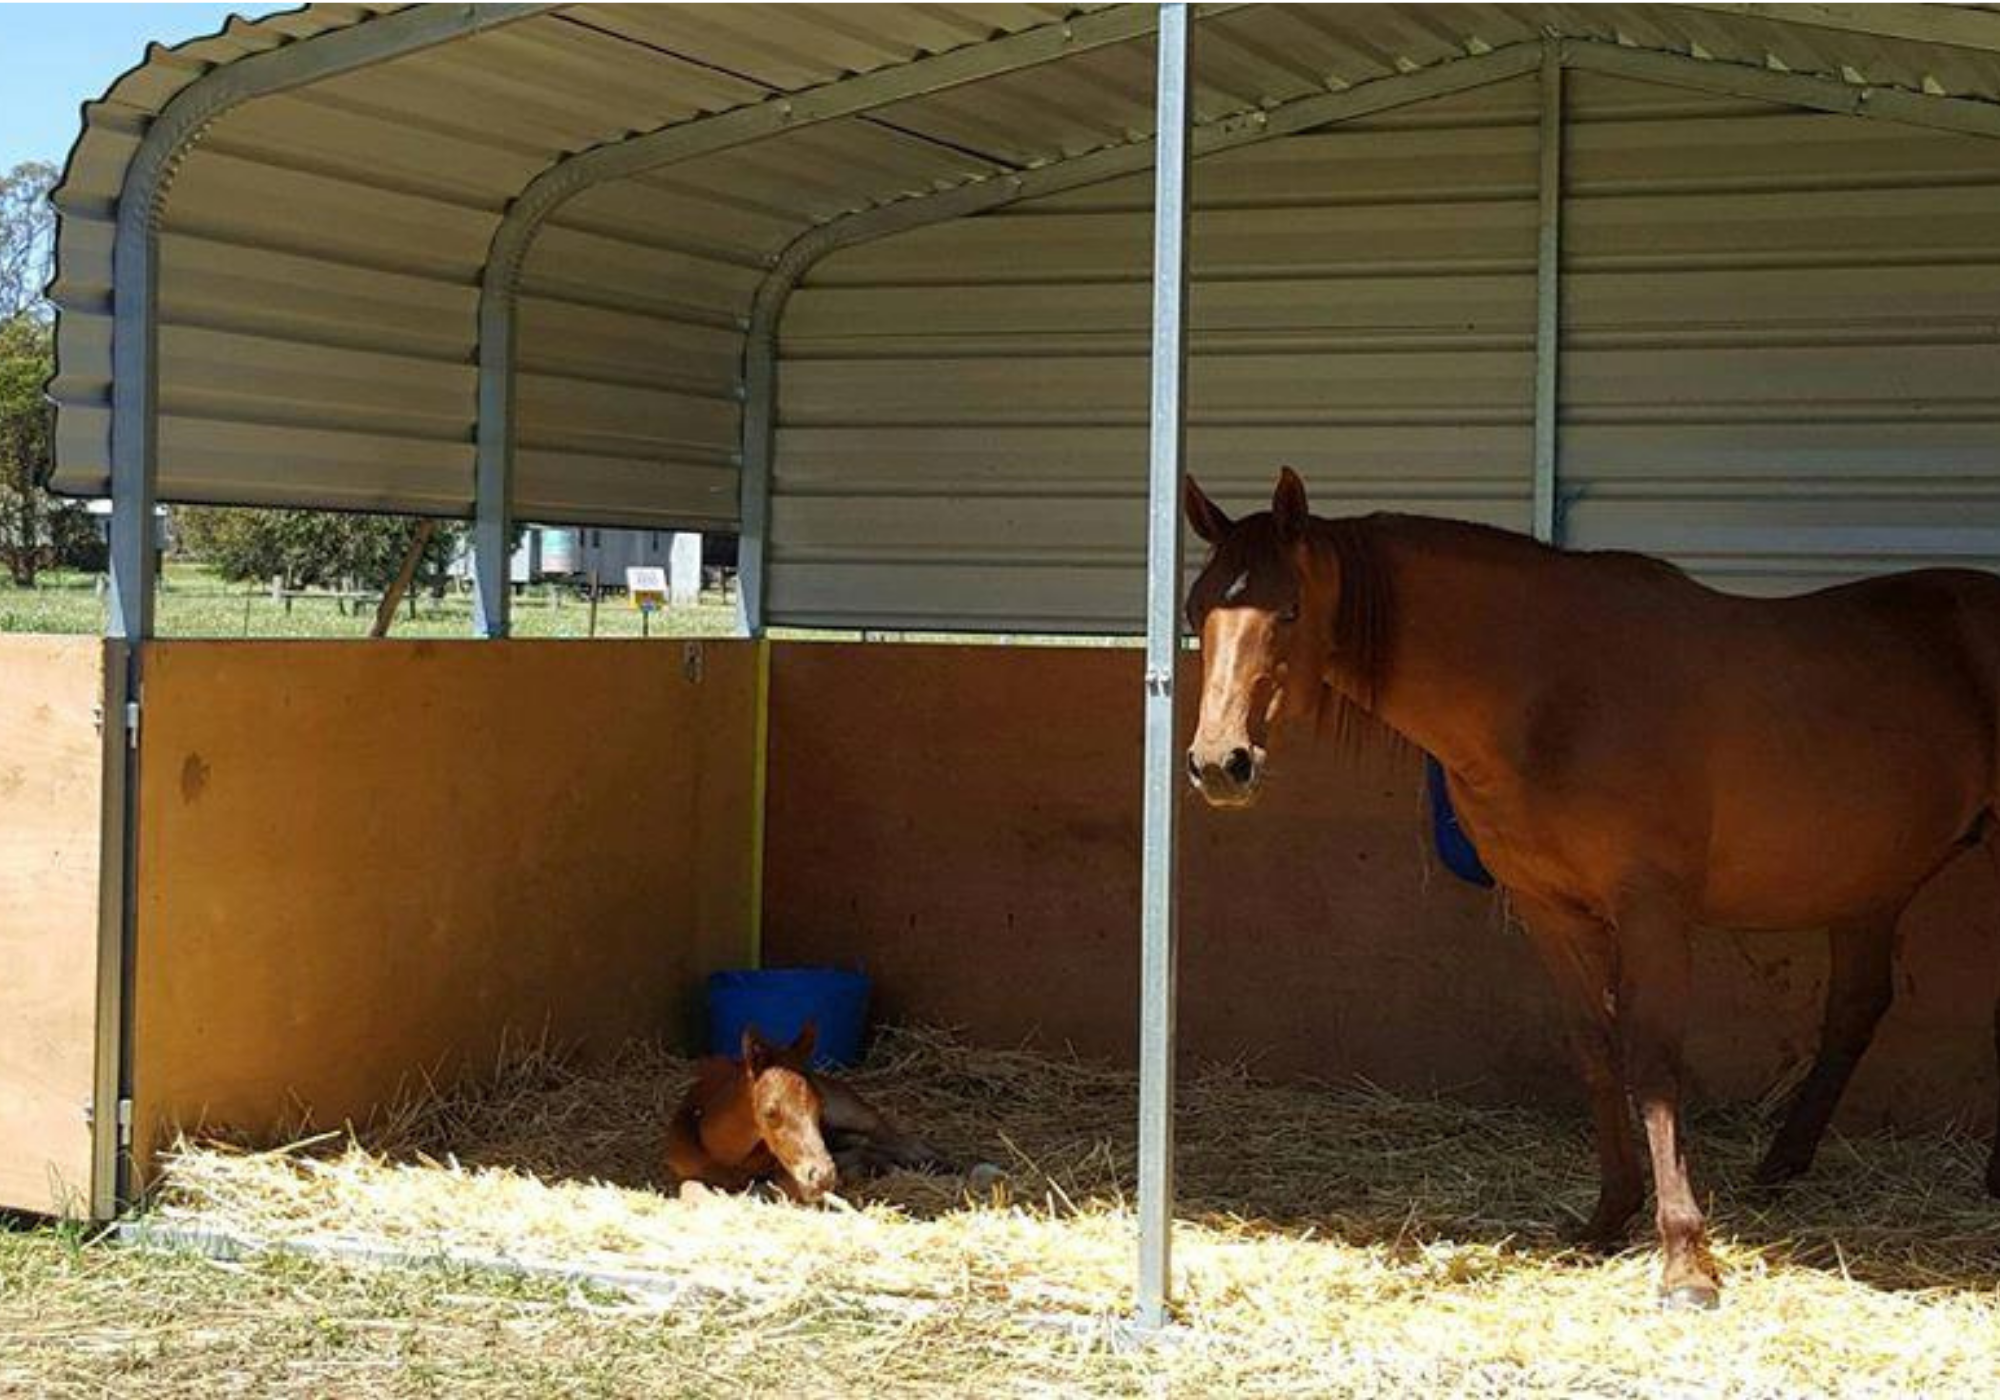
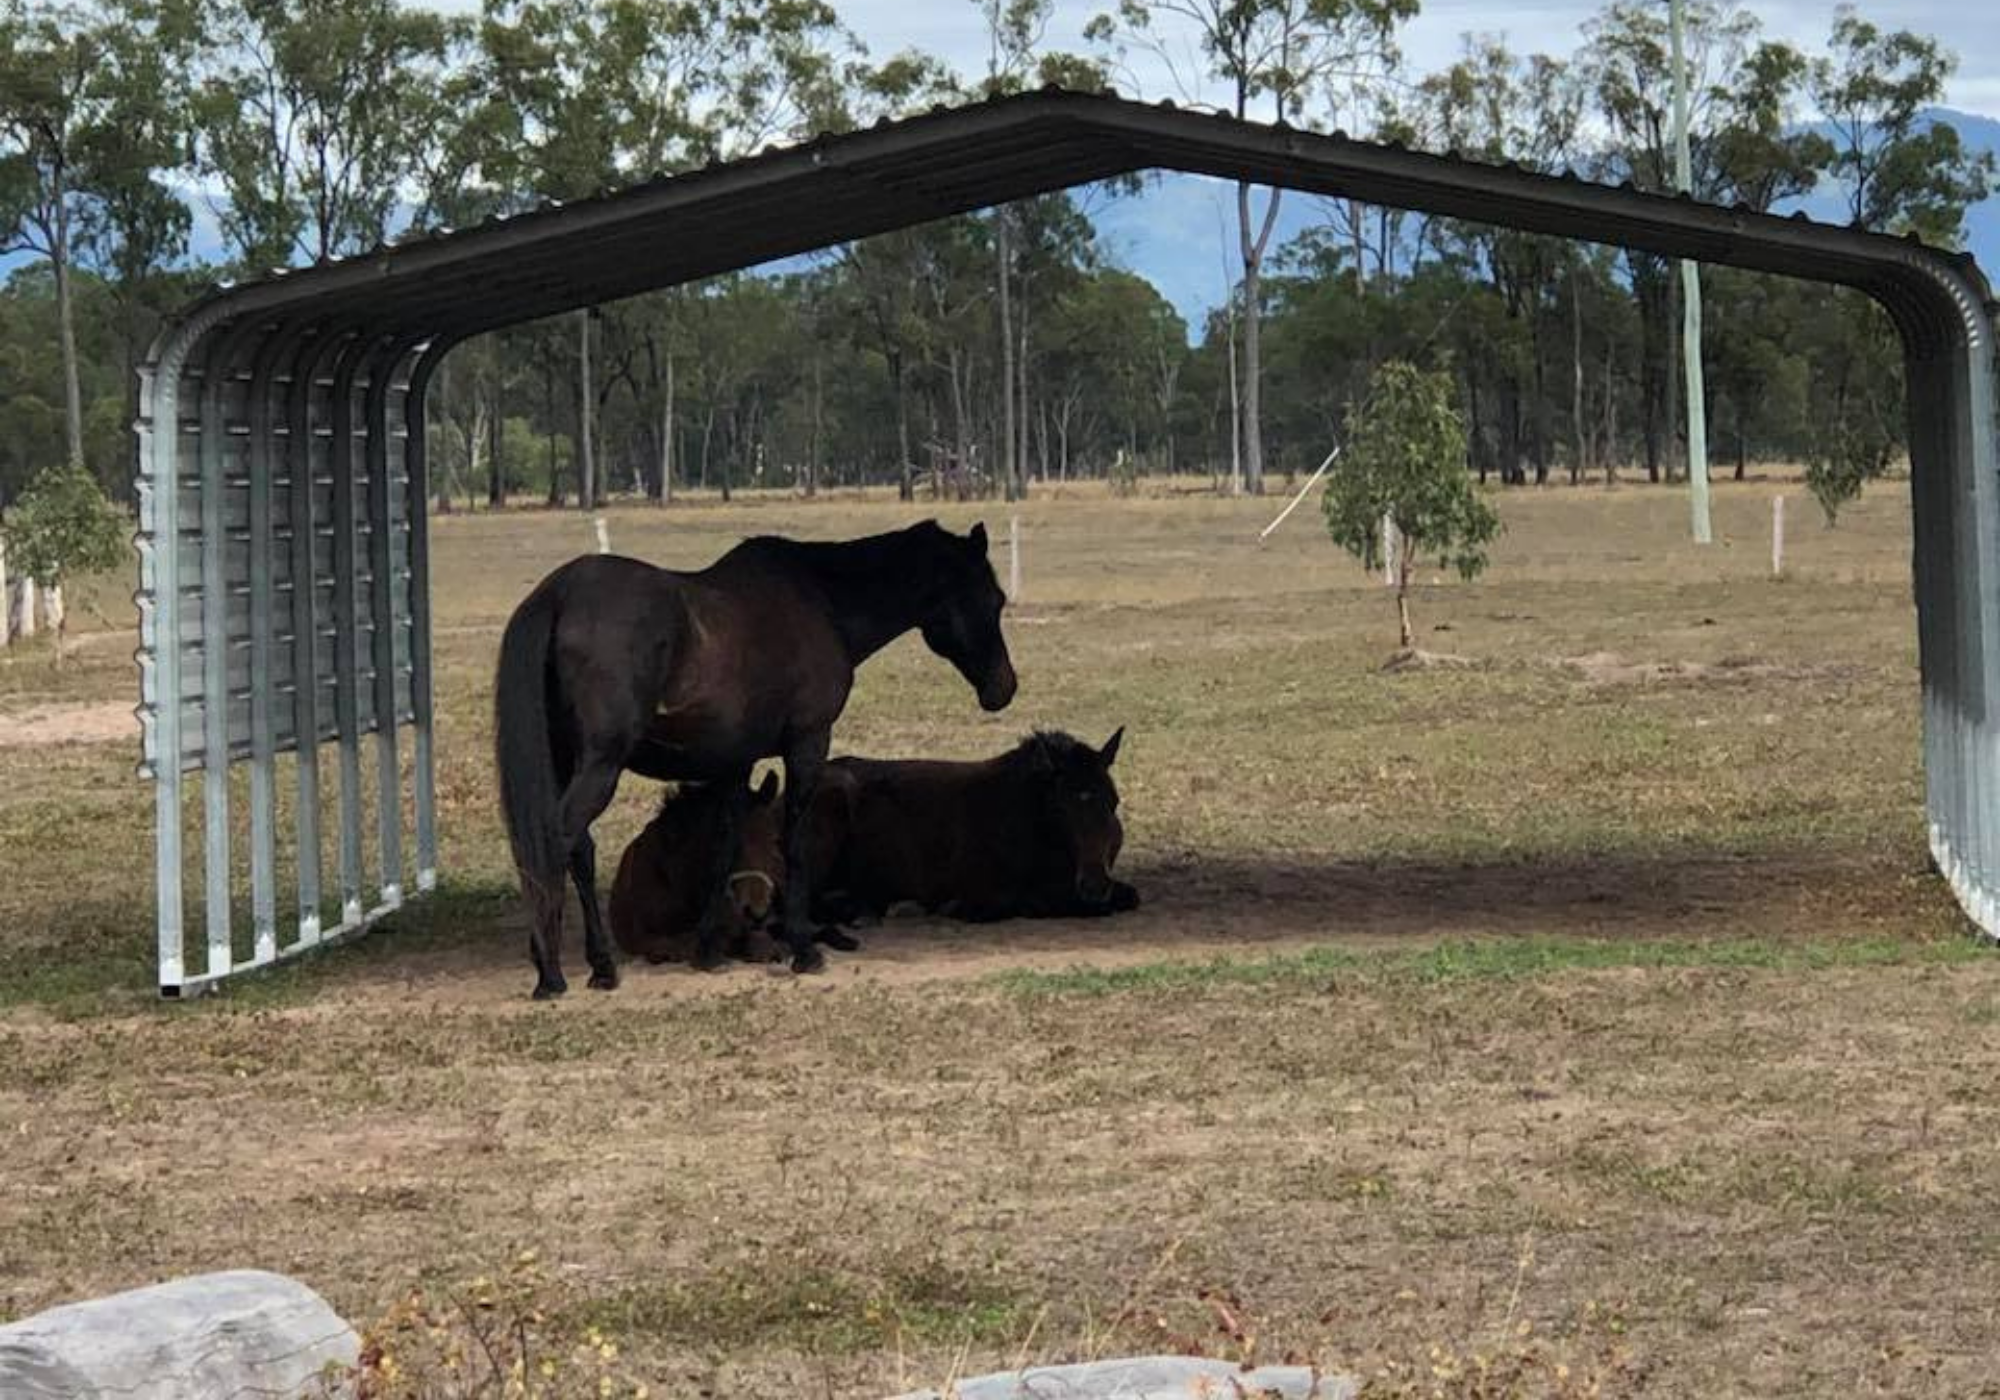
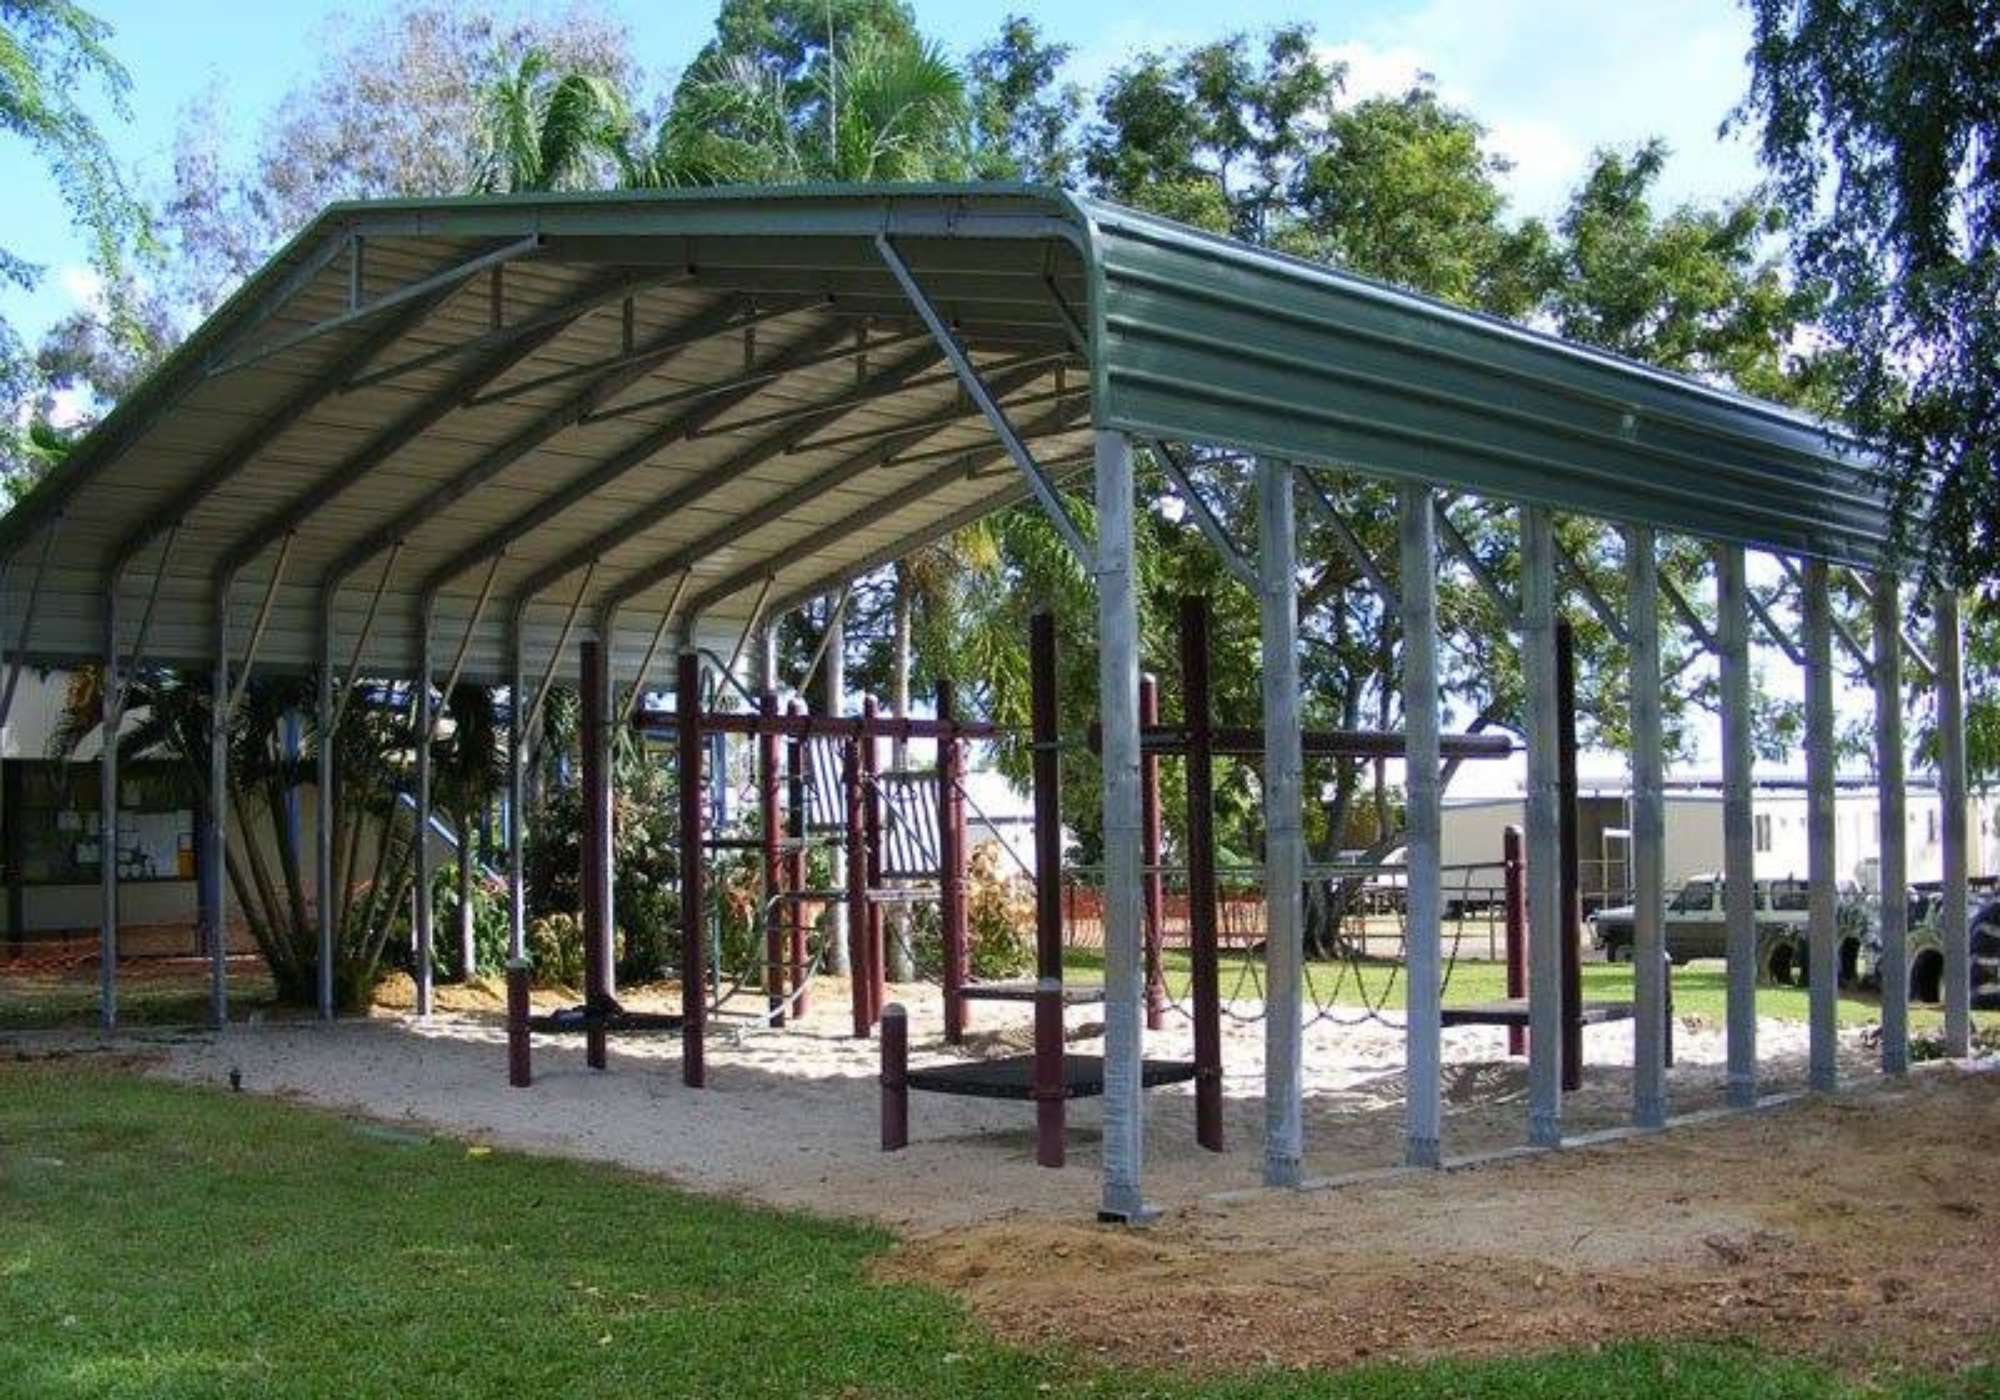
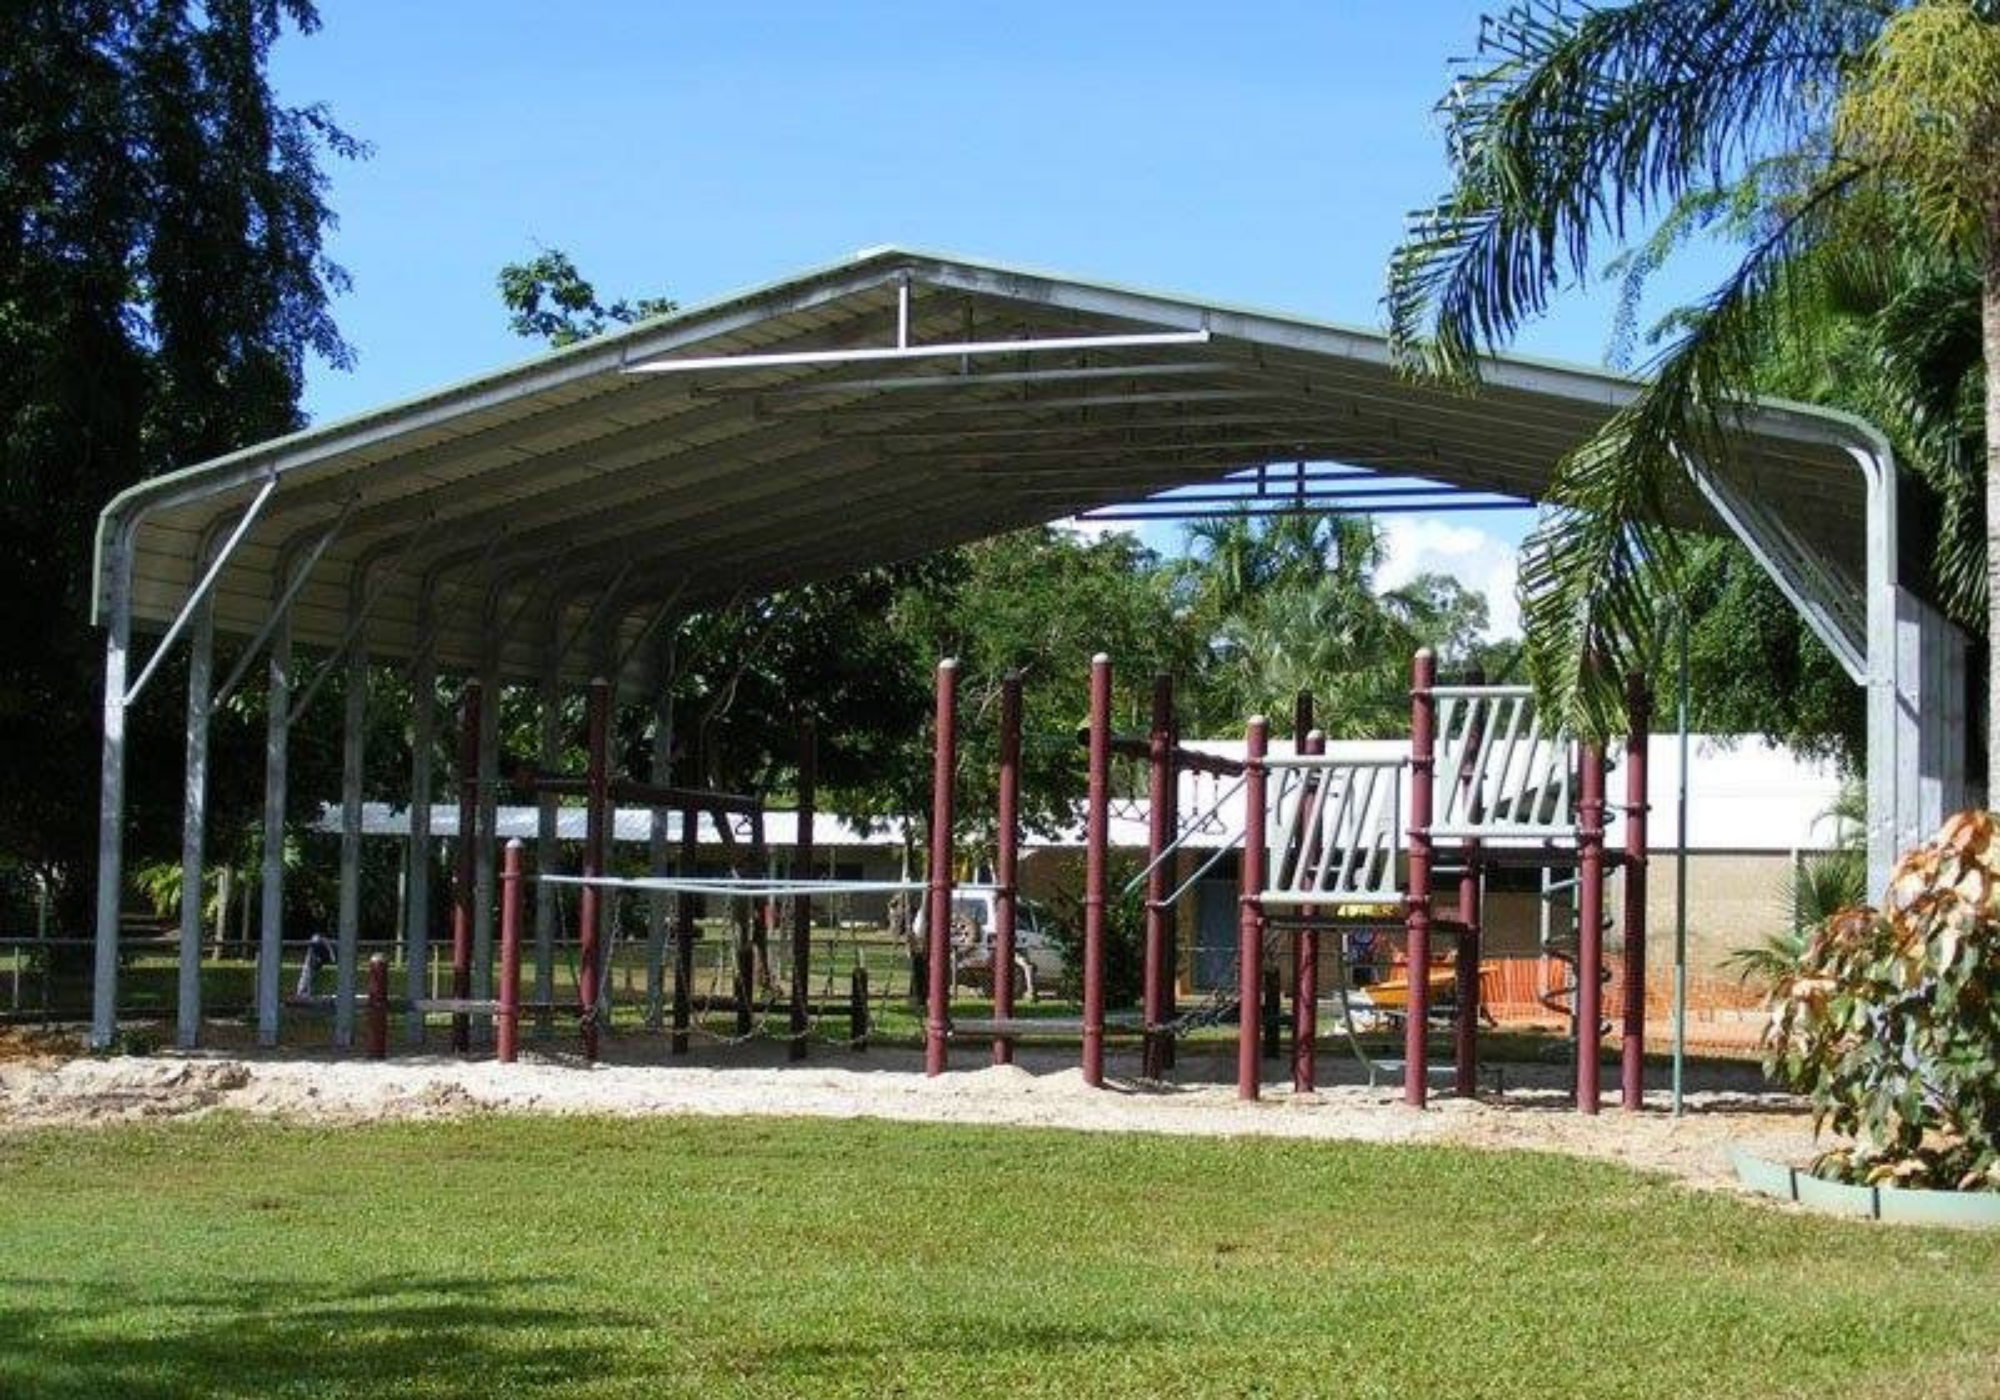
a shade shed for all applications
discover the full range
Explore the full TSS range, including 3170W, 4670W, 6170W, 9000W and 12000W Shade Sheds, as well as Canvacon and Quickshade solutions designed for residential, rural, farming, commercial, and industrial applications across Australia.

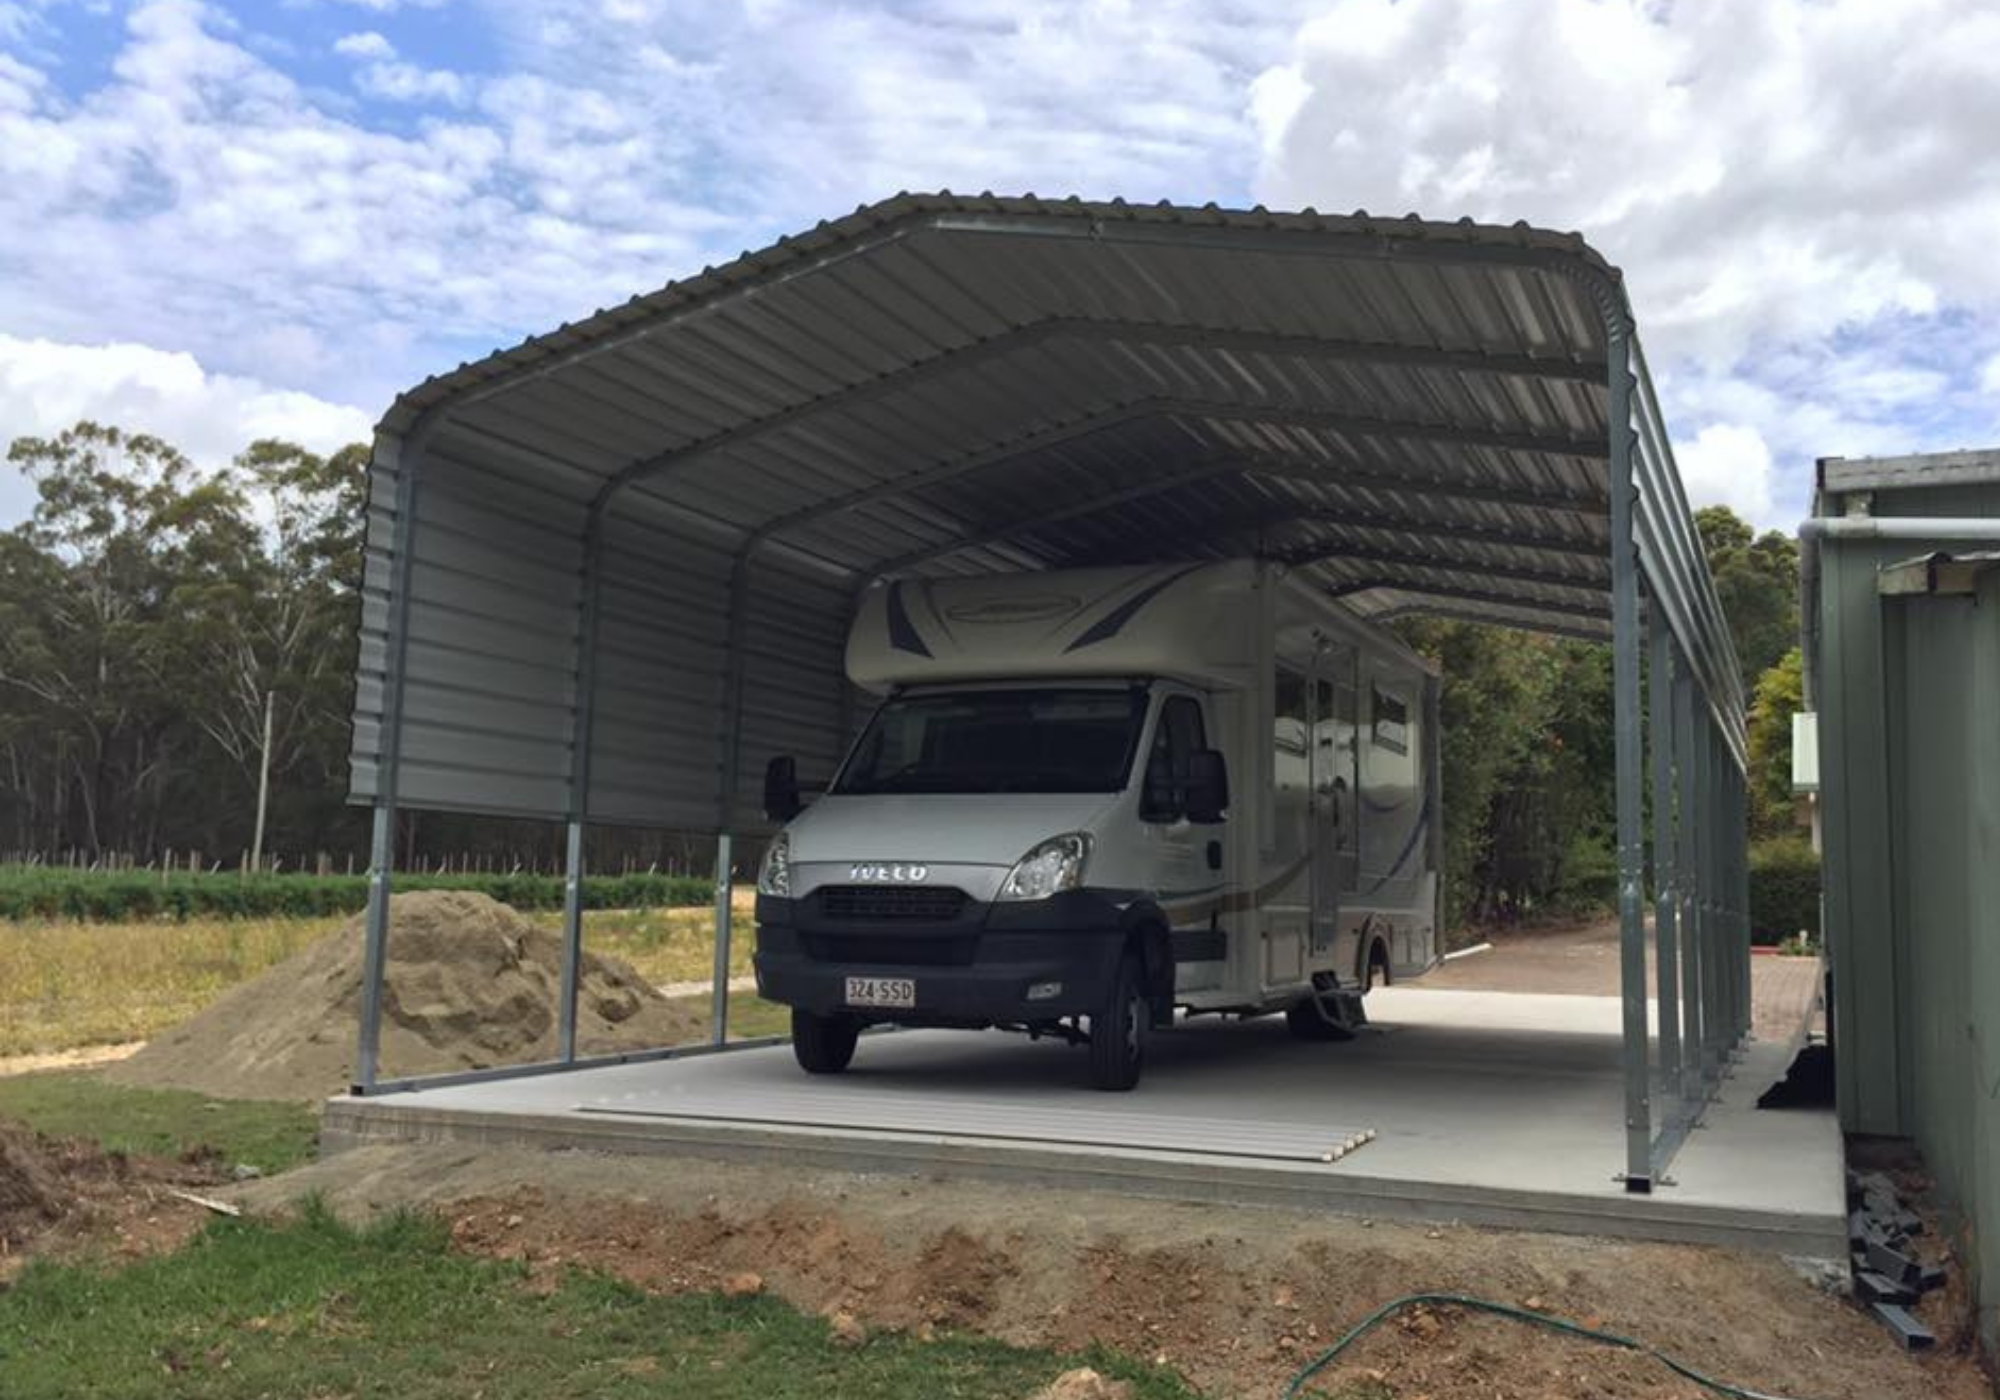
3170W
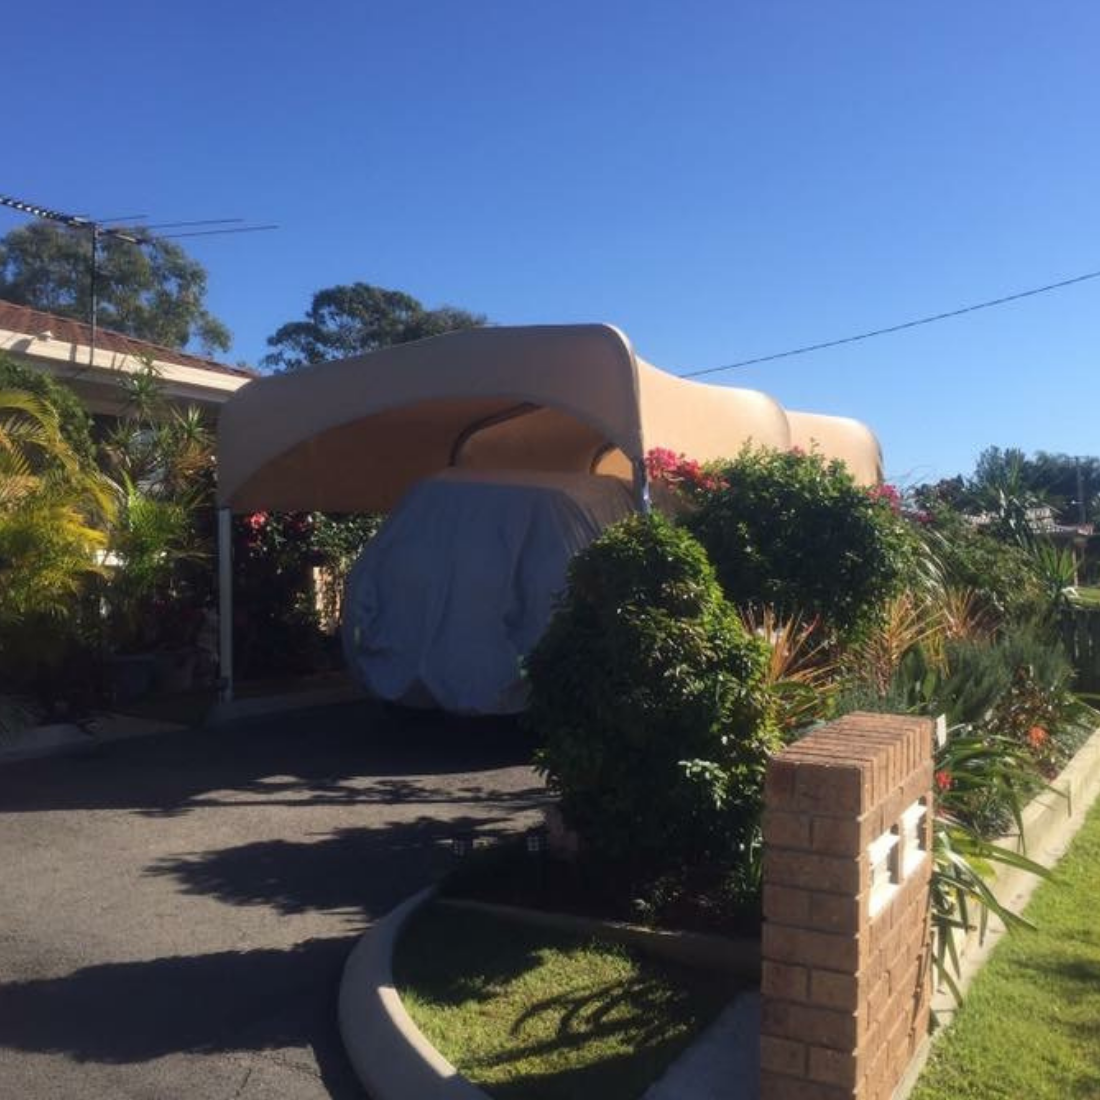
3.17m width - Ideal for smaller setups, perfect for single vehicles, compact caravans, or tight spaces where coverage is essential.
view the range
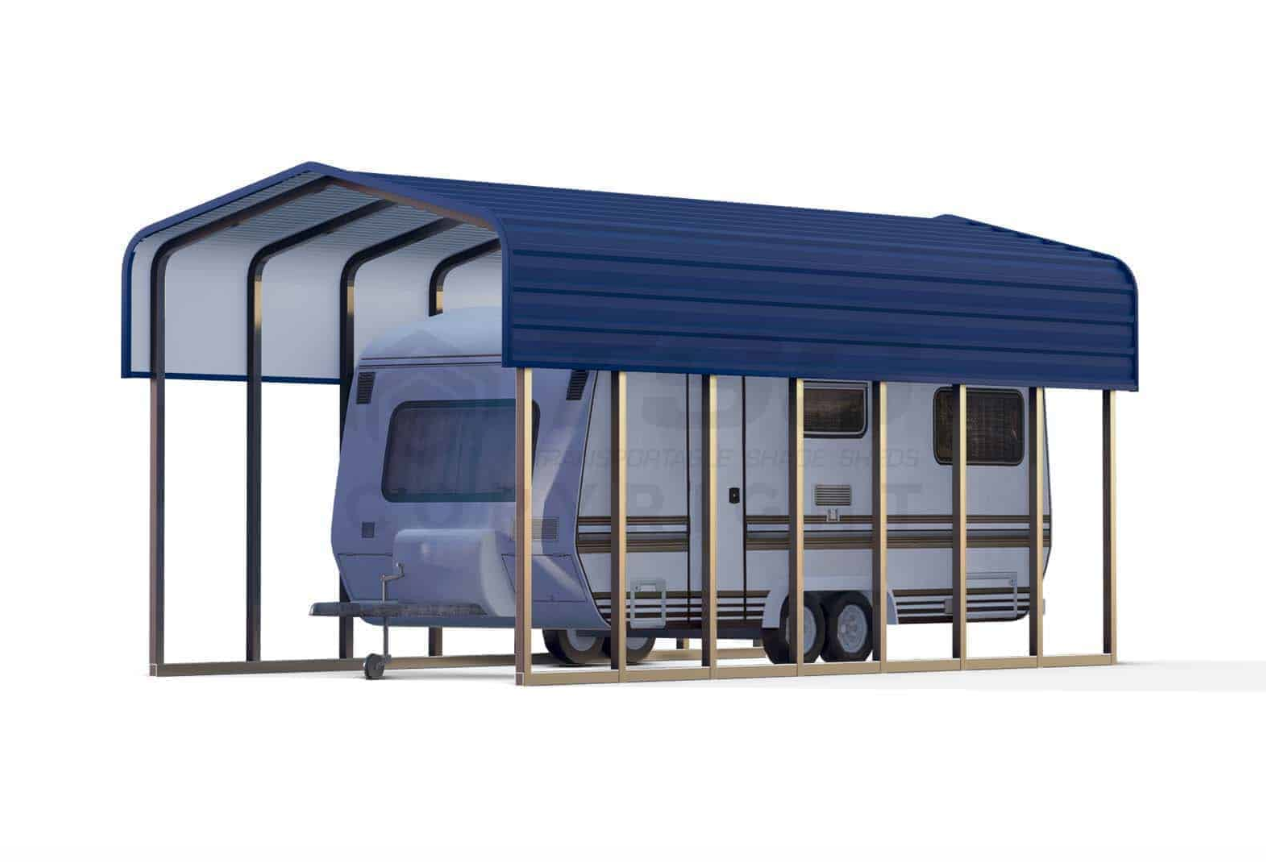
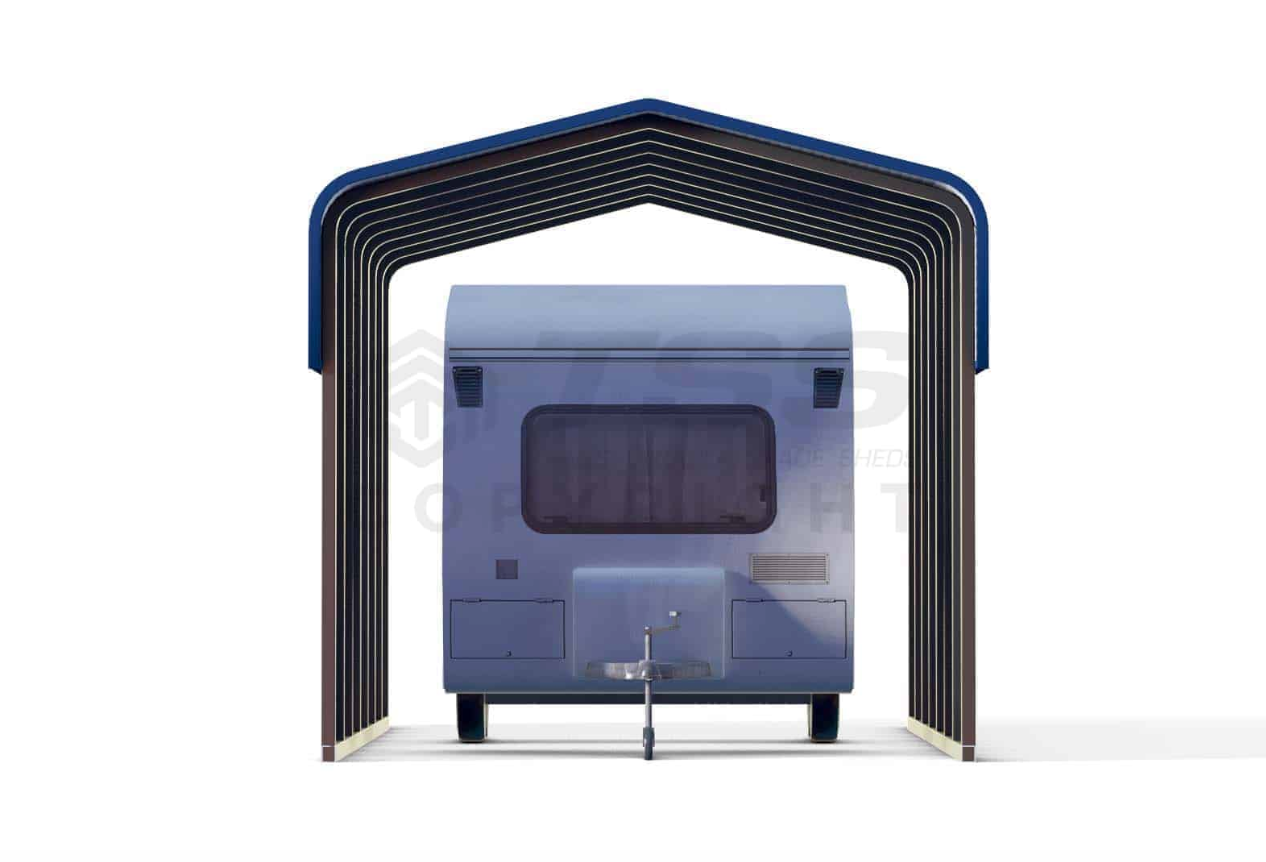
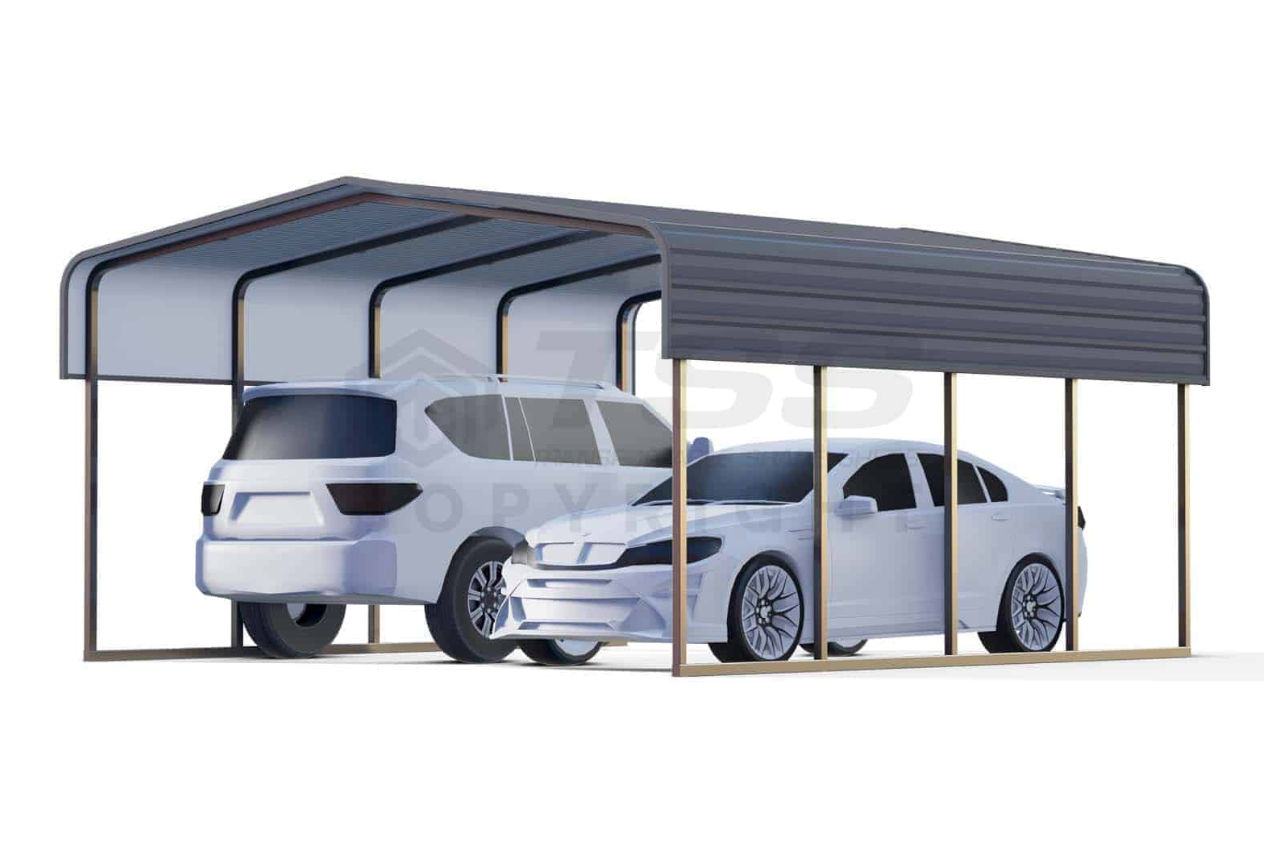
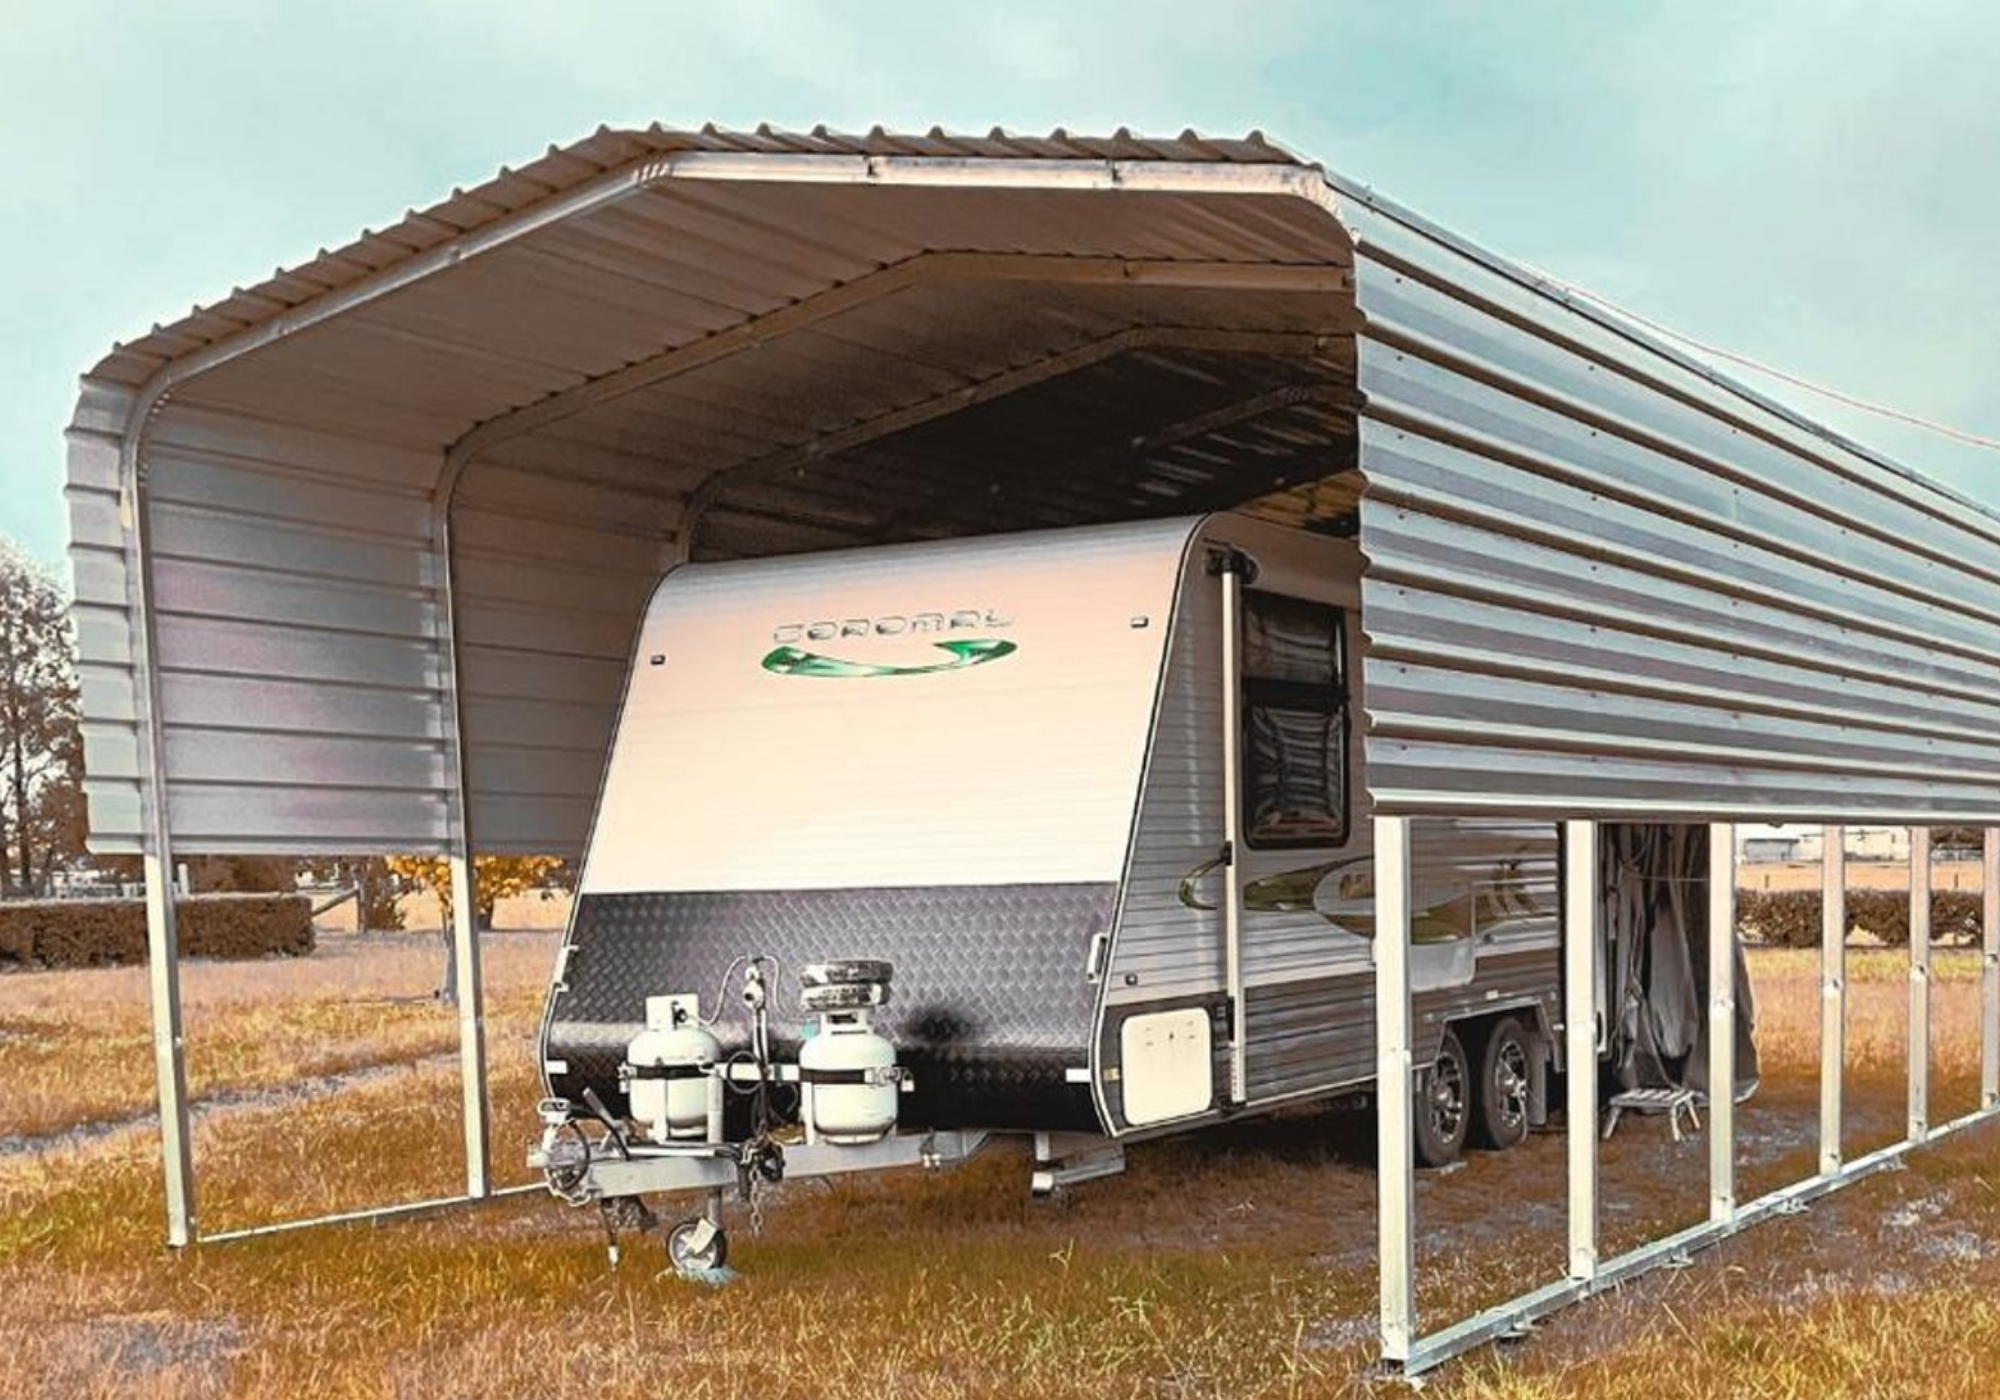
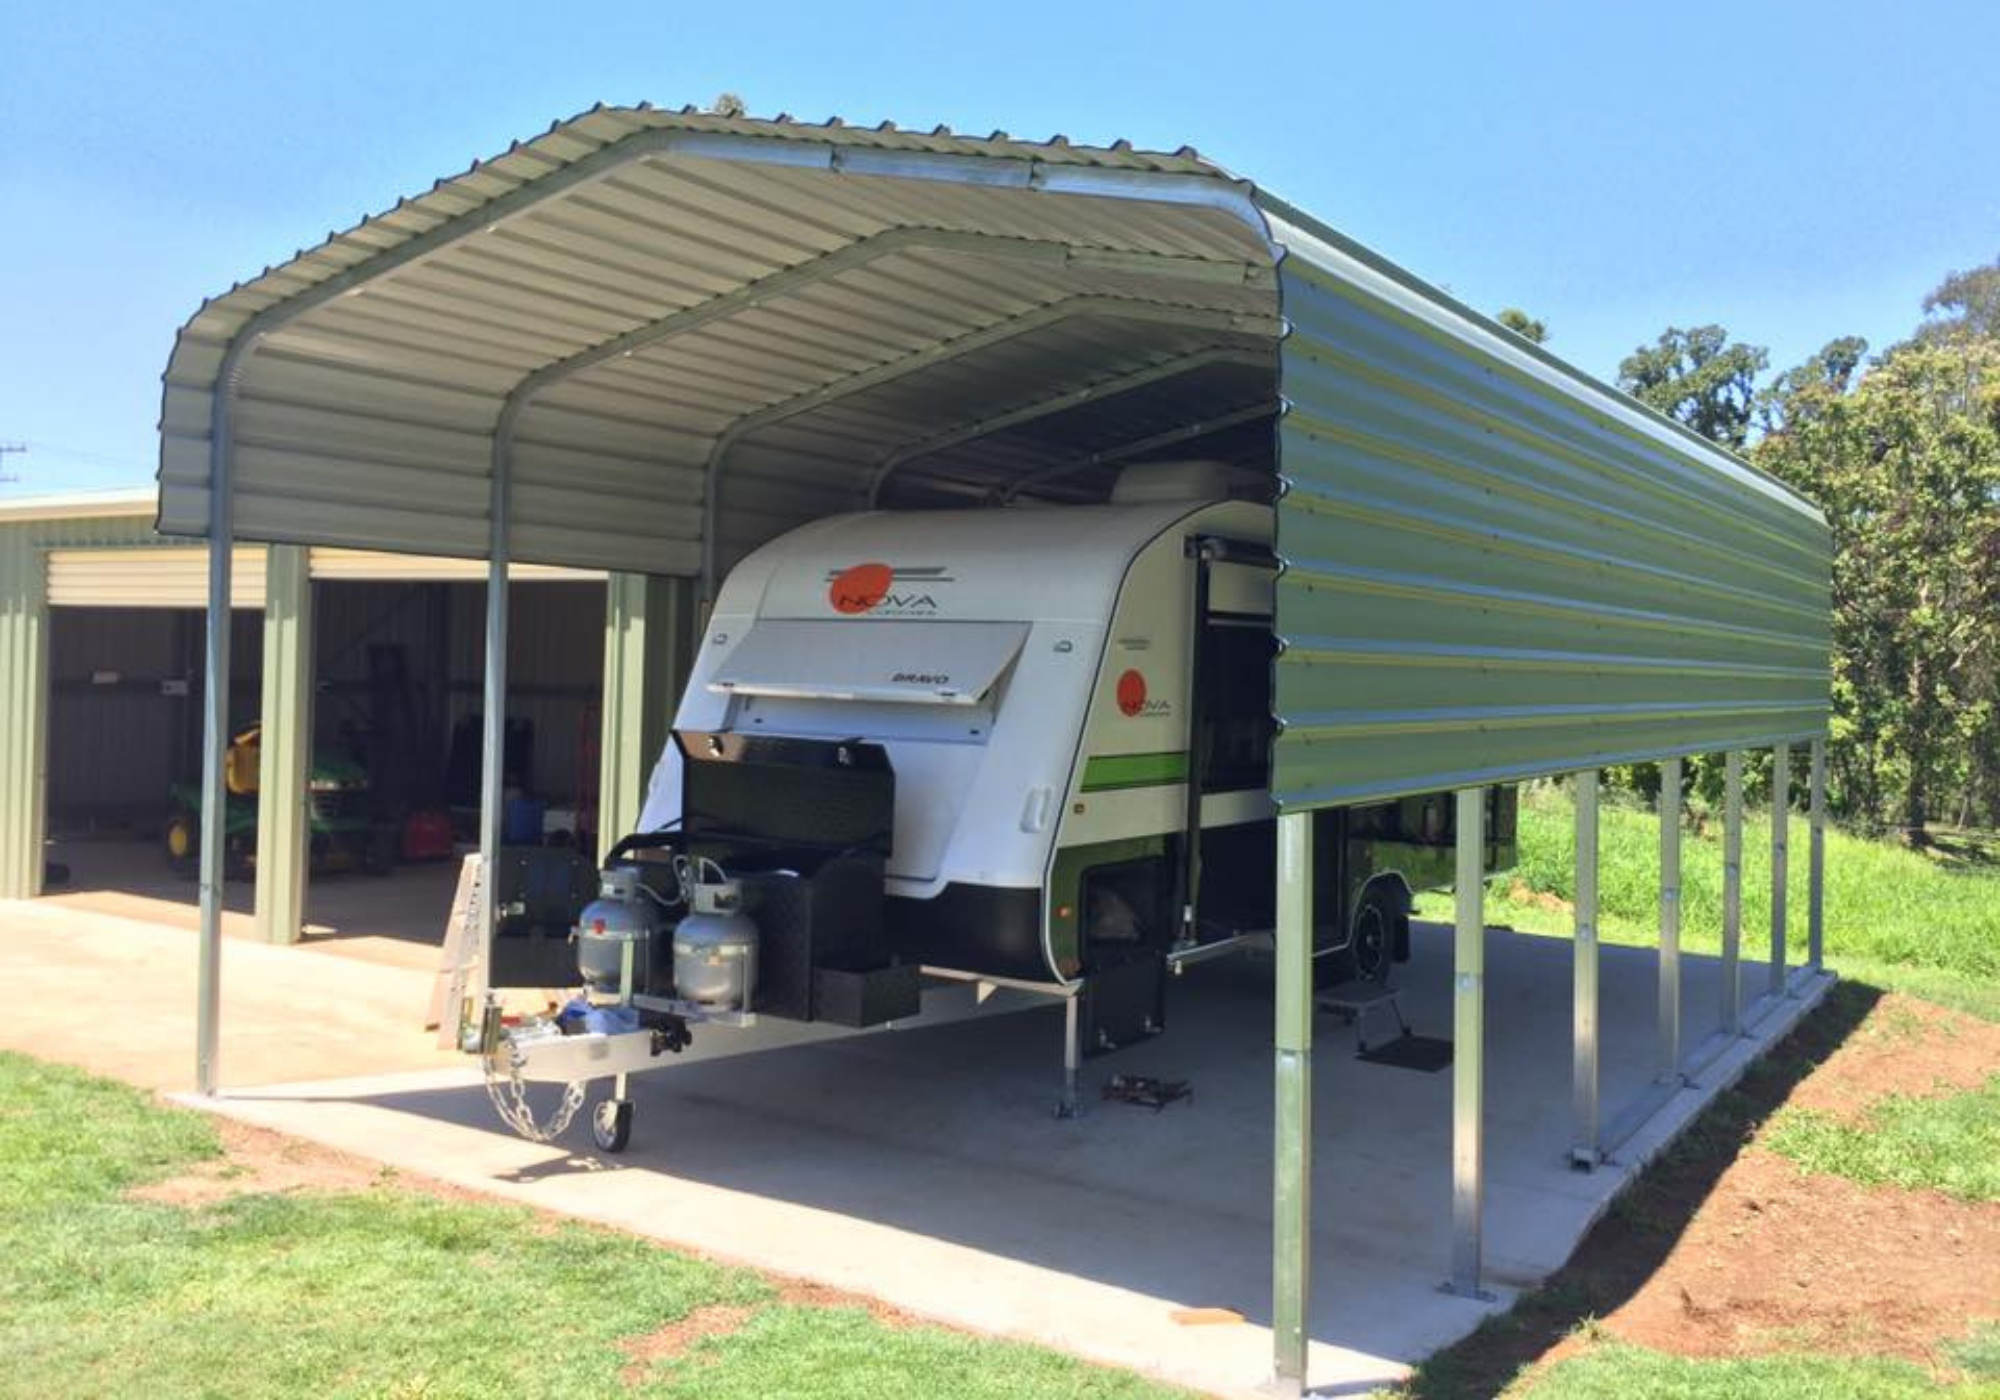
4670W
4.67m width - A versatile option suited to larger vehicles, small machinery, or extra storage space around your setup.
view the range
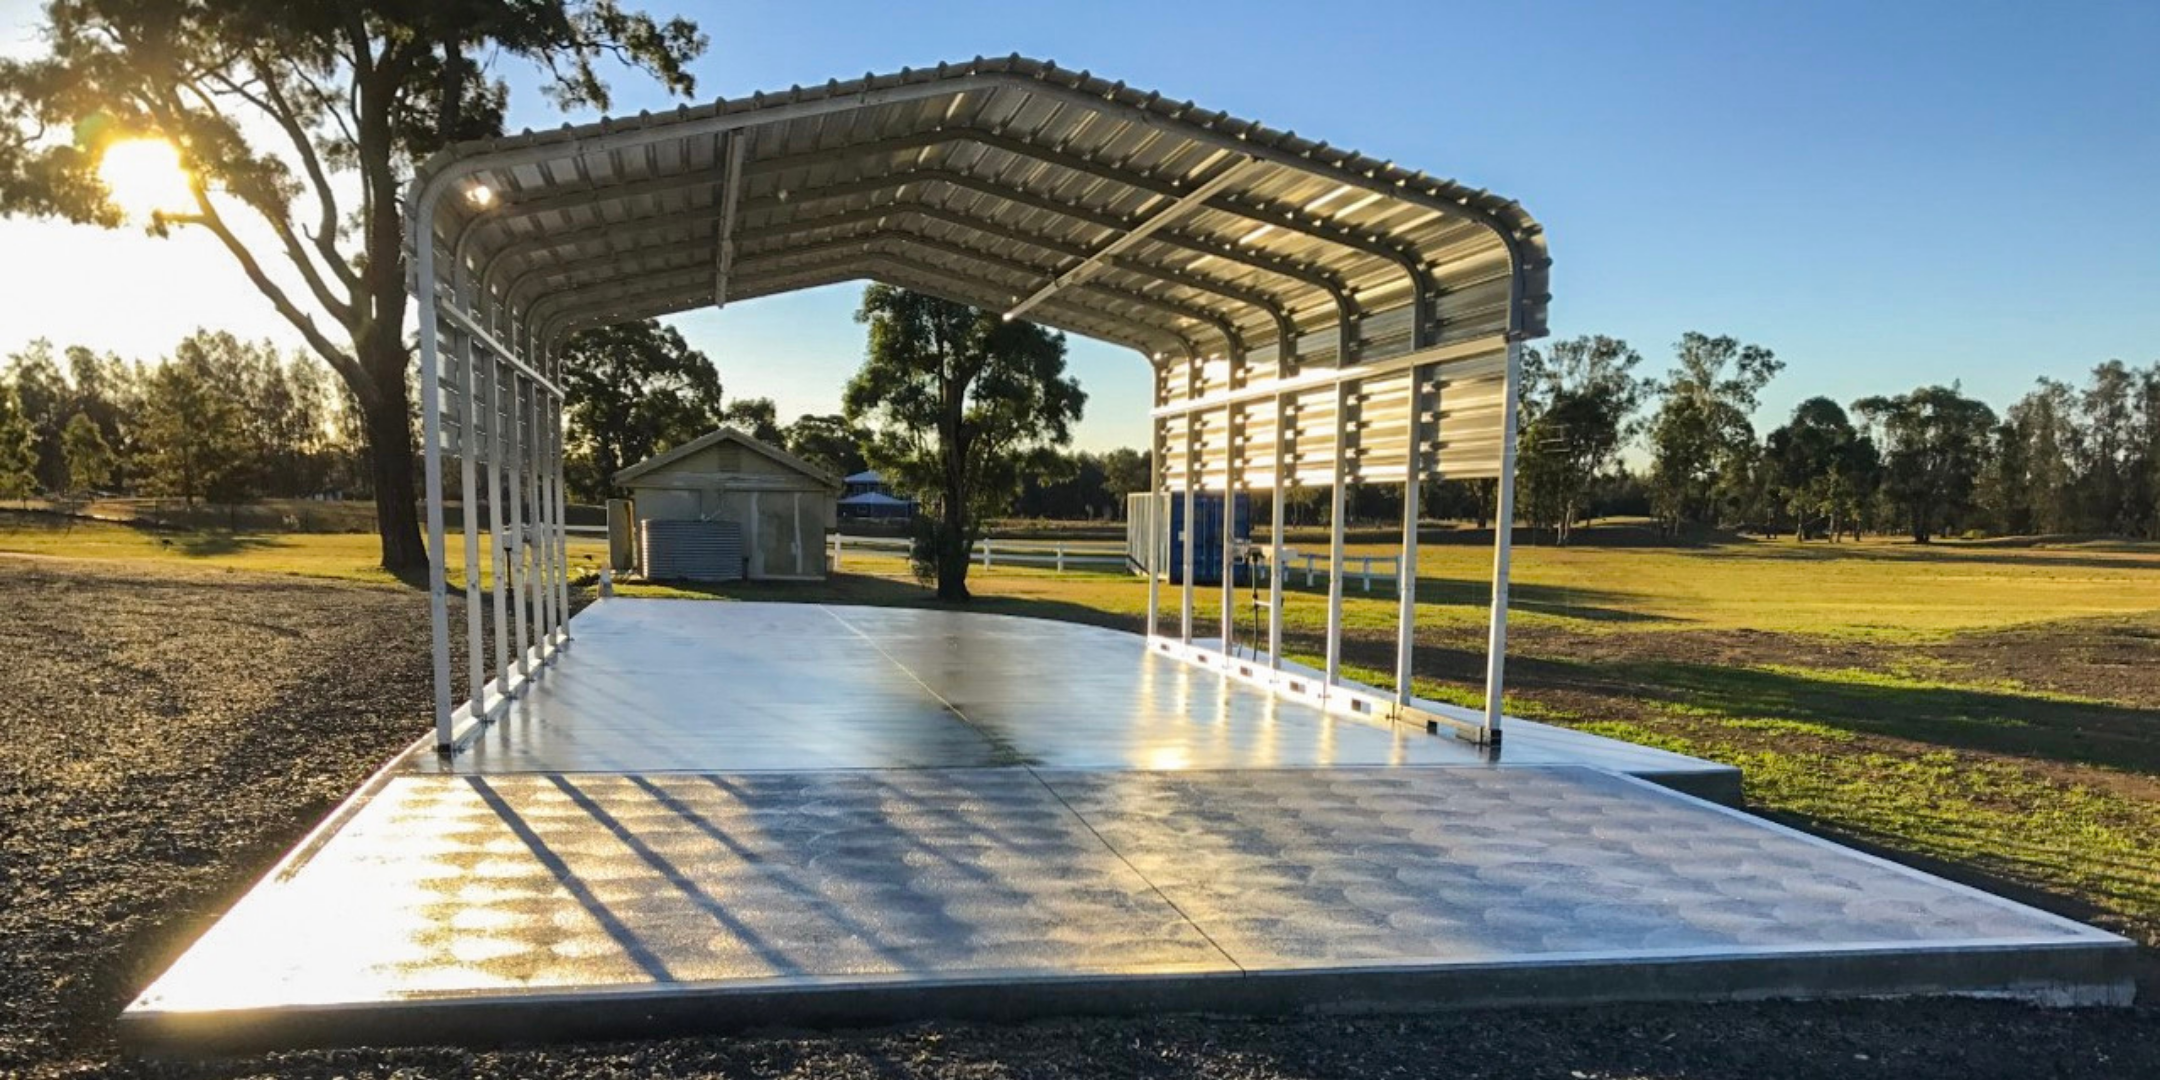
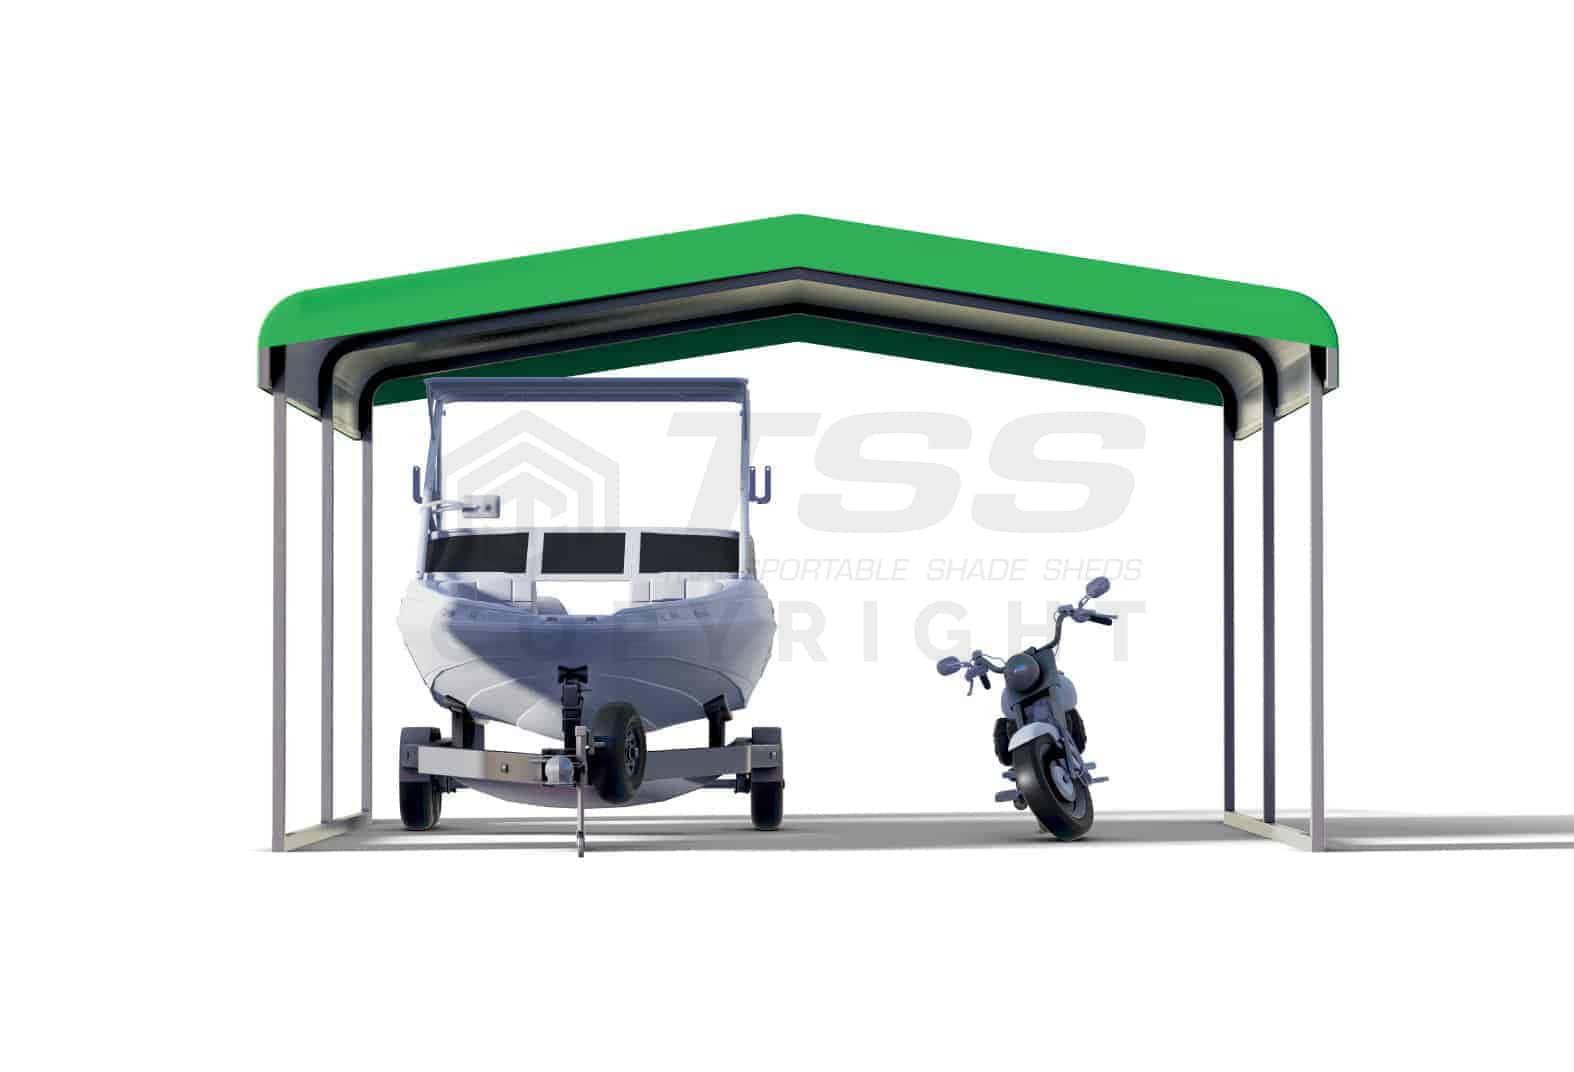
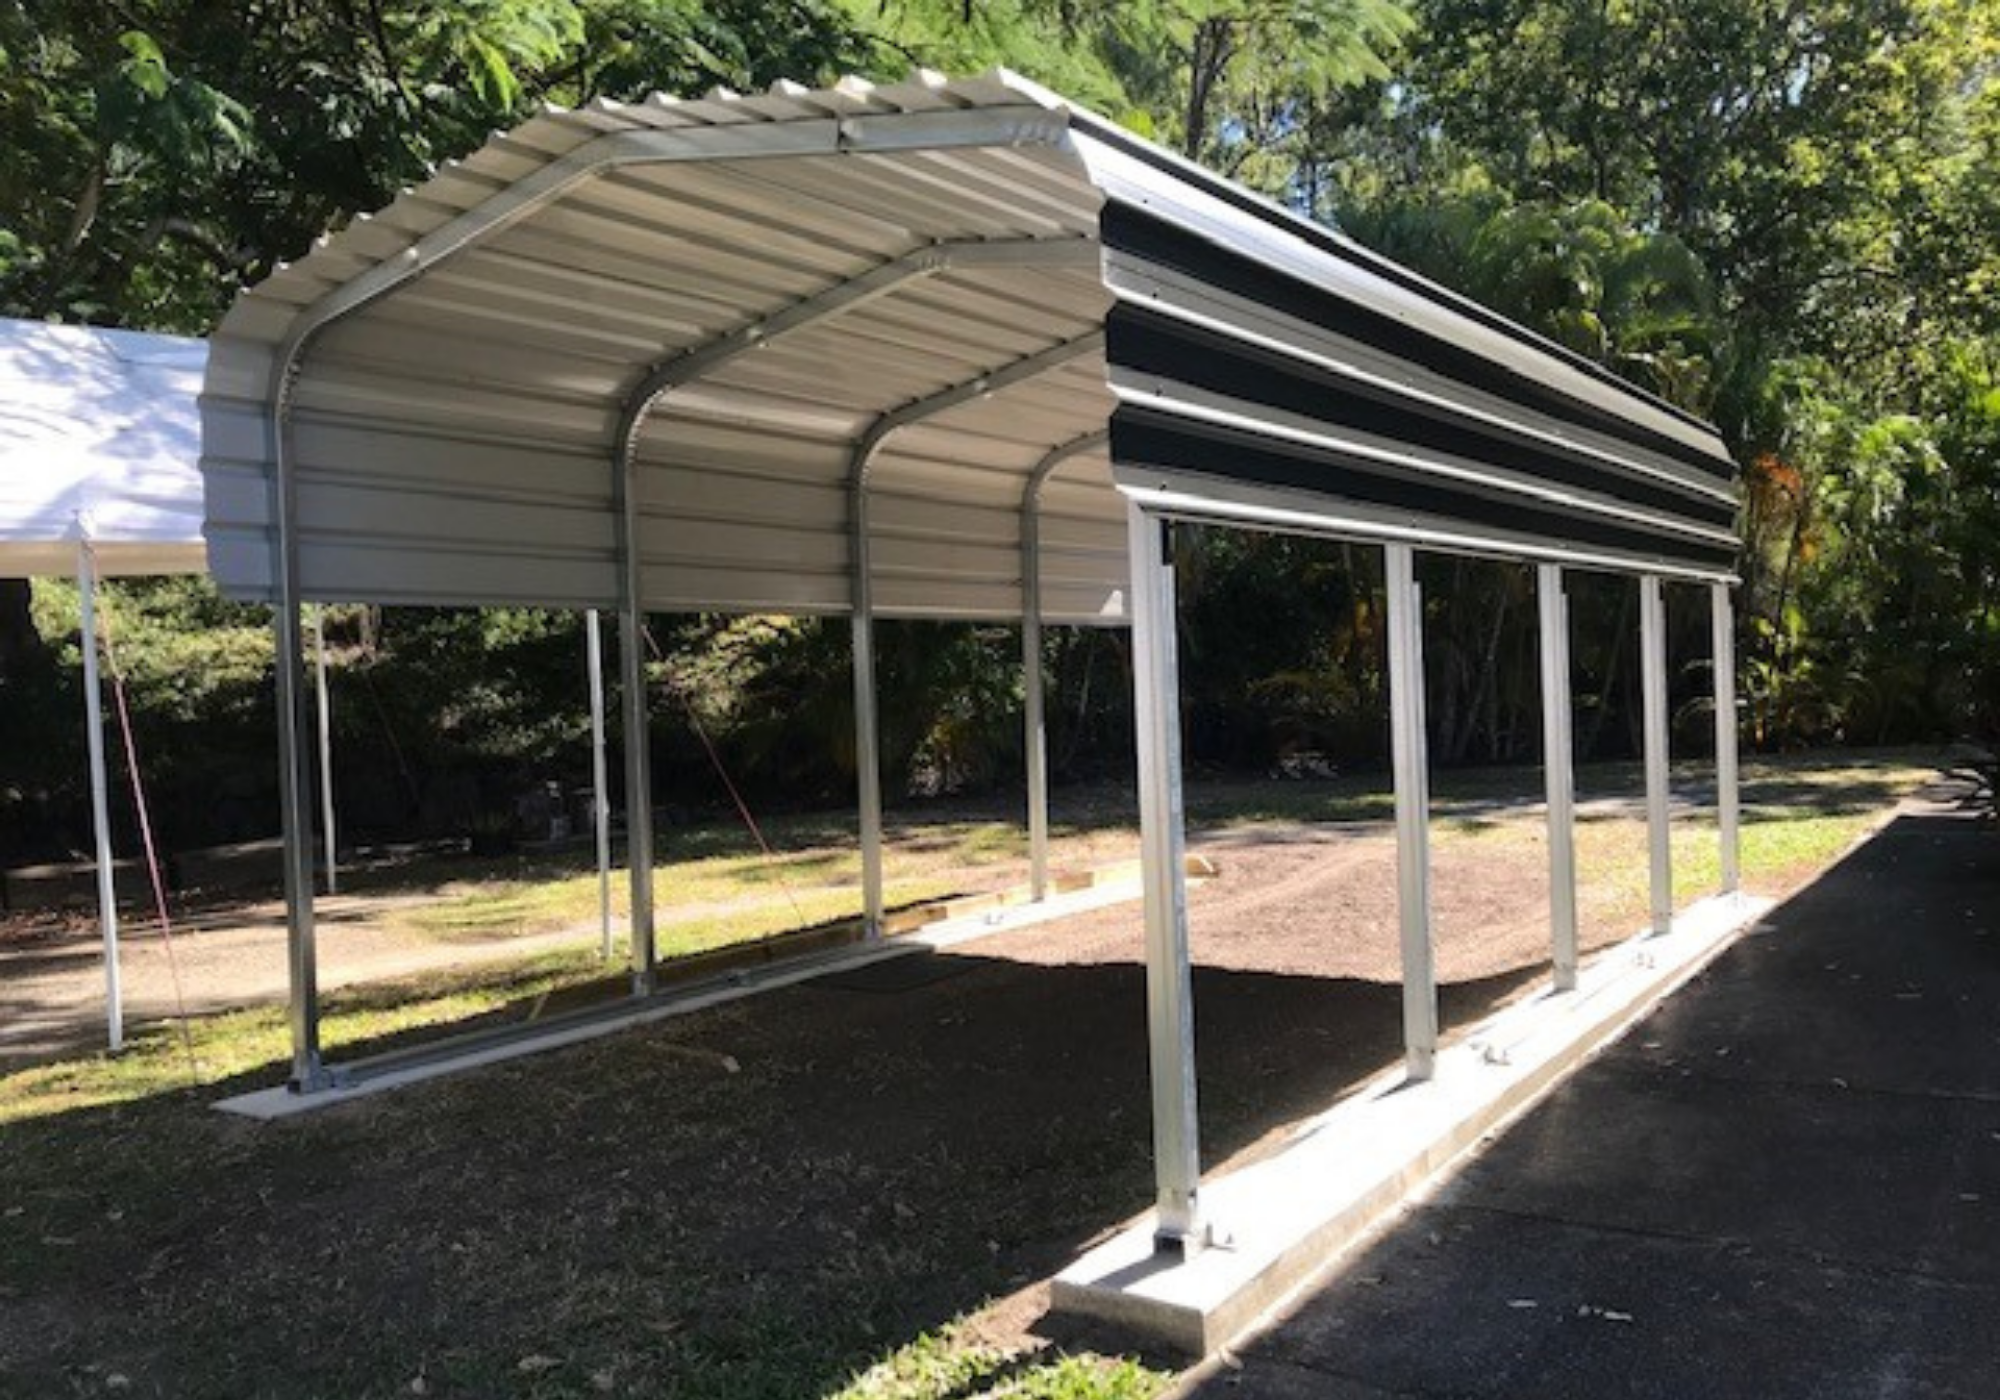
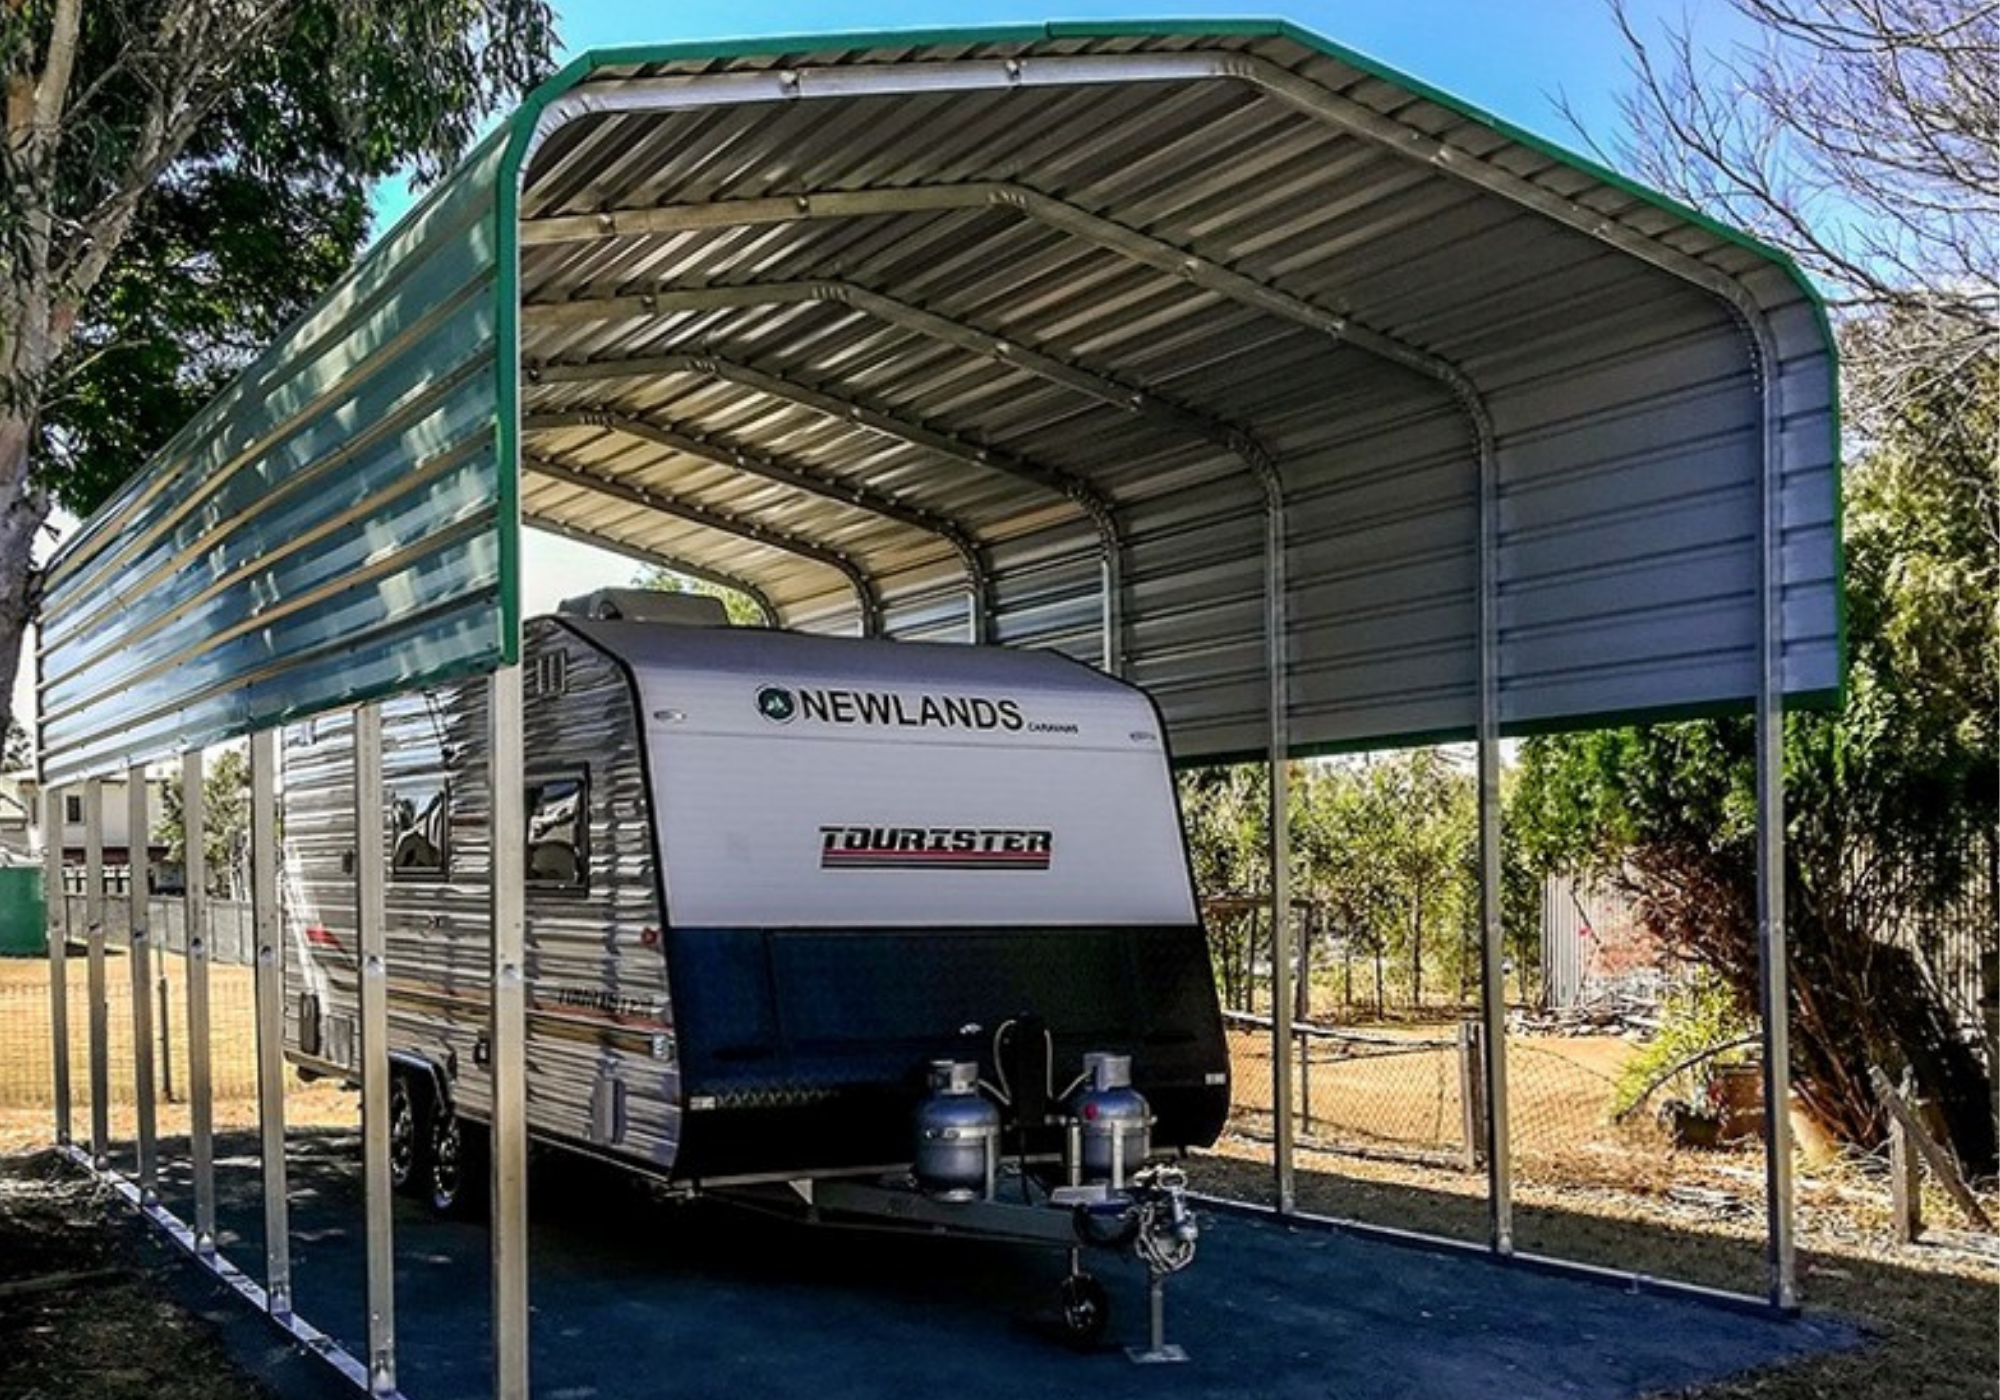
6170W
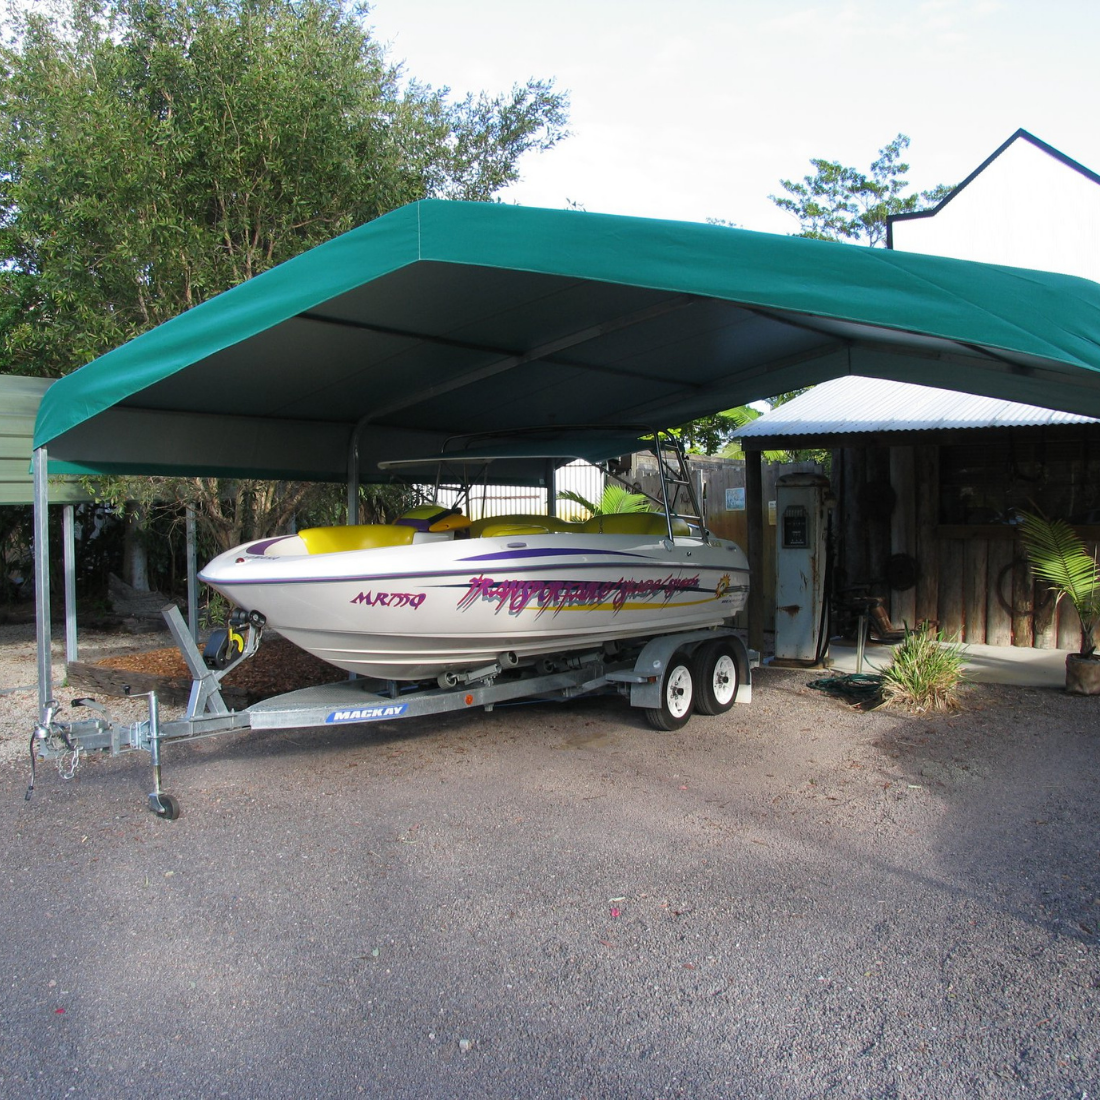
6.17m width - A popular mid-range size offering generous coverage for caravans, boats, and multiple-use applications.
view the range
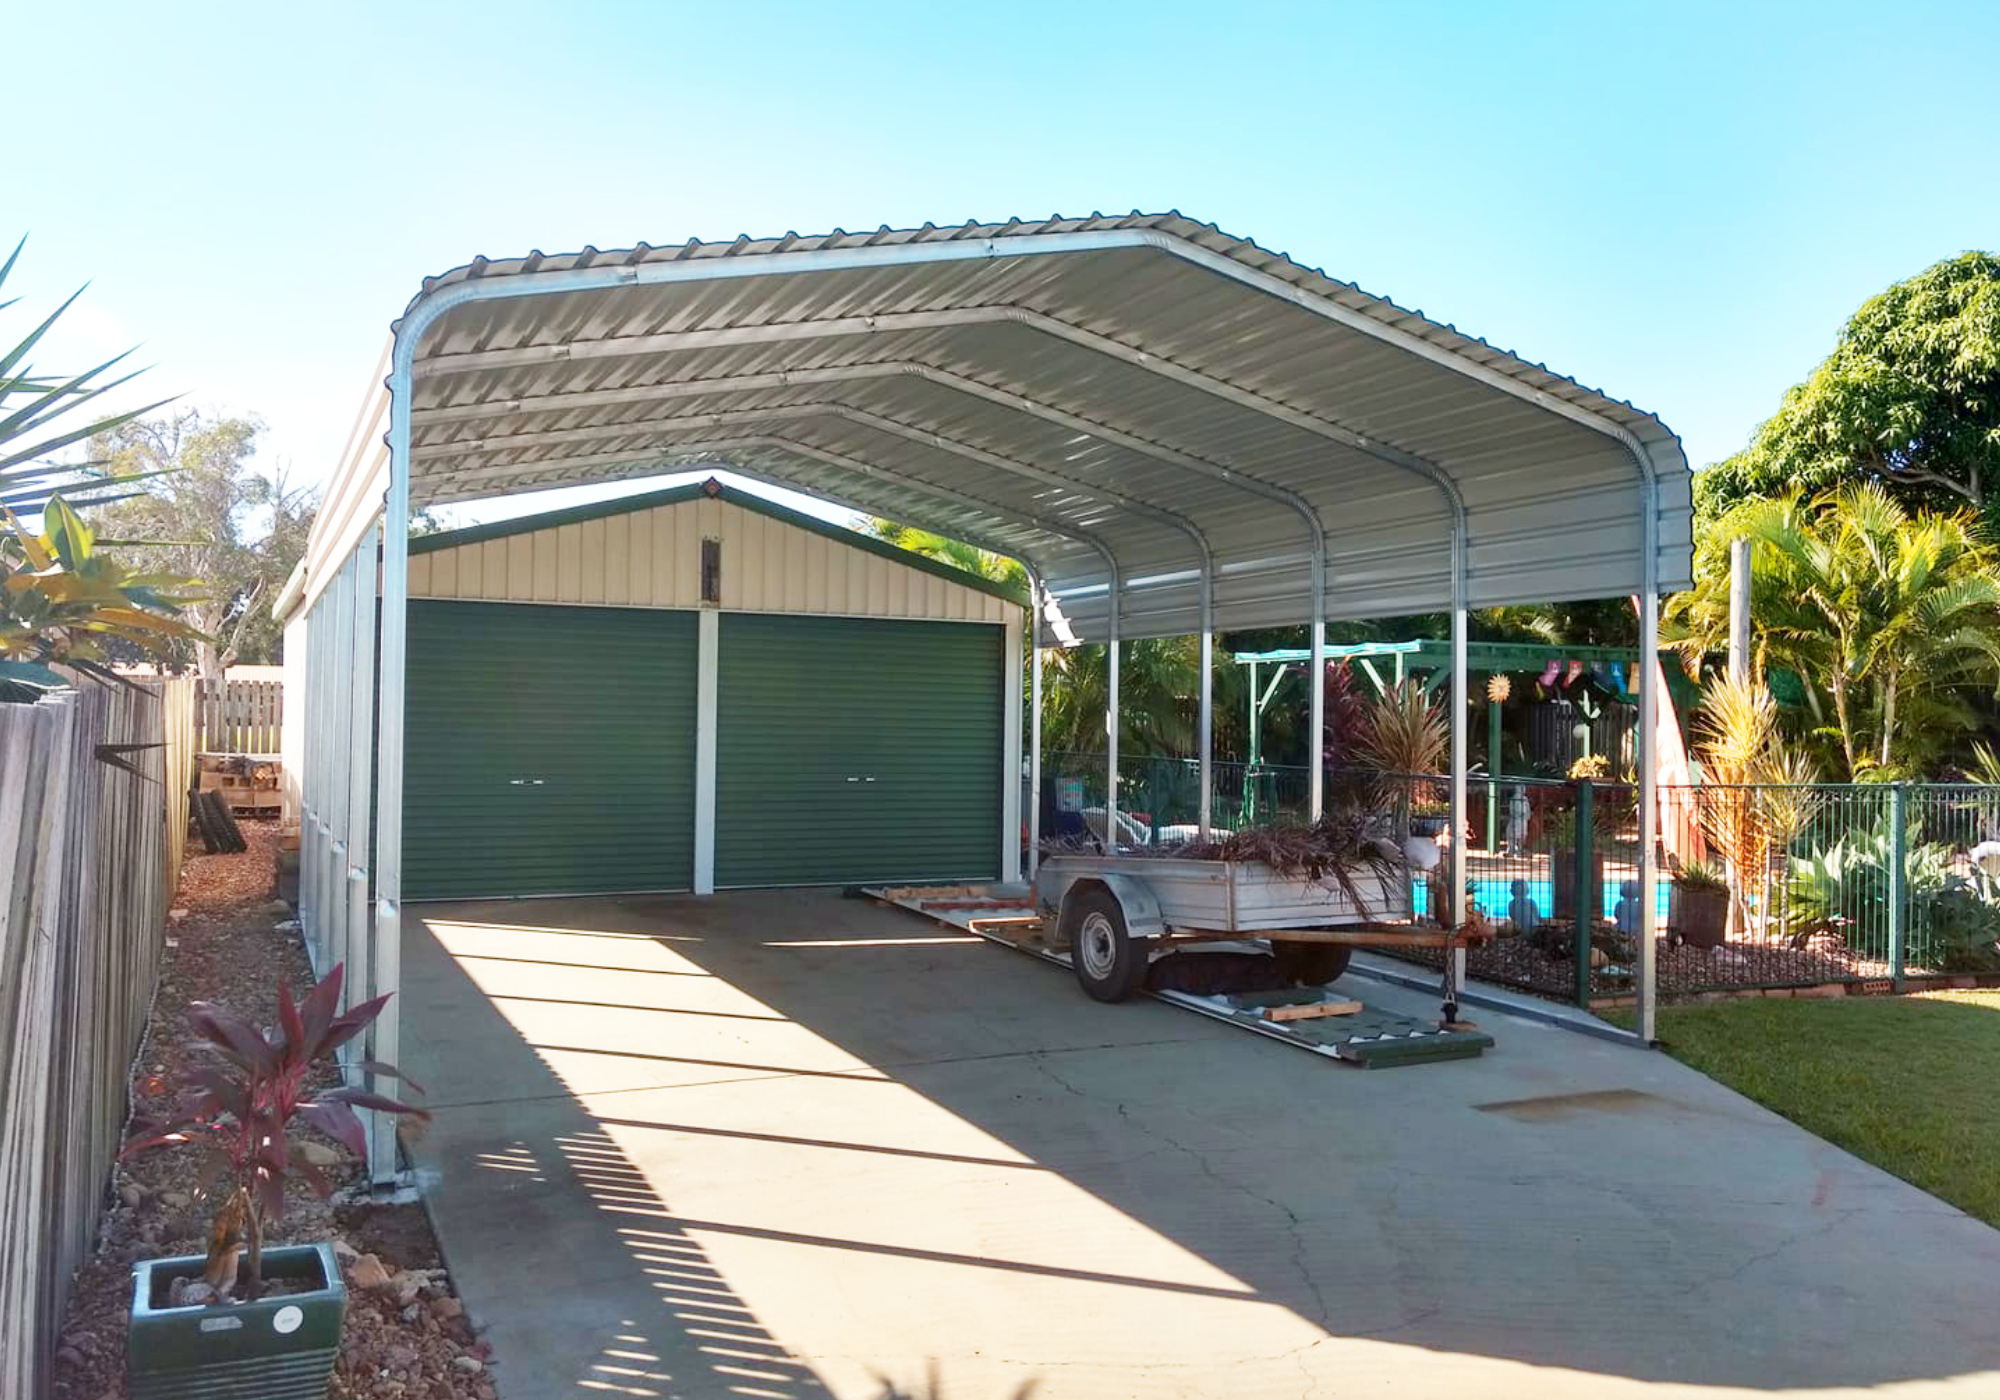
9000W
9m width - Designed for larger setups, ideal for wider caravans, industrial machinery, or multi-vehicle protection.
view the range
12000W
12m width - Maximum coverage for large-scale applications, perfect for rural, commercial, or high-clearance needs.
view the range
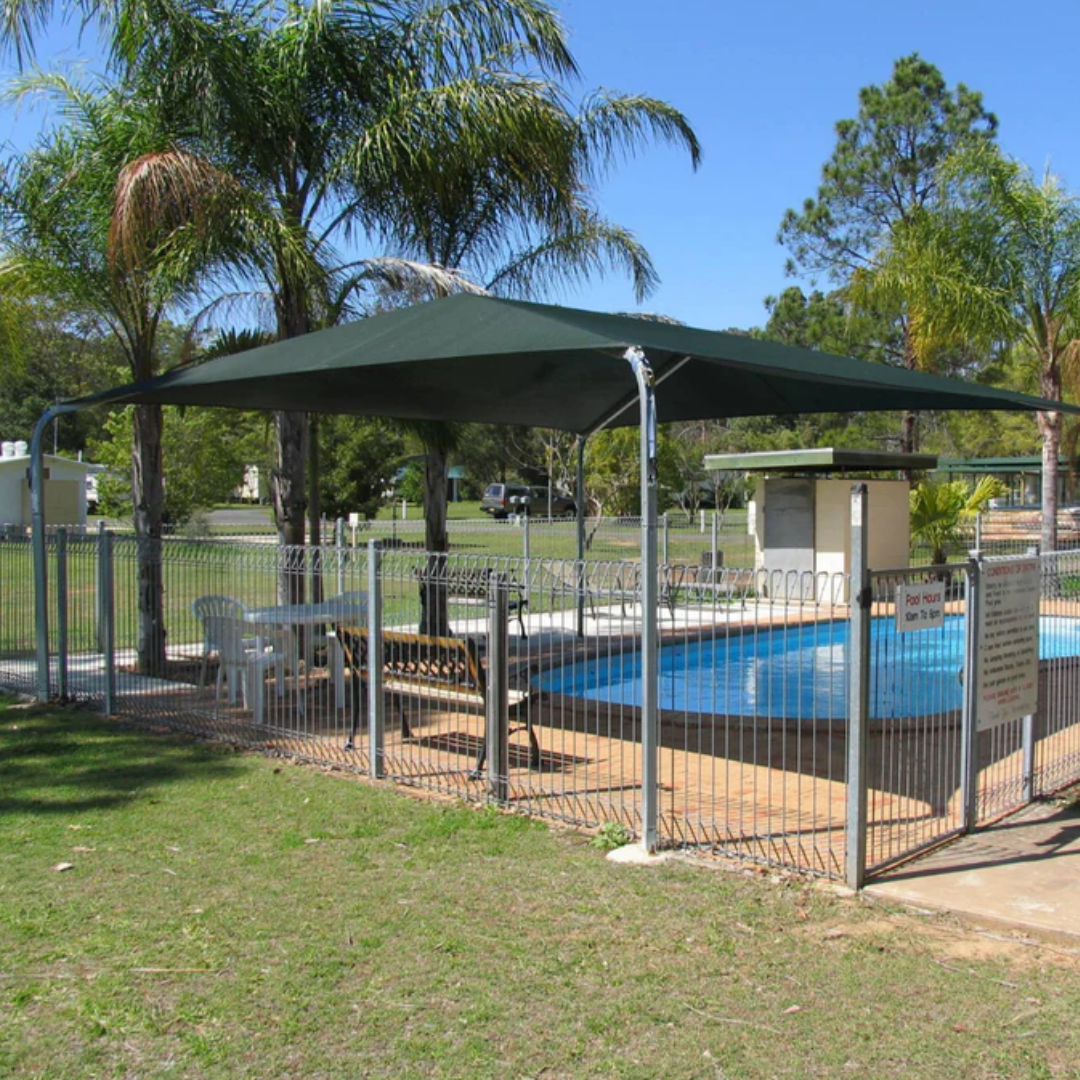
Quickshade
Pair text with an image to focus on your chosen product, collection, or blog post. Add details on availability, style, or even provide a review.
view the range
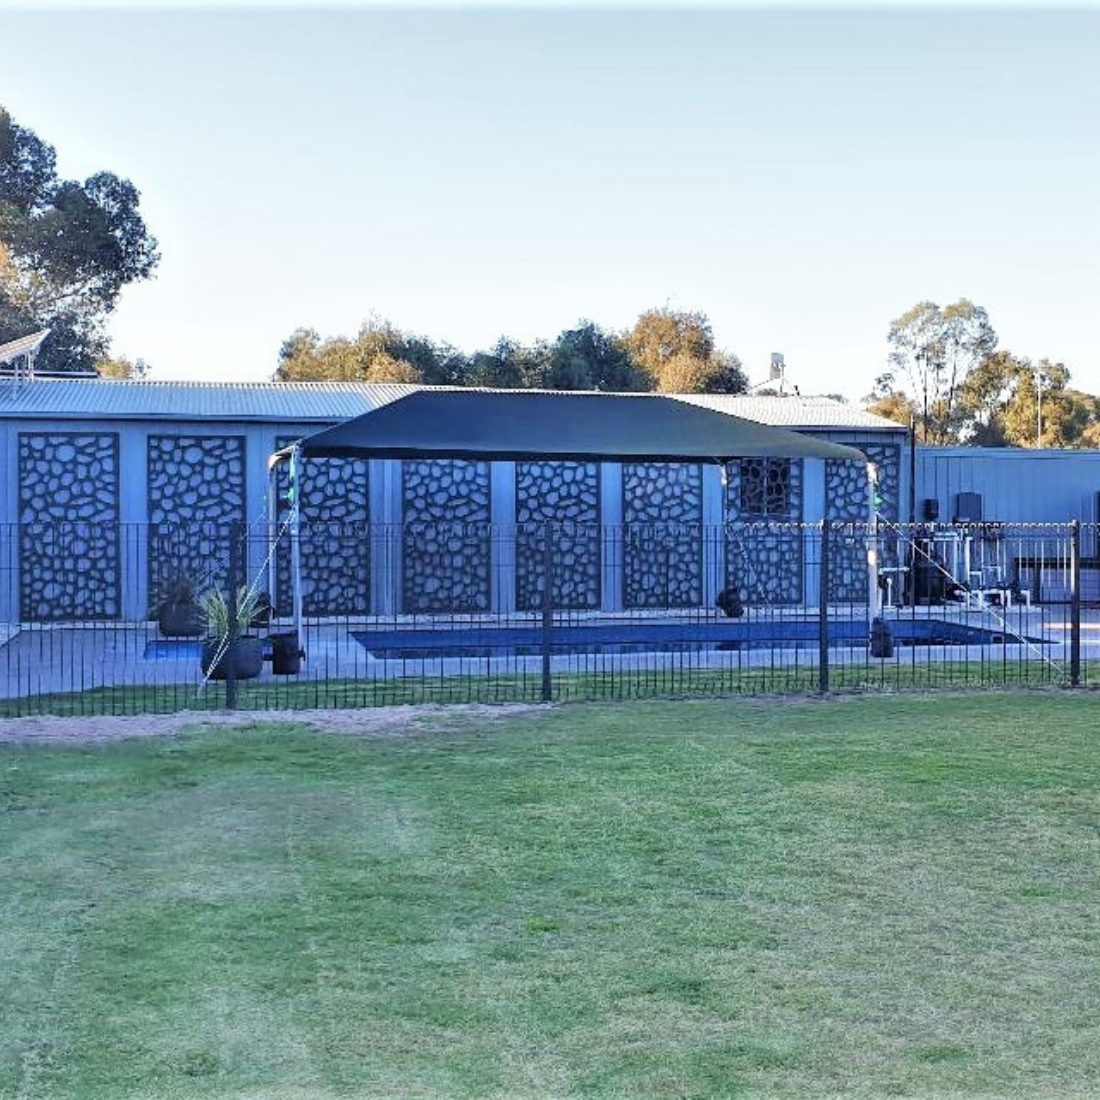
Canvacon
Pair text with an image to focus on your chosen product, collection, or blog post. Add details on availability, style, or even provide a review.
view the rangeBuy our best sellers online
Shop the Range
Designed for Strength and Simplicity
Designed around real‑world use — delivering strength, simplicity, flexibility, and long‑term confidence.
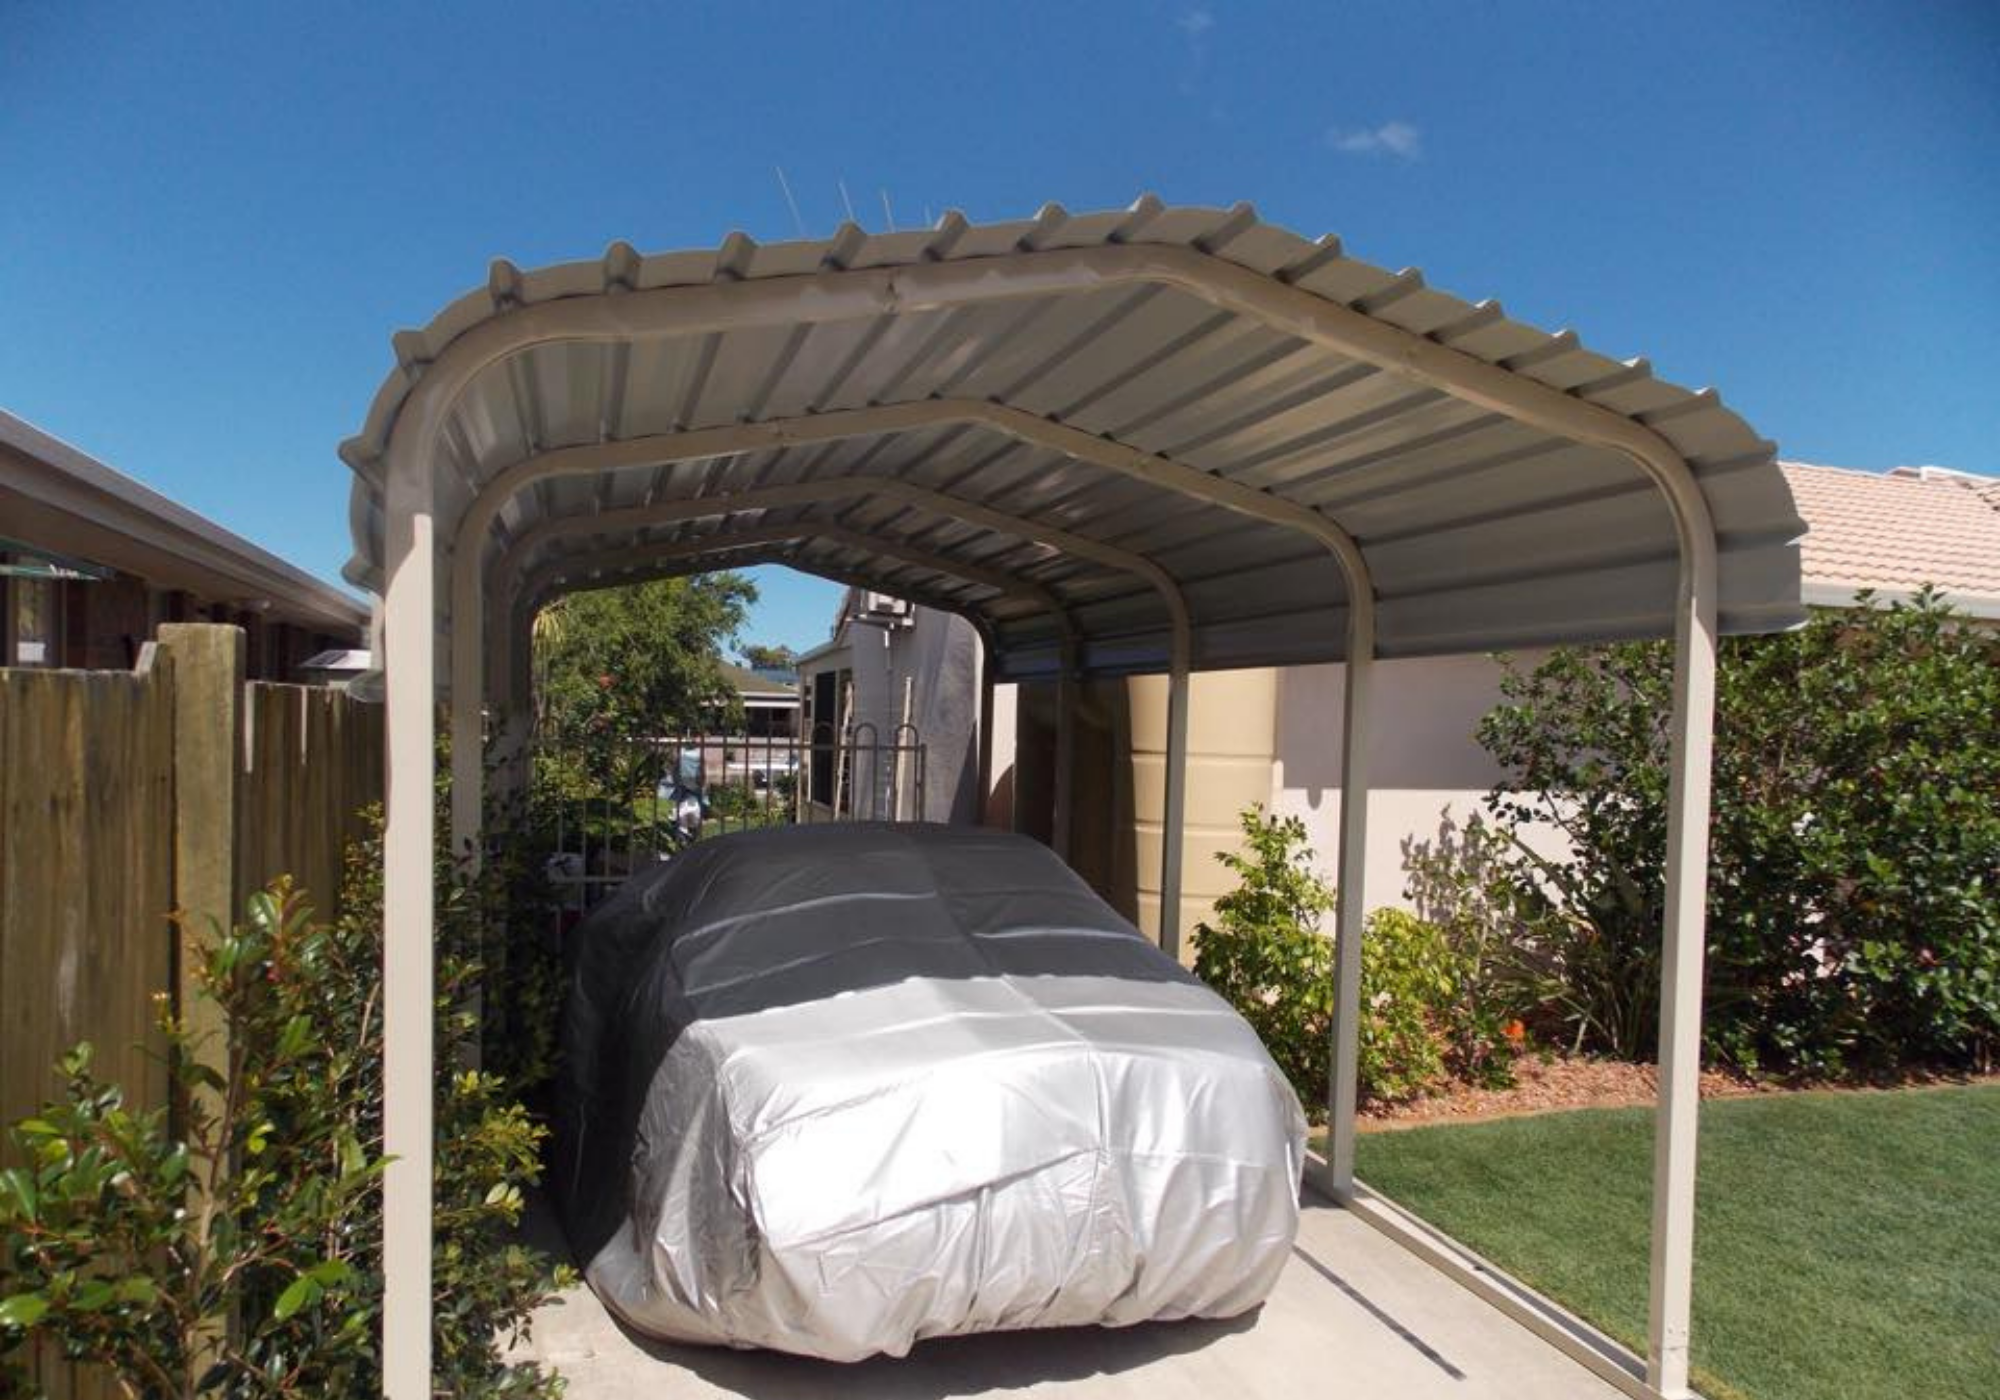
Built for Australian Conditions
Engineered to perform reliably in harsh Australian environments, delivering long‑term structural durability.
Simple Installation
One complete kit delivery means no missing parts, fewer delays, and a straightforward installation process.
Transportable by Design
Easily relocated as site requirements change, providing flexibility without compromising performance.
Confidence Backed
Every transportable shade shed is supported by a 10‑year structural warranty.


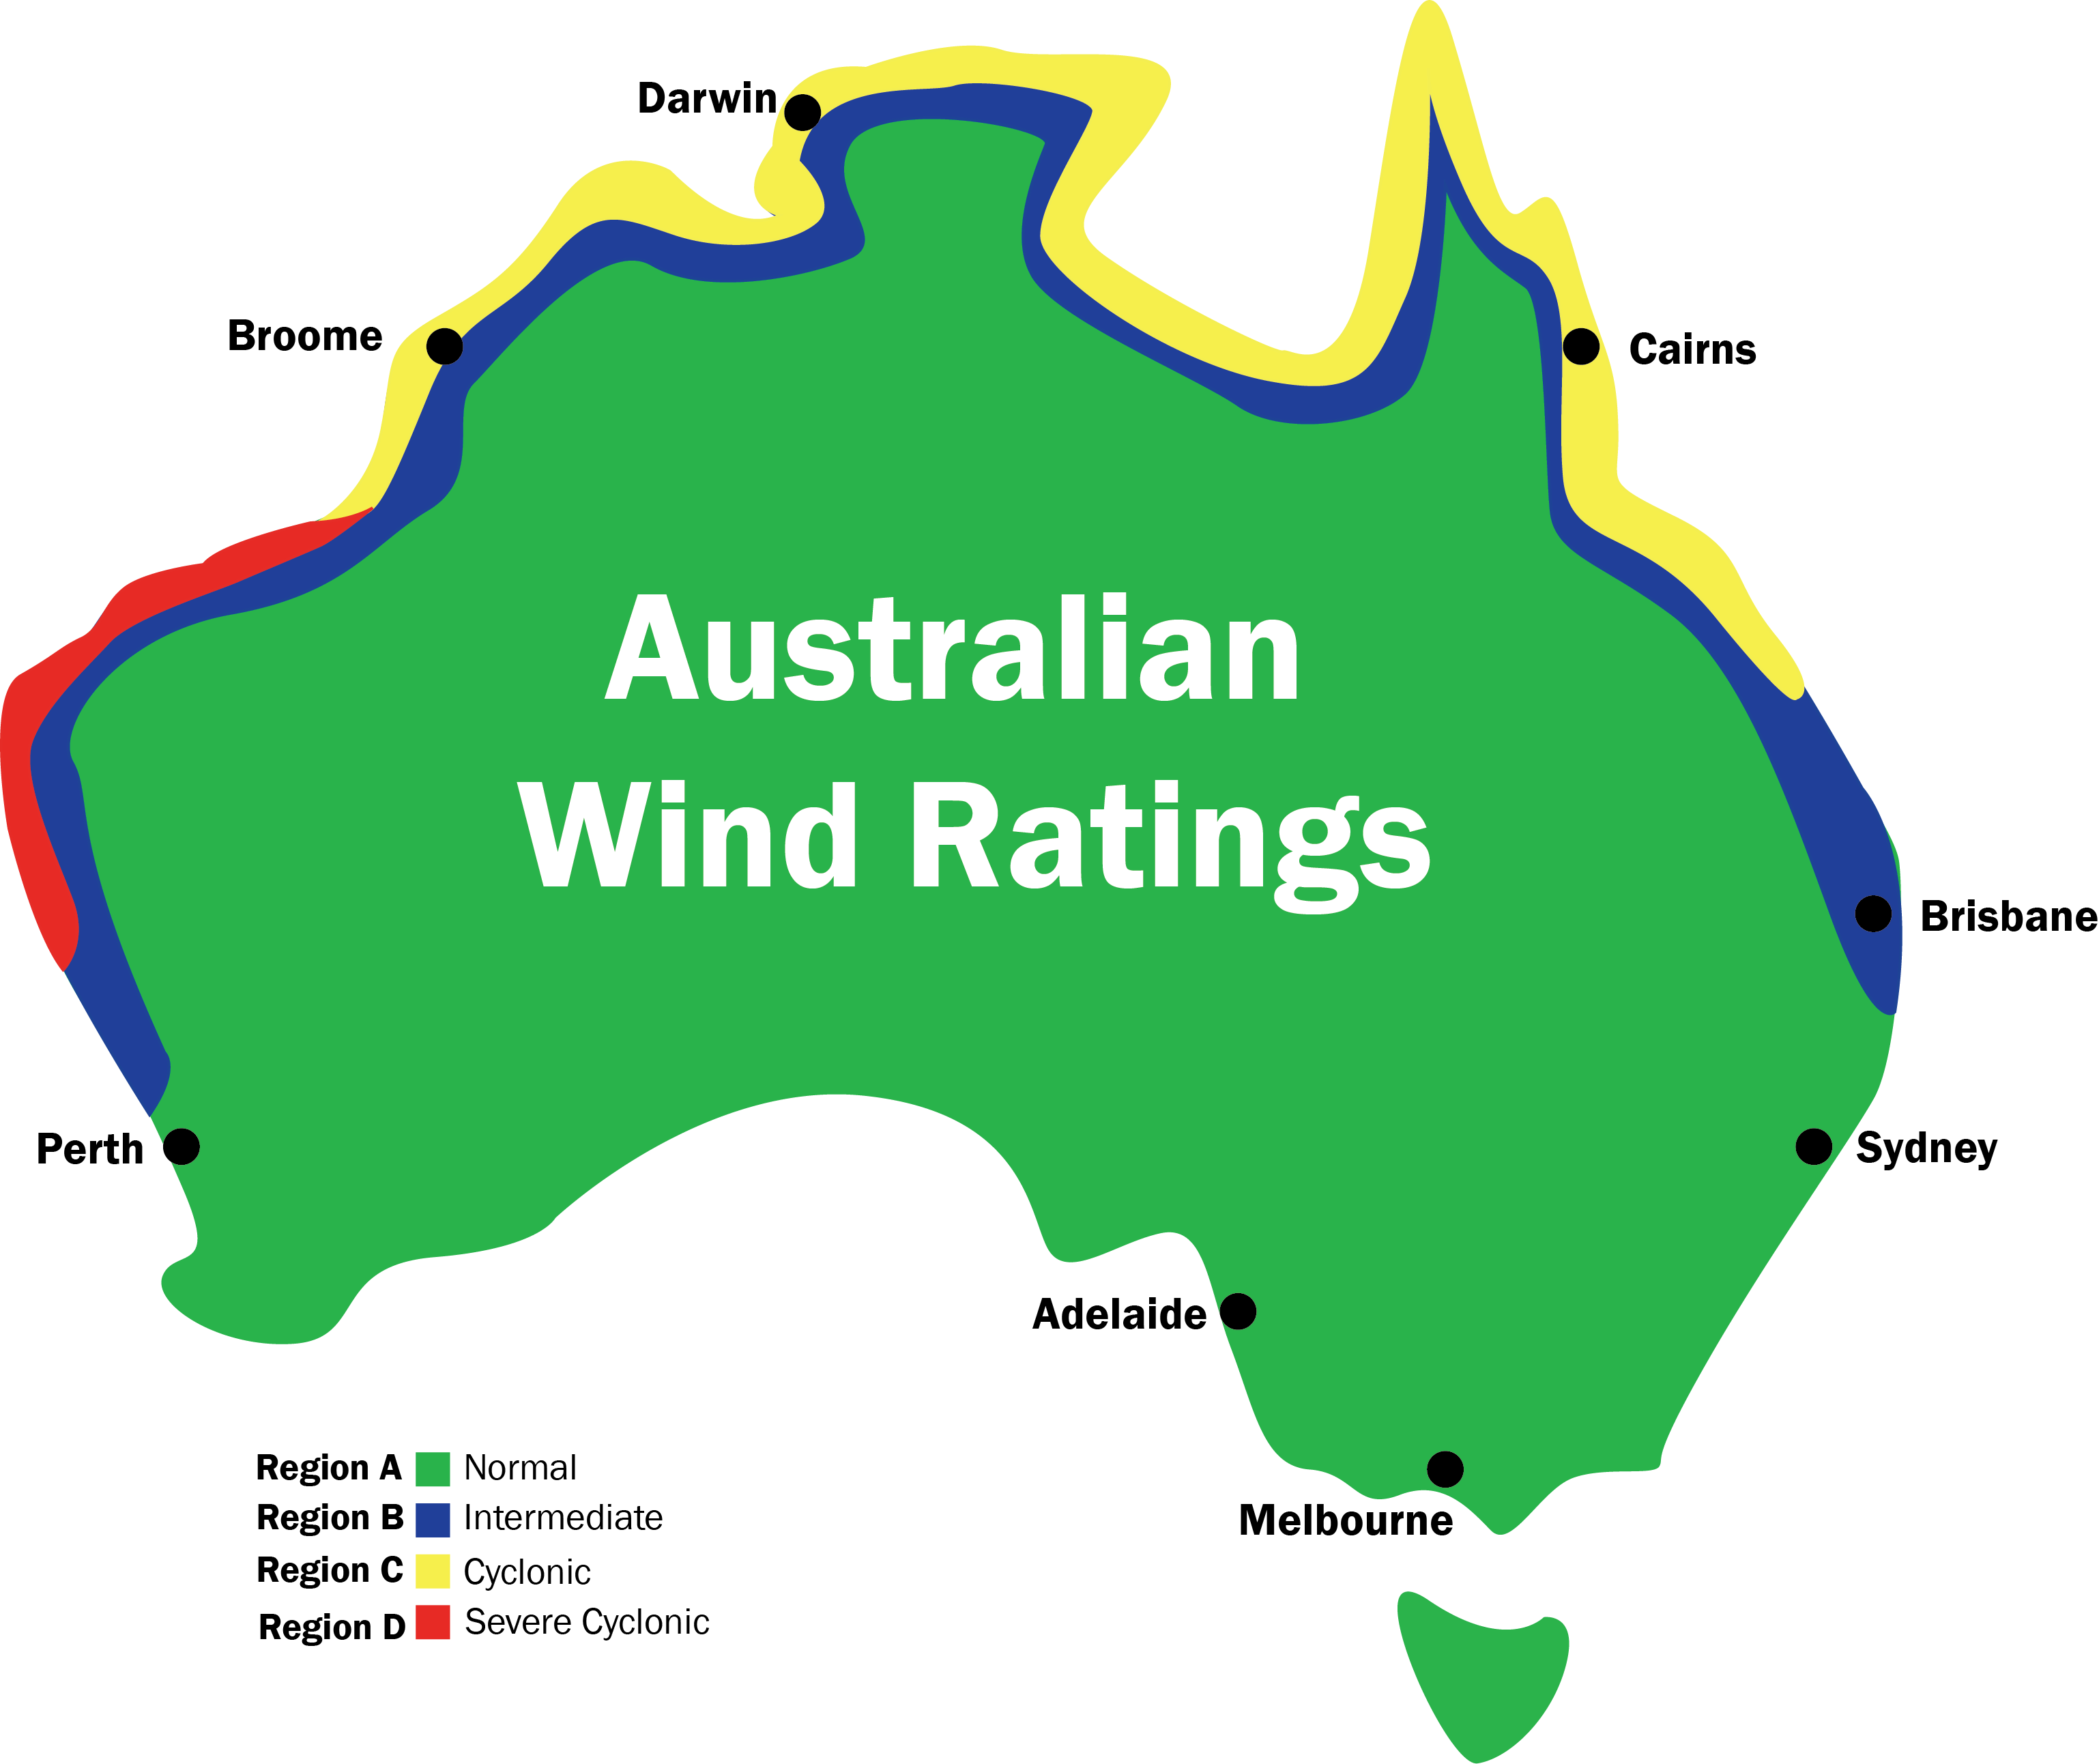
Understanding
CYCLONE RATINGS
Not sure which wind rating you need? As a general guide, if you're along the QLD coastline from Bundaberg and up into parts of WA, we recommend our C2 (Cyclonic) range.
Our C1 sheds are ideal for non-cyclonic areas with moderate winds (up to 180km/h), while C2 sheds are built for stronger, cyclonic winds (up to 219km/h) with extra reinforcement and cyclone-rated fixings for added protection.
All of our Shade Sheds are available in both C1 and C2 to suit your location (Please Note: Quickshades and Canvacons are not cyclone rated).
Check your requirements
Do I need a Cyclone Rated Shade Shed?
If you live in Northern Australia, coastal regions, or high-wind areas, you may need a C2 shed. Check your local council regulations as some areas require cyclone-rated structures for compliance.
Every shade shed is designed and certified for C1 and C2 wind-rated areas. We offer four different hold down options to suit a variety of ground conditions—whether it's a concrete slab, bare earth, or a semi-permanent solution. Not sure? Our team can guide you based on your location and intended use.
Protection you can trust
Ready to Protect your Assets?
Whether you want a shelter for your boat, caravan or machinery, we got a shade shed for every application. Speak to our team about the perfect solution for you.