DIY Installation
Our shade sheds are supplied as pre-engineered, easy-to-assemble kits designed for straightforward DIY installation. Every kit comes with clearly labelled components and step-by-step instructions so you can install your structure using common hand tools and a bit of extra help on the day.
Whether you choose a traditional steel roof, a Canvacon cover or our Quickshade option, the core frame system is the same: slip-fit (swaged) connections, simple anchoring solutions and a logical build sequence from base, to portals, to roof.
Watch a DIY Install Video
Here’s a detailed video you can watch before you get started. It walks through the overall DIY setup process, shows how the components come together, and gives you a clear idea of what to expect when assembling your Shade Shed at home.
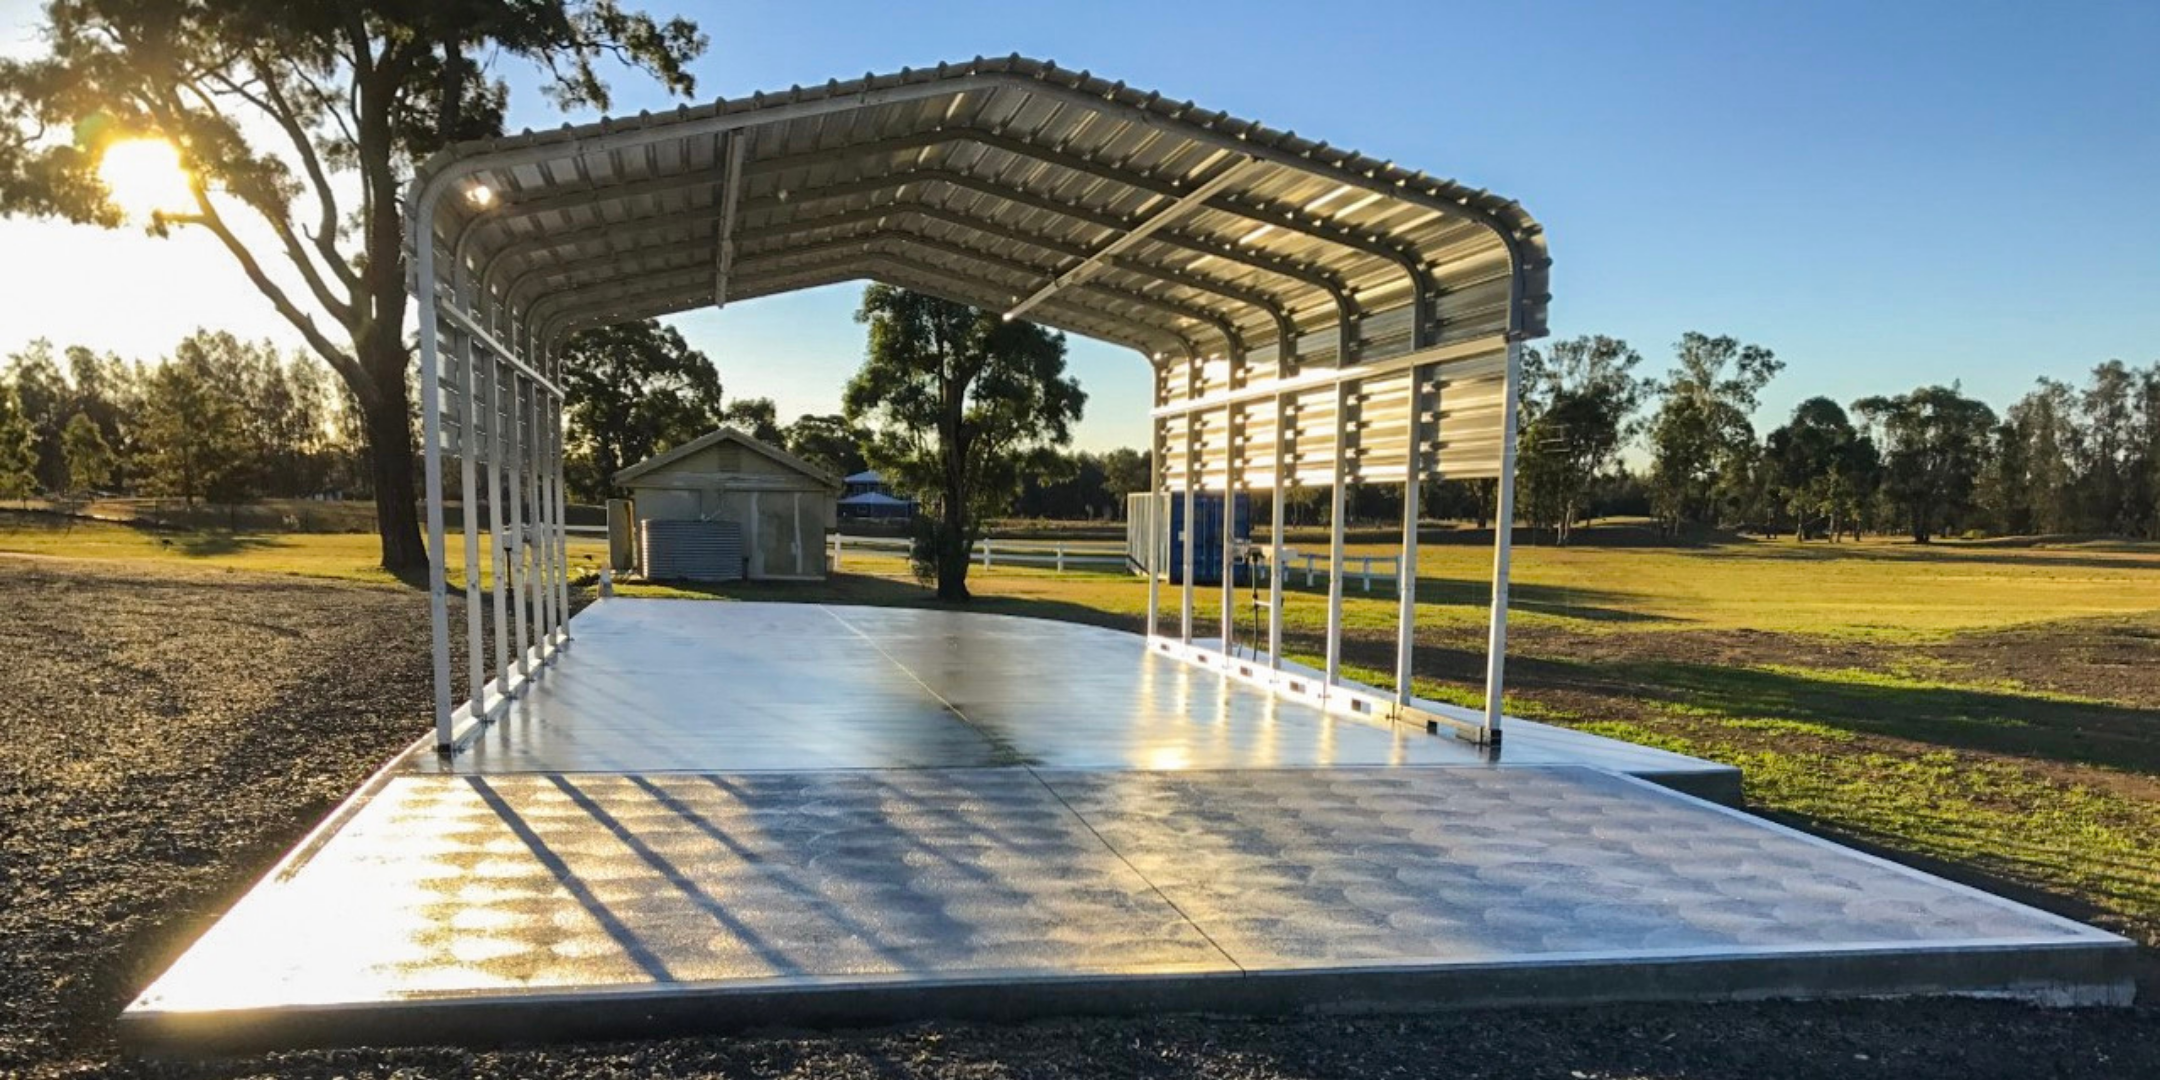
Shade Shed DIY Install – Steel Roofing
Follow the tabs below for an overview of how a standard steel-roofed shade shed goes together on site.
*Please note: Industrial sized Shade Sheds are set up identically, although, differ in terms of weight (much heavier). Industrial sized Shade Sheds may also include Truss Braces and/or Shoulder Braces dependant on size.
DIY Install
Our shade sheds are supplied as pre-engineered, easy-to-assemble kits designed for straightforward DIY installation. Each kit arrives with all required components and clear instructions, allowing customers to install their shed without specialised tools or the need for a concrete slab.
Optional anchoring systems are available for added stability depending on site conditions. Thanks to our slip-fit (swaged) design, assembly is quick, simple, and secure.
Tools Required
- Impact driver
- Tape measure
- Level or string line
- Sledgehammer (if using Ground Anchors)
- Tin snips (for flashing)
Tip: Lay out all parts first and check your site is reasonably level before starting.


Base Rails & Portal Frames
1) Build the Base Rails (Slip-Fit)
Shed construction starts at the base rails. Some rails have swaged (reduced) ends that slip inside the next rail — this is our slip-fit system.
Slide each swaged end into the next rail and ensure everything is aligned. Secure every slip-fit connection with screws on both sides before moving to the next rail.
2) Grounding (If Selected)
If you’ve chosen ground anchors, place the anchors beside the base rail between portal positions, mark the locations, then move the rail aside and drive the anchors into the ground.
Reposition the base rail over the anchors and fasten the saddle brackets down to secure the rail.
3) Assemble Portal Frames
Assemble each portal frame by slipping the swaged ends together. Depending on your shed design, this may include pitched pillars, apex, risers, and rafters.
Check your frame is square by measuring across the top and bottom. Secure each connection with screws on both sides.


Riser Kit & Rafters
1) Optional Riser Kit
When building on uneven ground, the optional riser kit helps level the shed. Run a string line across the base rails and adjust the risers until the string sits level.
Measure from the string line down to the base rail to confirm the correct rise needed.
2) Square Up & Install Portals
Install the front and rear portal frames first. Adjust the base rails so the top and bottom widths match, then take diagonal measurements.
When both diagonal measurements are equal, the shed is square. Install the remaining portal frames and use a string line along the top to ensure consistent height.
3) Rafters (If Included)
If your shed includes rafters, install them between the apex and pillars. Once aligned, secure all connections with screws.

Roofing & Flashing
1) Align the First Roof Sheet
Place the first sheet on the frame and align it so it sits straight and centred. Mark screw positions at the front, middle and rear portal frames.
2) Fix Sheets & Overlaps
Screw the first sheet to all portals. Slide the next sheet under the previous one, screw the overlap, then fasten it to the frame.
3) Flashing (If Selected)
Cut small relief cuts (~10mm) so the flashing bends cleanly. Attach from one corner and work your way around the shed.

Canvacon DIY Install
For Canvacon-covered shade sheds, the frame process is similar – with a different final step for the tensioned cover.
DIY Install
Our Canvacon is supplied as pre-engineered, easy-to-assemble kits designed for straightforward DIY installation. Each kit arrives with all required components and clear instructions, allowing customers to install their shed without specialised tools or the need for a concrete slab.
Optional anchoring systems are available for added stability depending on site conditions. Thanks to our slip-fit (swaged) design, assembly is quick, simple, and secure.
Tools Required
- Impact driver
- Tape measure
- Level or string line
- Sledgehammer (if using Ground Anchors)
- Tin snips (for flashing)
Tip: Lay out all parts first and check your site is reasonably level before starting.
Assembly Frame
1) Set Out & Position (If Required)
Before assembling frames, lay out your components and confirm portal spacing and orientation as per your supplied instructions. If your kit includes an anchoring/grounding option, mark locations as required for your site.
2) Grounding (If Selected)
If you’ve chosen ground anchors, place the anchors beside the base rail between portal positions, mark the locations, then move the rail aside and drive the anchors into the ground.
Once fixed, ensure all anchor points are aligned and ready to accept the portal frames.
3) Assemble Frames
Assemble each frame by slipping the swaged ends together. Depending on your shed design, this may include pitched pillars, apex, risers, and rafters.
Check your frame is square by measuring across the top and bottom. Secure each connection with screws on both sides.
Riser Kit & Rafters
1) Optional Riser Kit
When building on uneven ground, the optional riser kit helps level the shed. Run a string line across the base rails and adjust the risers until the string sits level.
Measure from the string line down to the base rail to confirm the correct rise needed.
2) Square Up & Install Portals
Install the front and rear frames first. Adjust the base rails so the top and bottom widths match, then take diagonal measurements.
When both diagonal measurements are equal, the Canvacon is square. Install the remaining frames and use a string line along the top to ensure consistent height.
3) Rafters (If Included)
If your Canvacon includes rafters, install them between the apex and pillars. Once aligned, secure all connections with screws.
Canvacon Cover
1) Install the Spreader Bars
Fit the spreader bars to the inside of each portal using the supplied Canvacon spreader bar brackets. Position brackets as shown in your kit instructions and secure each bracket with the provided screws.
2) Lay the Cover Over the Frame
Pull the Canvacon cover over the top of the portal frames and spreader bars. Centre the cover so it sits evenly on all sides before tensioning.
3) Attach Ratchets & Tension Corner-by-Corner
Attach a ratchet strap to the loop at each corner of the Canvacon cover. Begin tensioning one corner at a time, working your way around the shed so the cover tightens evenly.
Once the cover is tensioned (firm, but not over-tensioned), install the supplied screws through the spreader bar and into the portal frame along the lower edge of the cover to help lock it in place.

Quickshade DIY Install
Quickshade uses a 4 pillar frame style, with a lighter-weight, tensioned roof system for fast cover.
DIY Install
Our shade sheds are supplied as pre-engineered, easy-to-assemble kits designed for straightforward DIY installation. Each kit arrives with all required components and clear instructions, allowing customers to install their shed without specialised tools or the need for a concrete slab.
Optional anchoring systems are available for added stability depending on site conditions. Thanks to our slip-fit (swaged) design, assembly is quick, simple, and secure.
Tools Required
- Impact driver
- Tape measure
- Level or string line
- Sledgehammer (if using Ground Anchors)
- Tin snips (for flashing)
Tip: Lay out all parts first and check your site is reasonably level before starting.
Assembly Frame
1) Set Out & Position (If Required)
Before assembling frames, lay out your components and confirm portal spacing and orientation as per your supplied instructions. If your kit includes an anchoring/grounding option, mark locations as required for your site.
2) Grounding (If Selected)
If you’ve chosen ground anchors, place the anchors beside the base rail between portal positions, mark the locations, then move the rail aside and drive the anchors into the ground.
Once fixed, ensure all anchor points are aligned and ready to accept the portal frames.
3) Assemble Frames
Assemble each frame by slipping the swaged ends together. Depending on your shed design, this may include pitched pillars, apex, risers, and rafters.
Check your frame is square by measuring across the top and bottom. Secure each connection with screws on both sides.
Riser Kit & Rafters
1) Optional Riser Kit
When building on uneven ground, the optional riser kit helps level the shed. Run a string line across the base rails and adjust the risers until the string sits level.
Measure from the string line down to the base rail to confirm the correct rise needed.
2) Square Up & Install Portals
Install the front and rear portal frames first. Adjust the base rails so the top and bottom widths match, then take diagonal measurements.
When both diagonal measurements are equal, the Quickshade is square. Install the remaining portal frames and use a string line along the top to ensure consistent height.
3) Rafters (If Included)
If your Quickshade includes rafters, install them between the apex and pillars. Once aligned, secure all connections with screws.
Quickshade Cover
1) Assemble & Secure the Roof Section
Once your roof section is assembled and positioned on the risers, ensure all fixings are installed and tightened as per your kit instructions. Double-check the roof frame is straight and aligned before fitting the cover.
2) Place the Quickshade Cover
Lay the Quickshade cover over the roof section and pull it evenly into position. Temporarily fix the cover at each corner so it stays centred while you prepare to tension it.
3) Attach Straps & Tension Corner-by-Corner
The ratchet straps are pre-attached to the frame corners (bent shoulders). Locate the strap lengths supplied in the boxes provided and attach them to the ratchets.
Begin tensioning the cover one corner at a time, working your way around the roof so the cover tightens evenly. Continue until the cover is firm and sitting neatly with consistent tension across the roof.

Still need a hand with your DIY install?
If you’re not quite sure which option is right for your site, or you’d like a bit more guidance before you get started, our team is here to help.
Contact our team