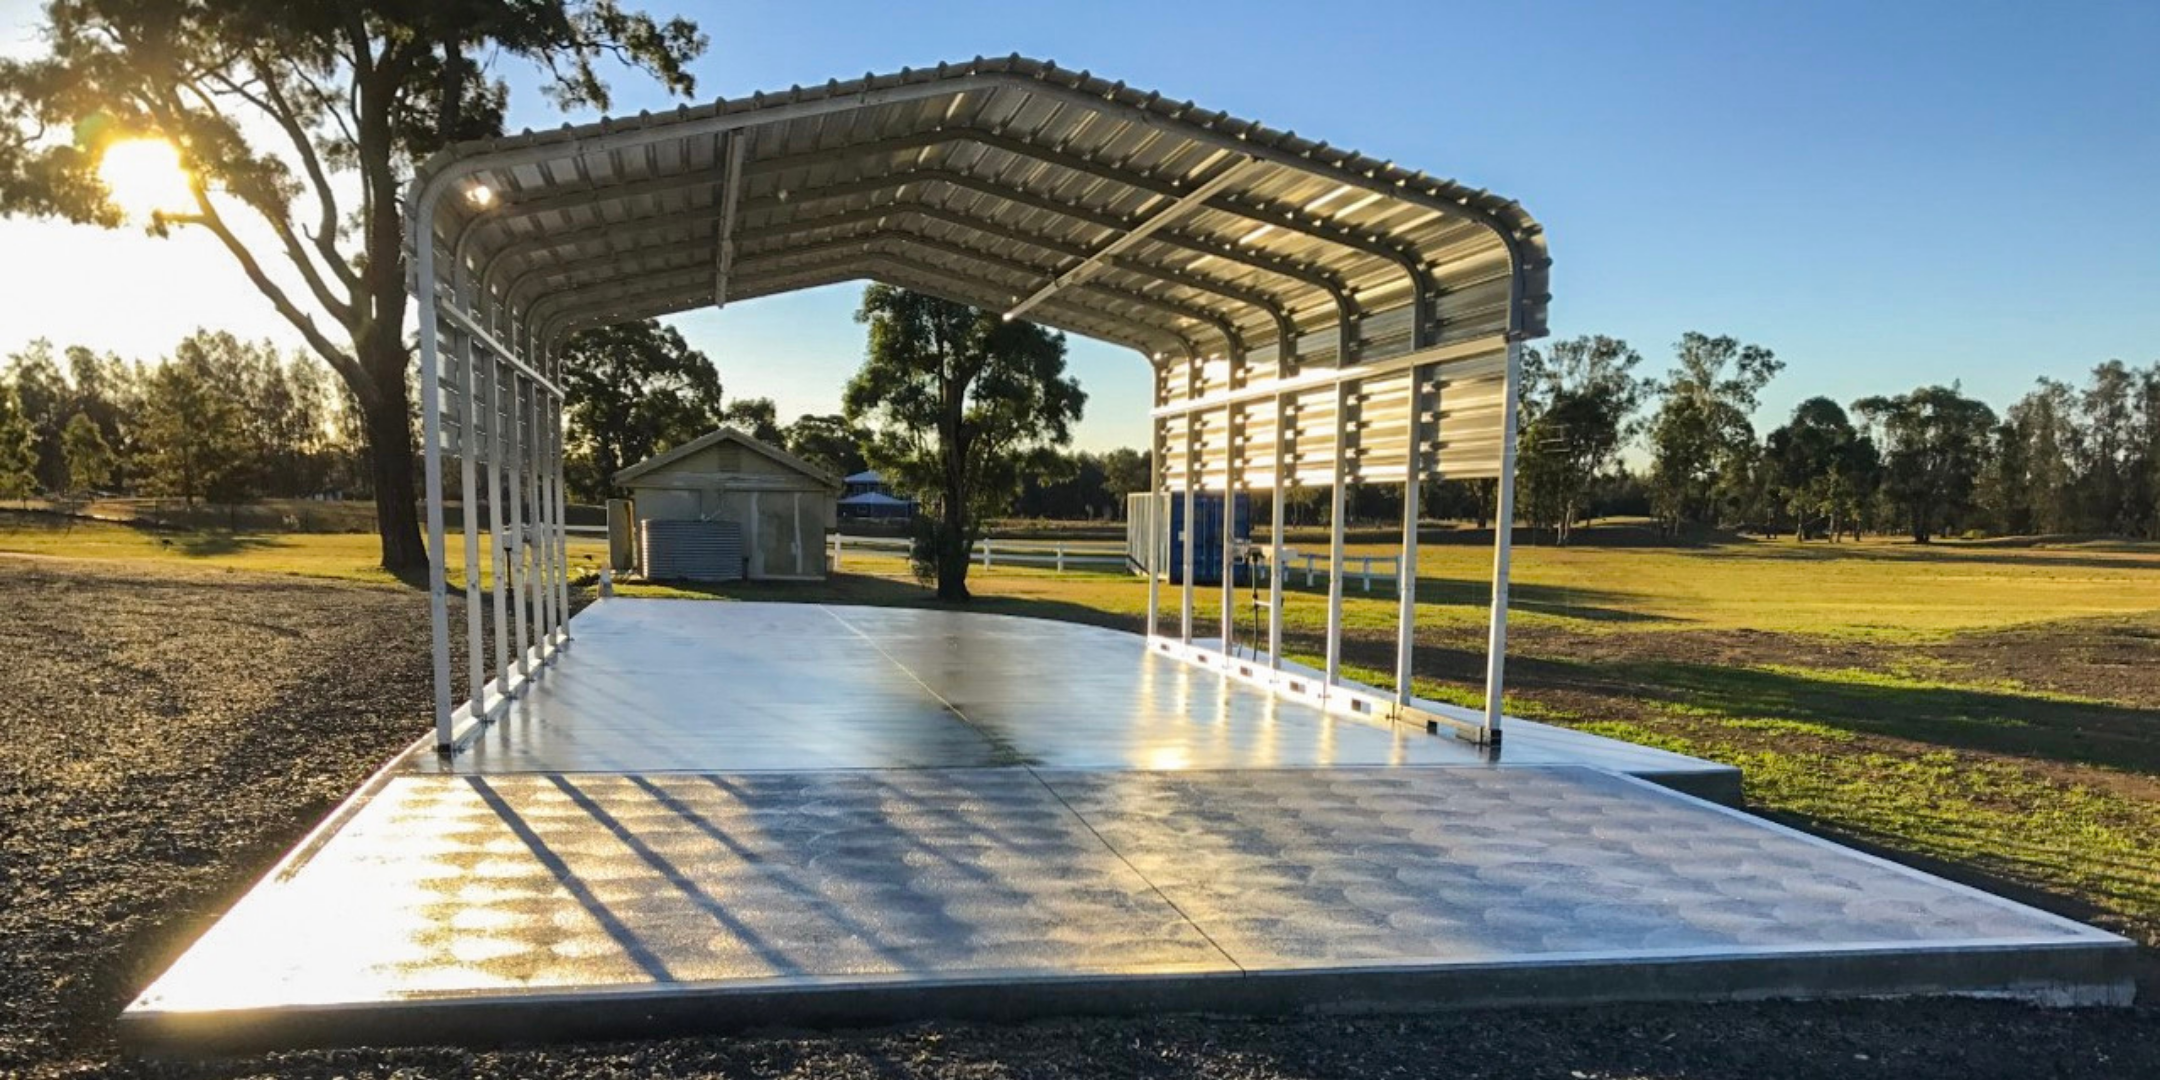
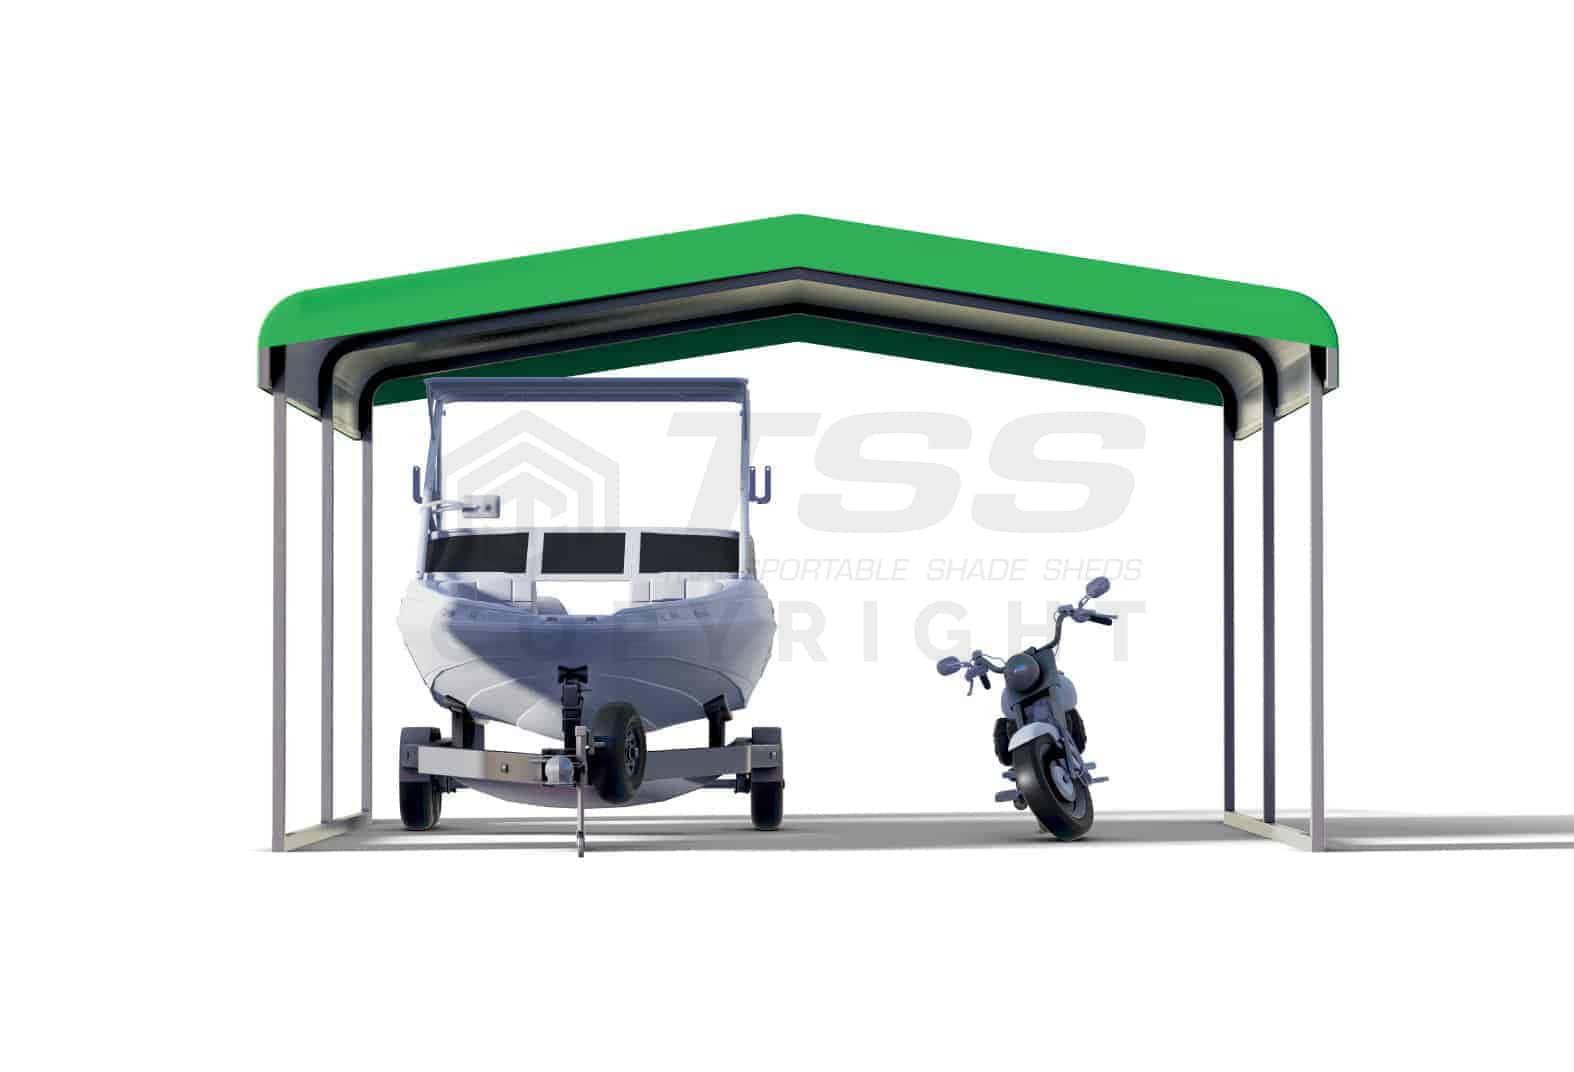
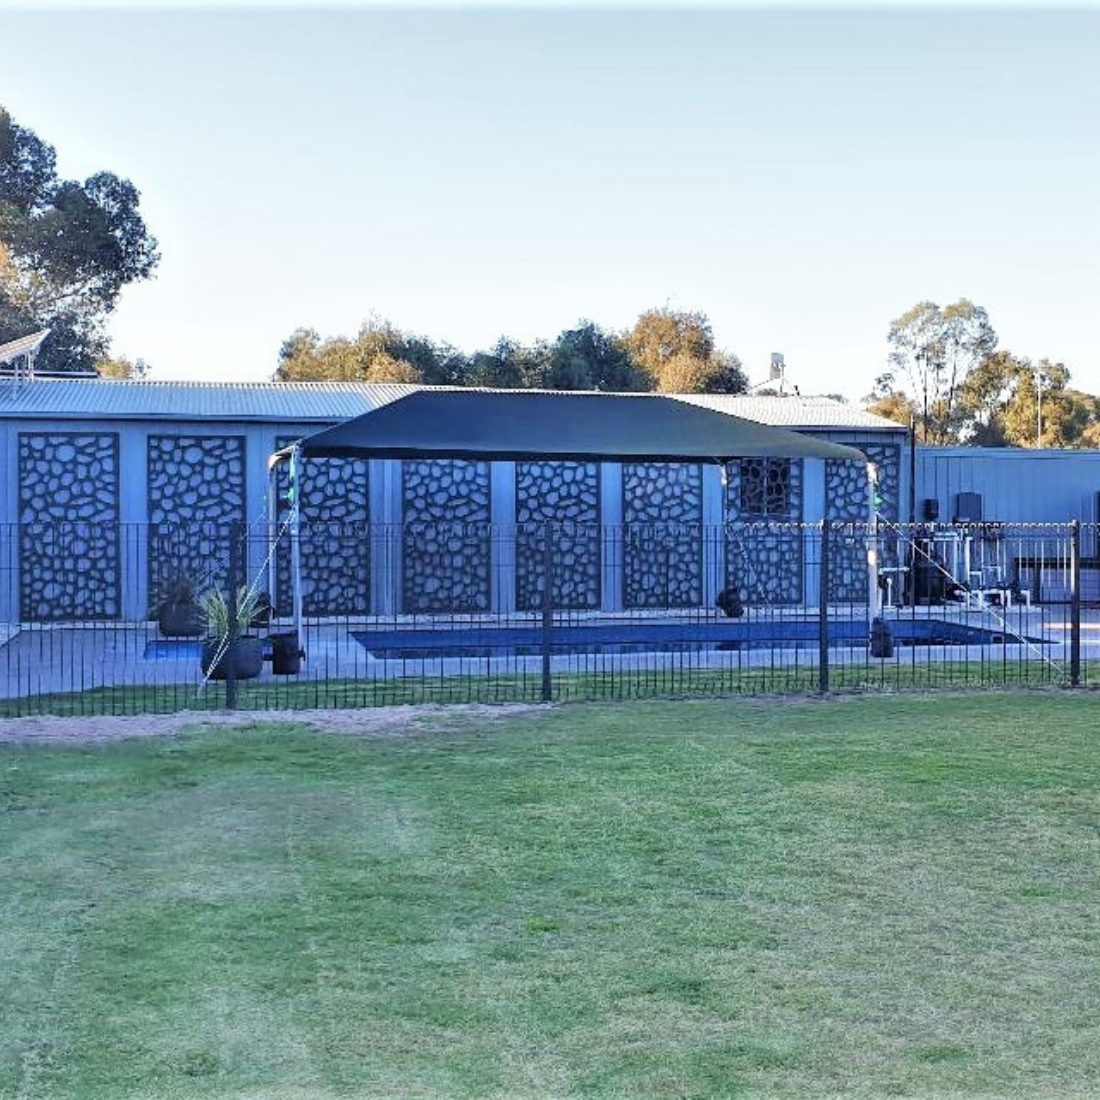
a shade shed for all applications
discover the full range
Explore the full TSS range, including 3170W, 4670W, 6170W, 9000W and 12000W Shade Sheds, as well as Canvacon and Quickshade solutions designed for residential, rural, farming, commercial, and industrial applications across Australia.

3170W
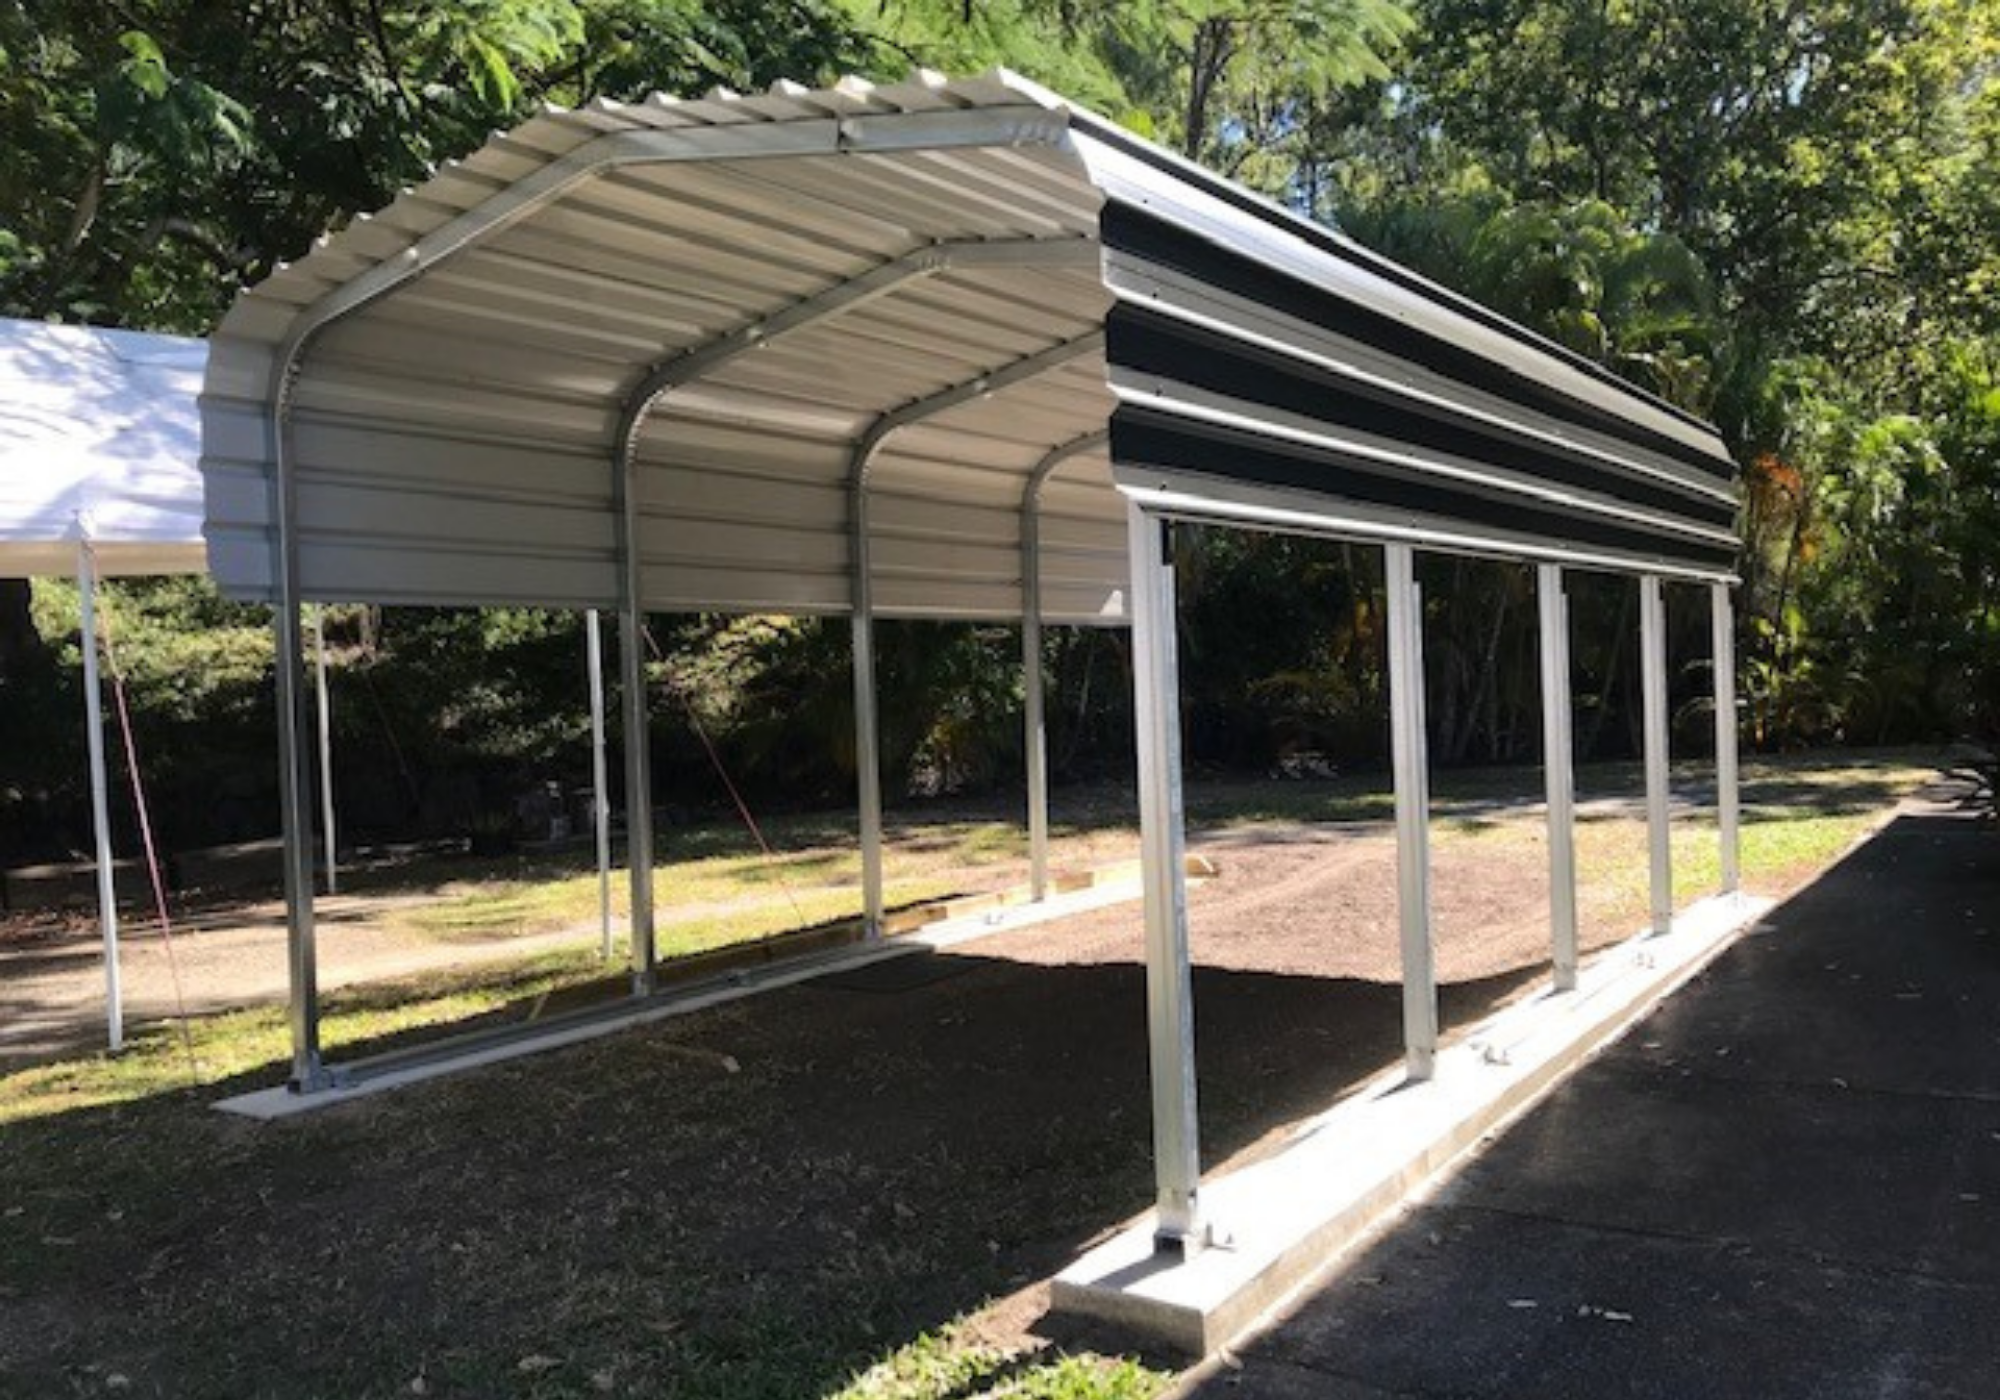
3.17m width - Ideal for smaller setups, perfect for single vehicles, compact caravans, or tight spaces where coverage is essential.
view the range
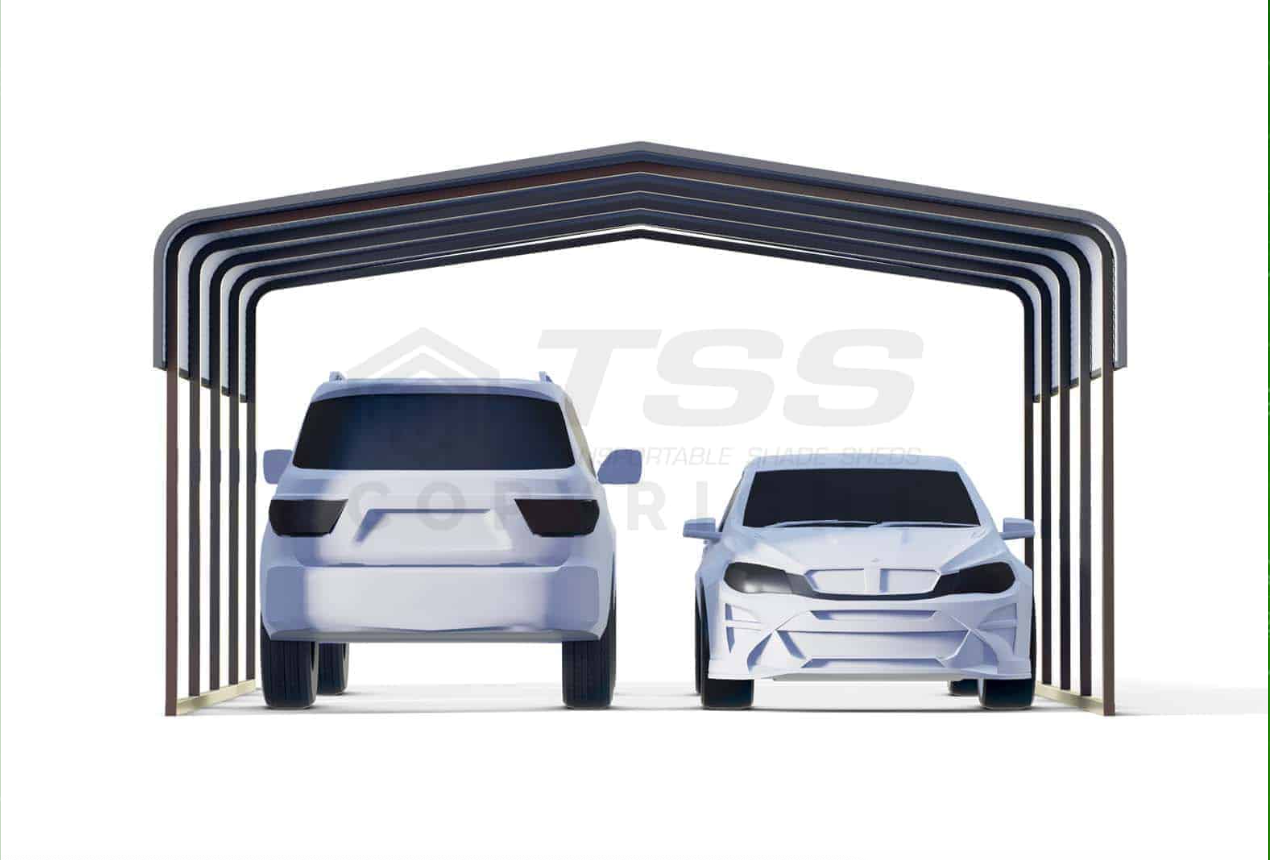
4670W
4.67m width - A versatile option suited to larger vehicles, small machinery, or extra storage space around your setup.
view the range
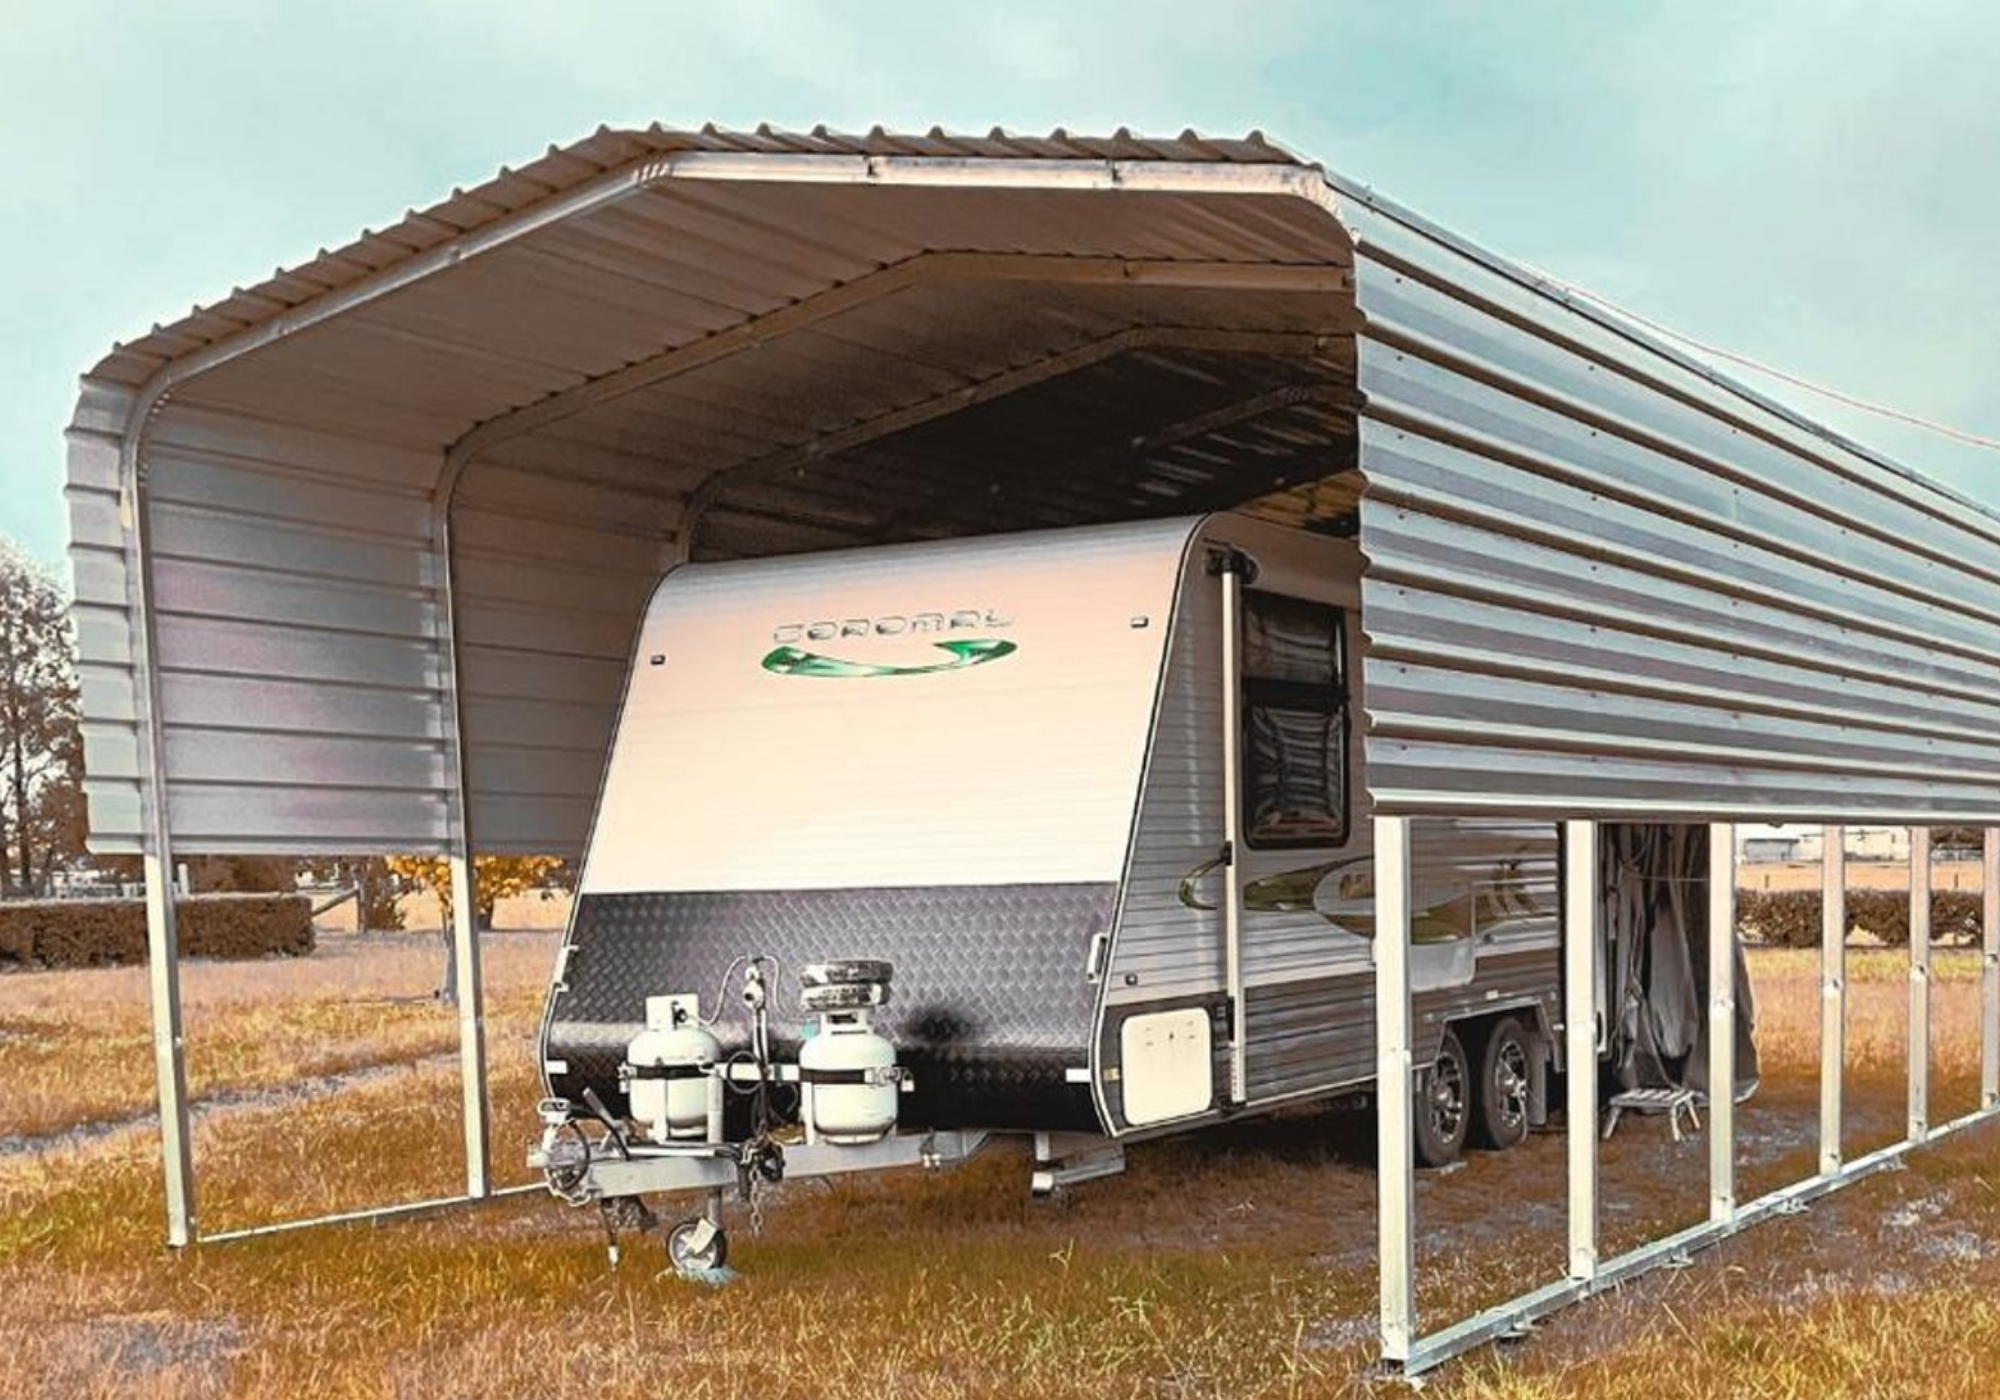
6170W
6.17m width - A popular mid-range size offering generous coverage for caravans, boats, and multiple-use applications.
view the range
9000W
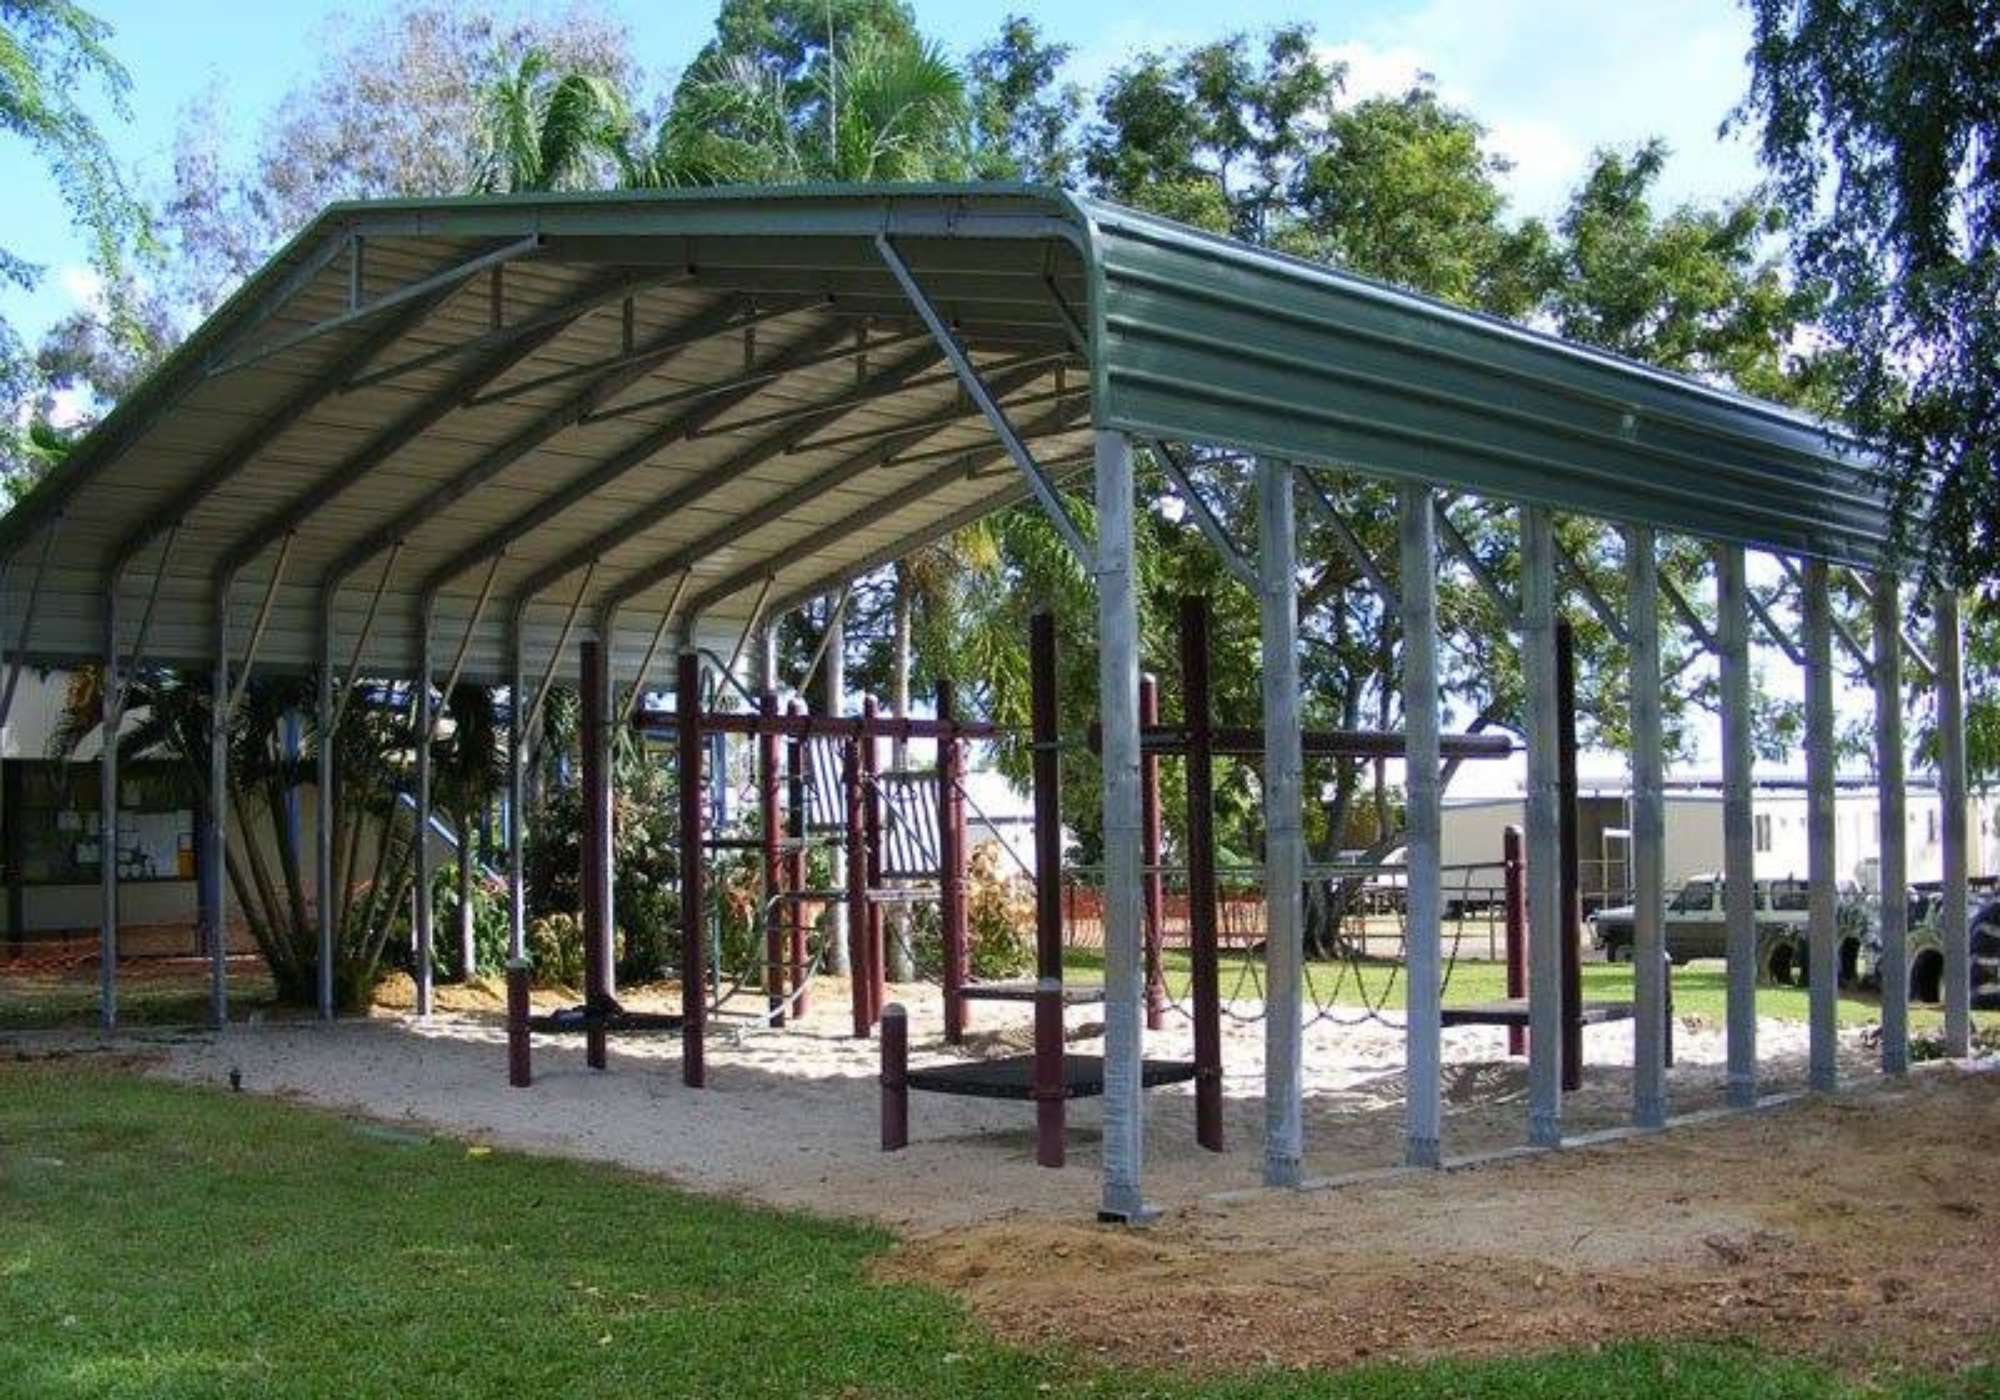
9m width - Designed for larger setups, ideal for wider caravans, industrial machinery, or multi-vehicle protection.
view the range
12000W
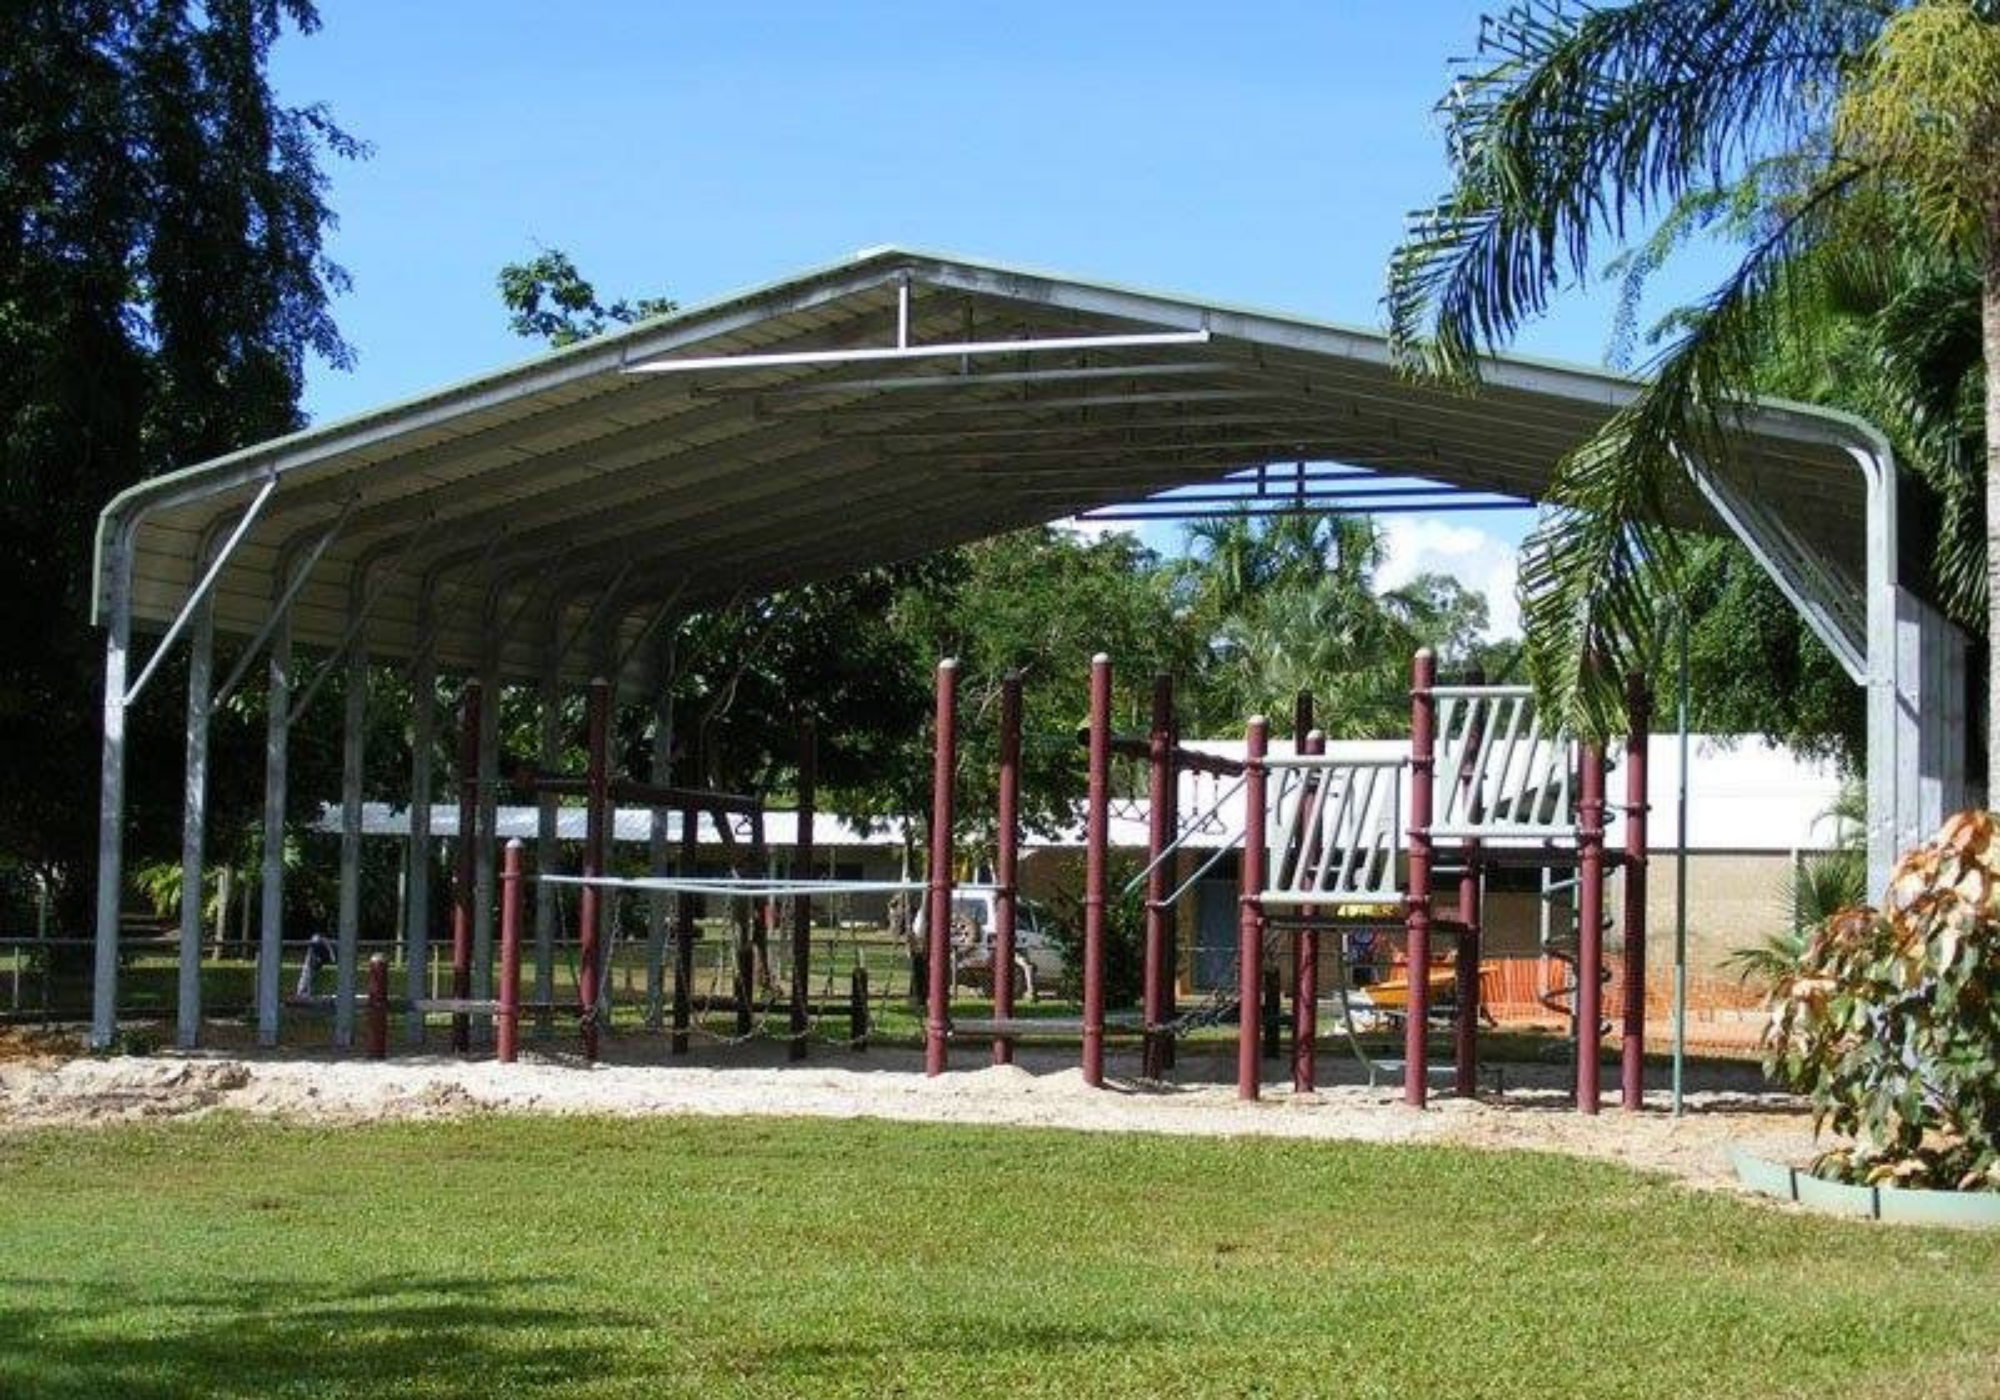
12m width - Maximum coverage for large-scale applications, perfect for rural, commercial, or high-clearance needs.
view the range
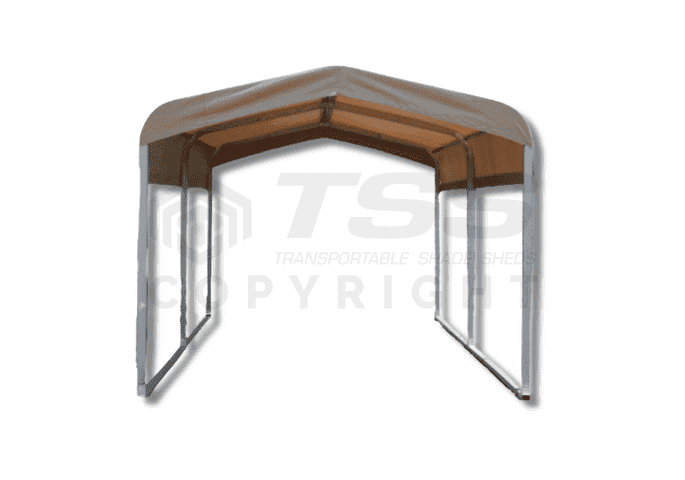
Quickshade
Pair text with an image to focus on your chosen product, collection, or blog post. Add details on availability, style, or even provide a review.
view the range
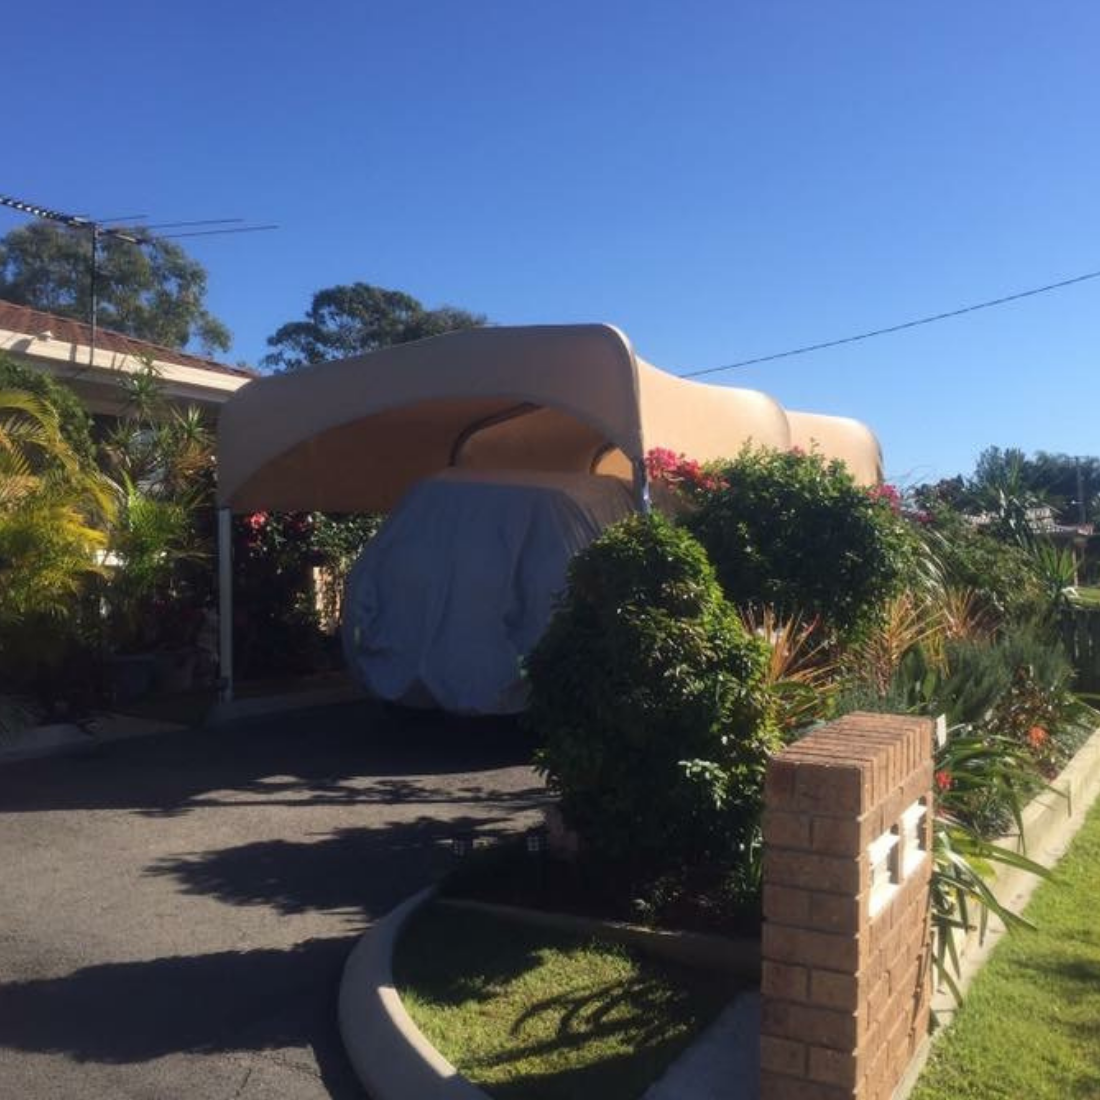
Canvacon
Pair text with an image to focus on your chosen product, collection, or blog post. Add details on availability, style, or even provide a review.
view the rangeShop our Best sellers
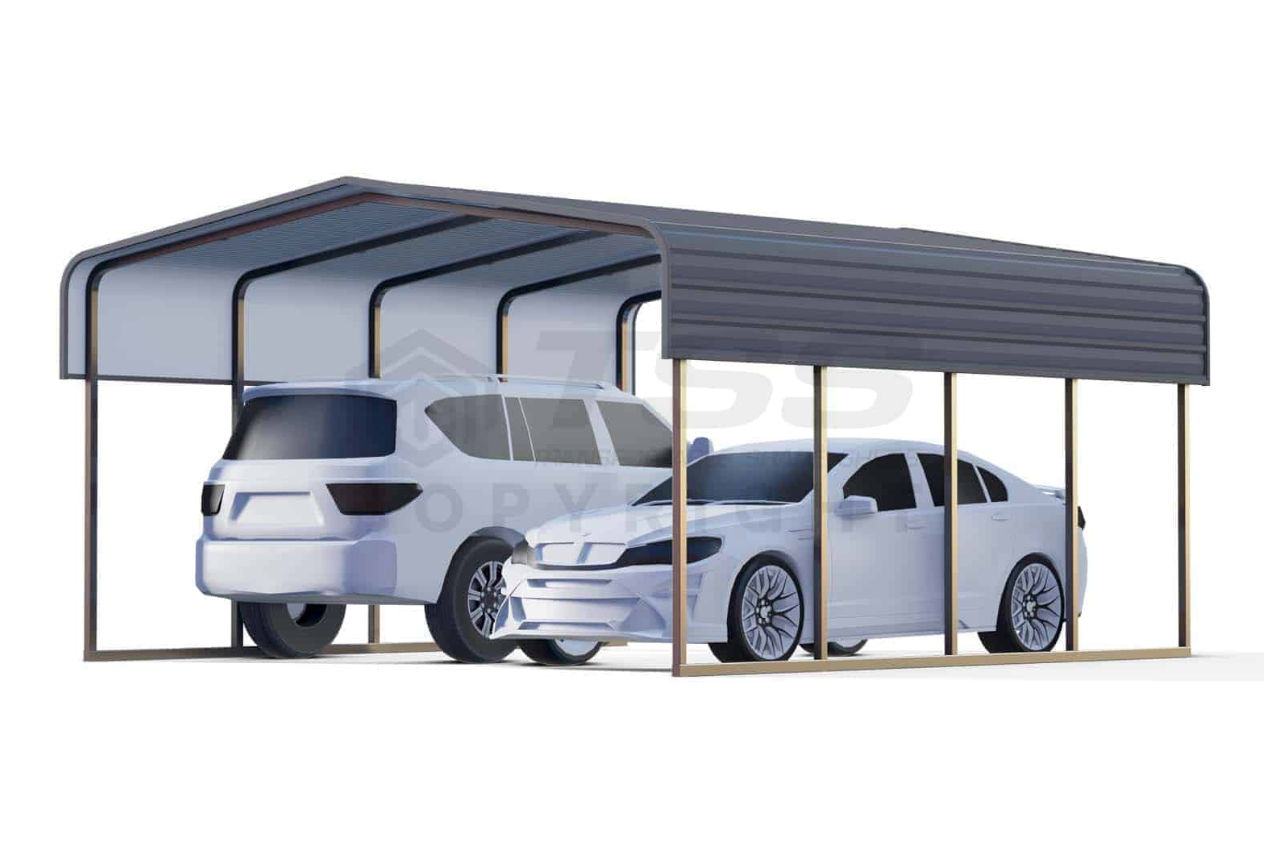
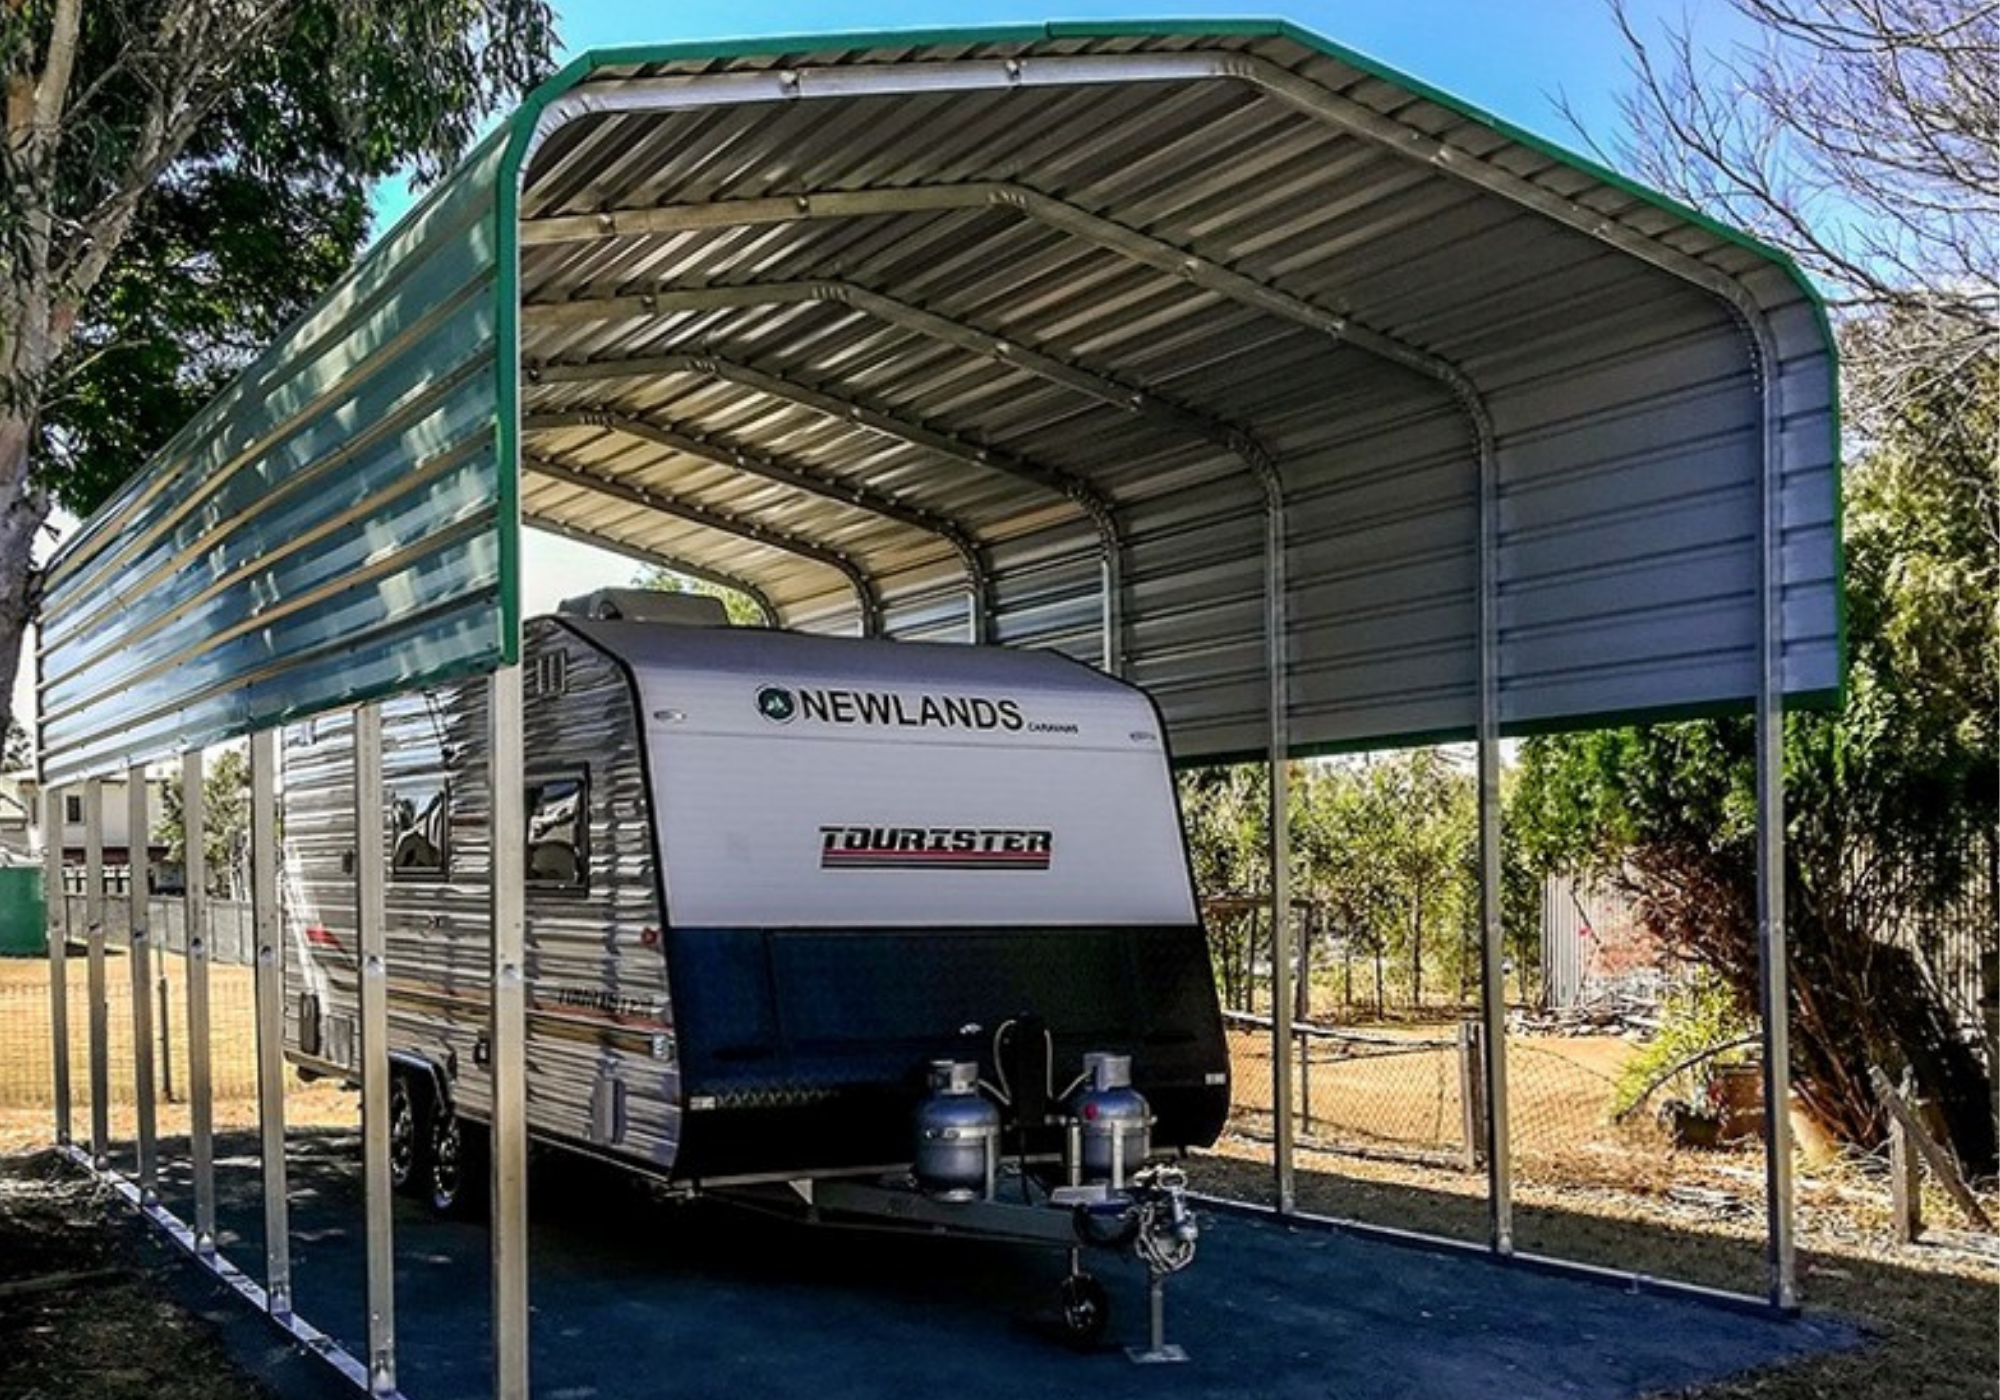
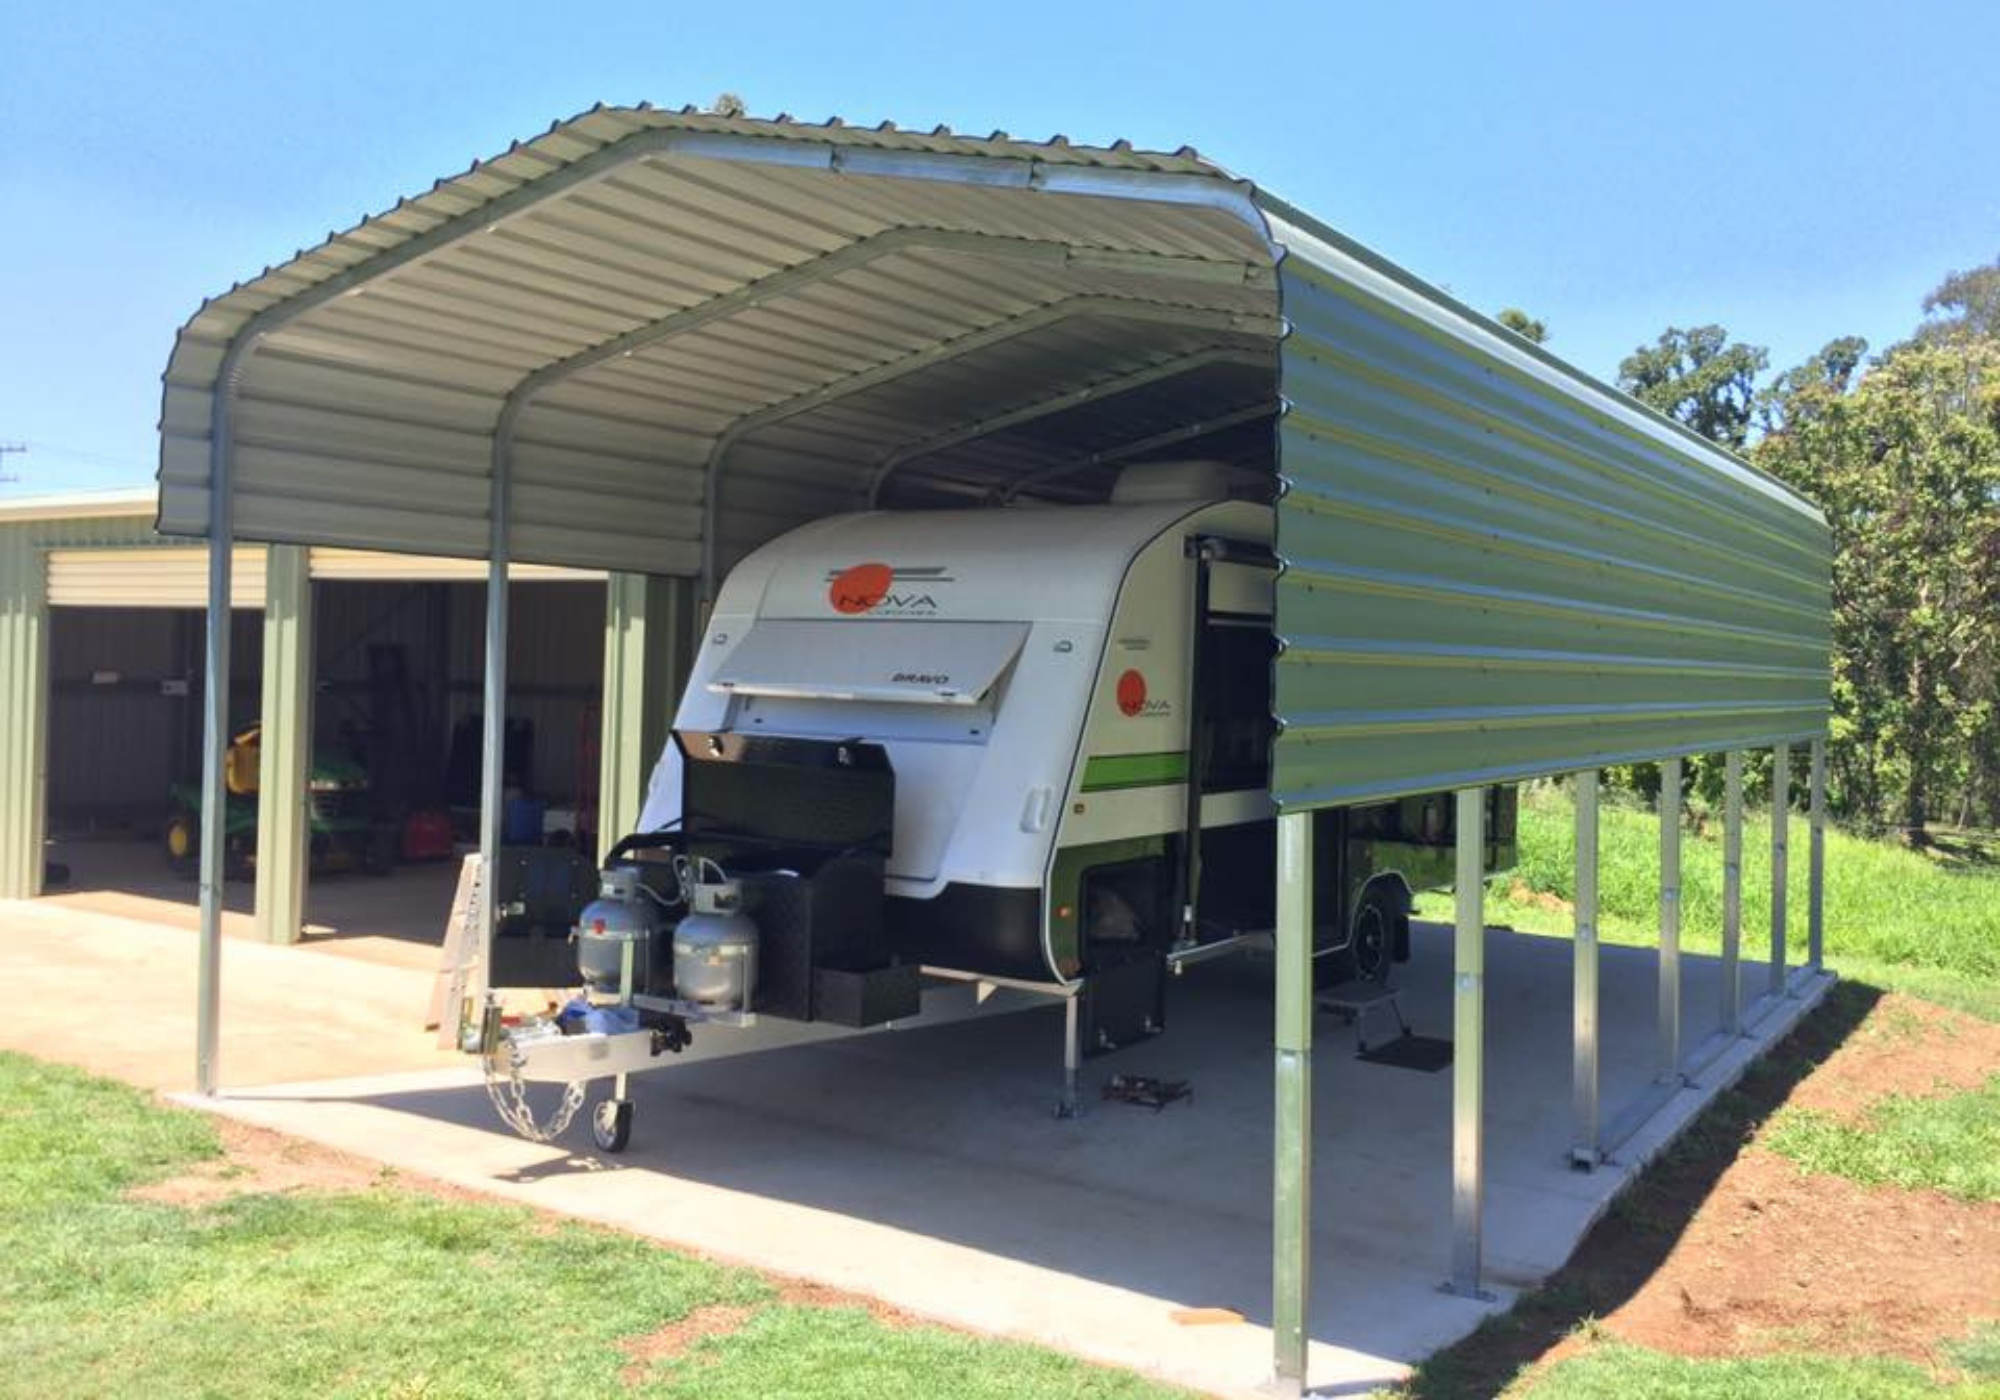
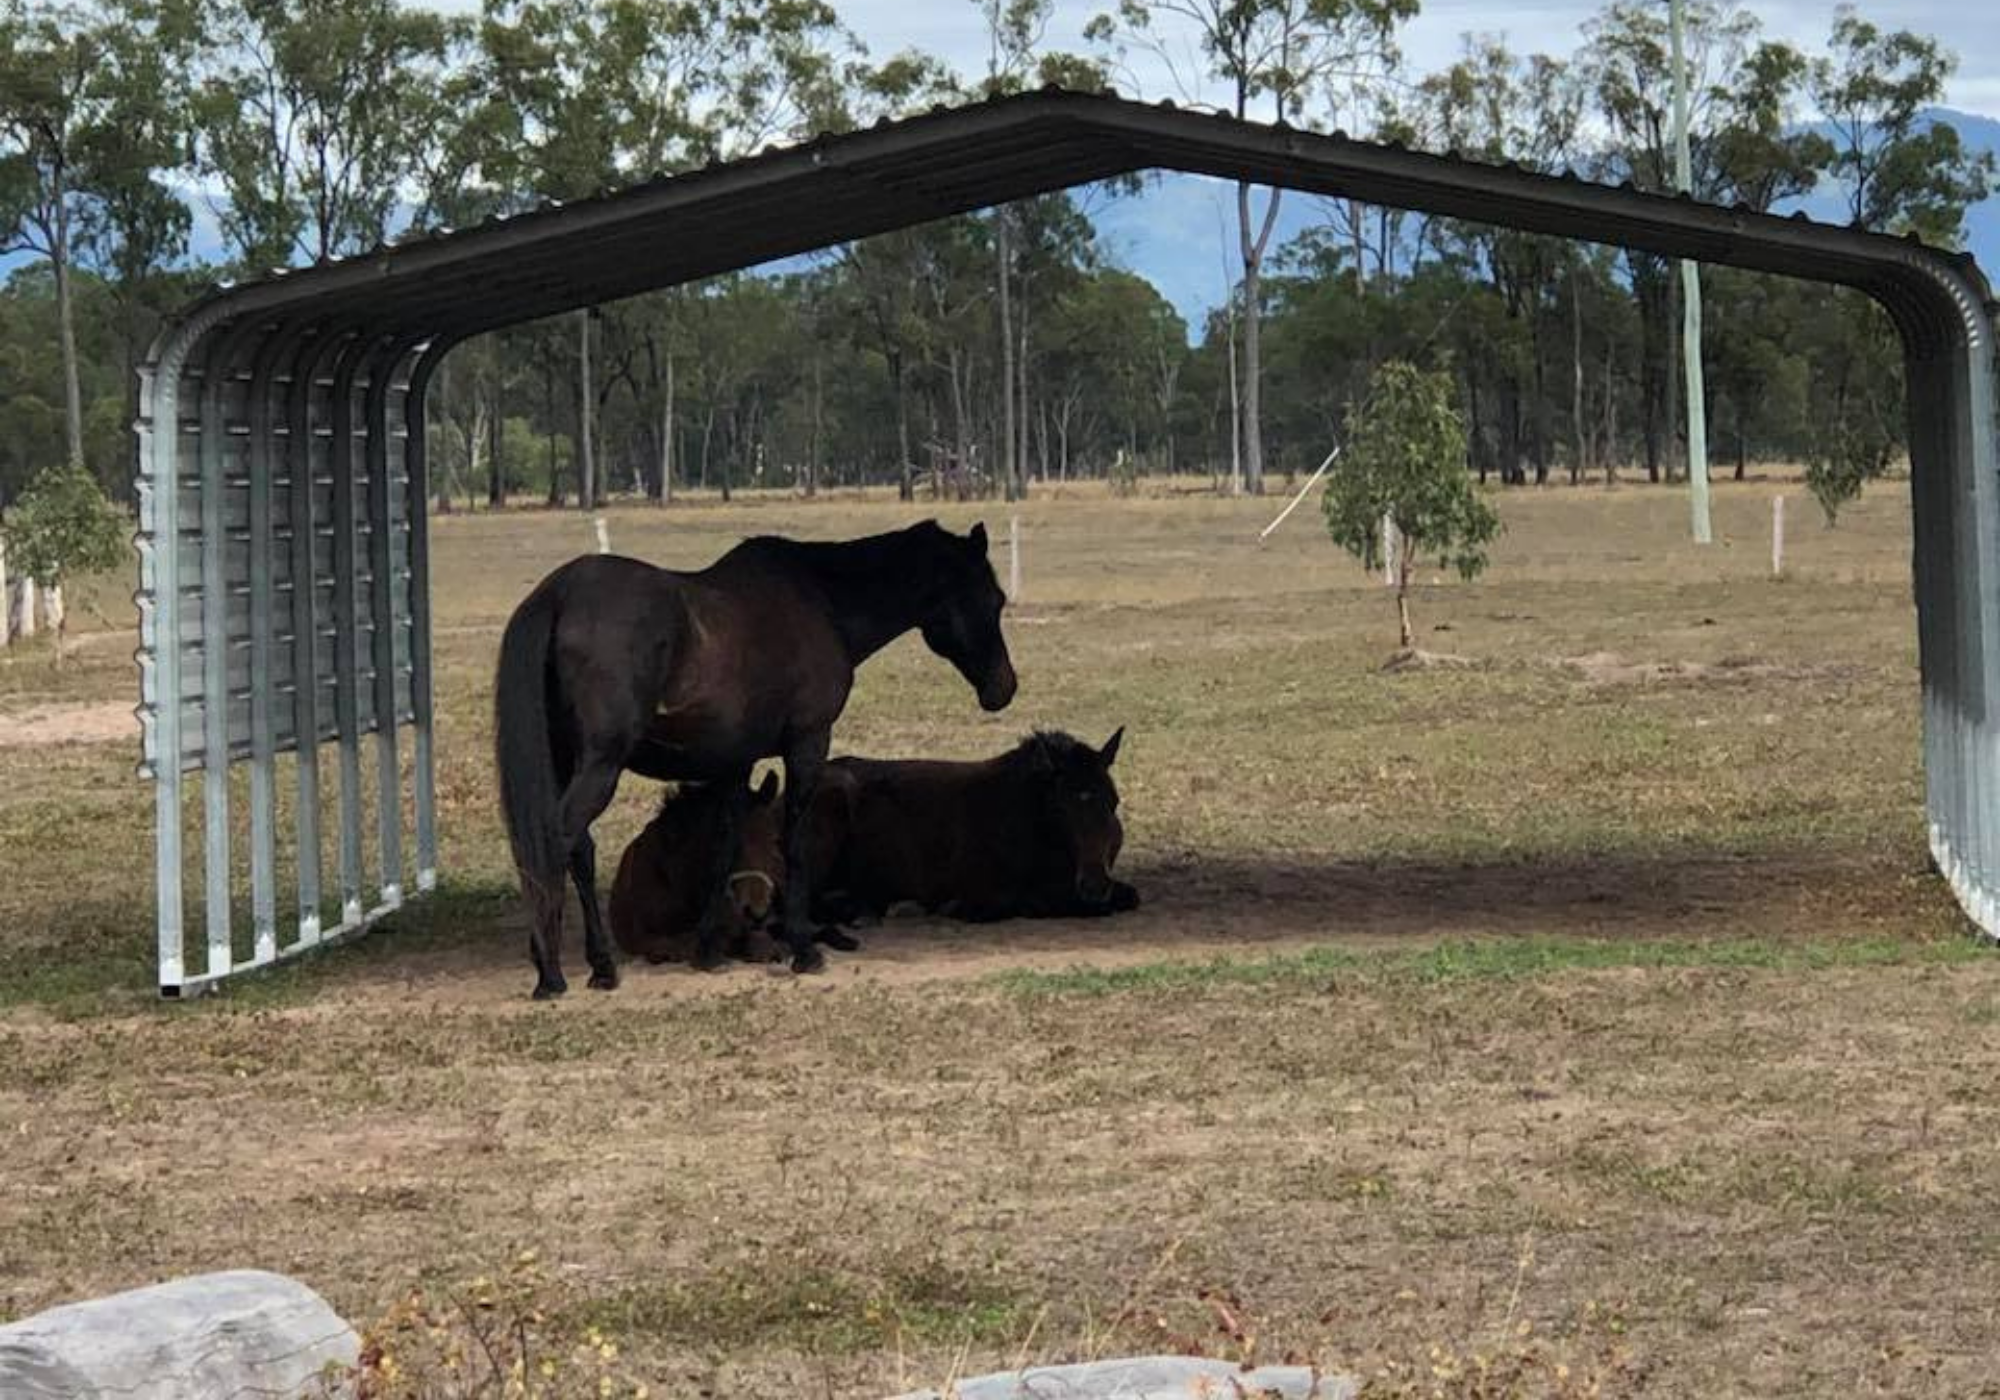
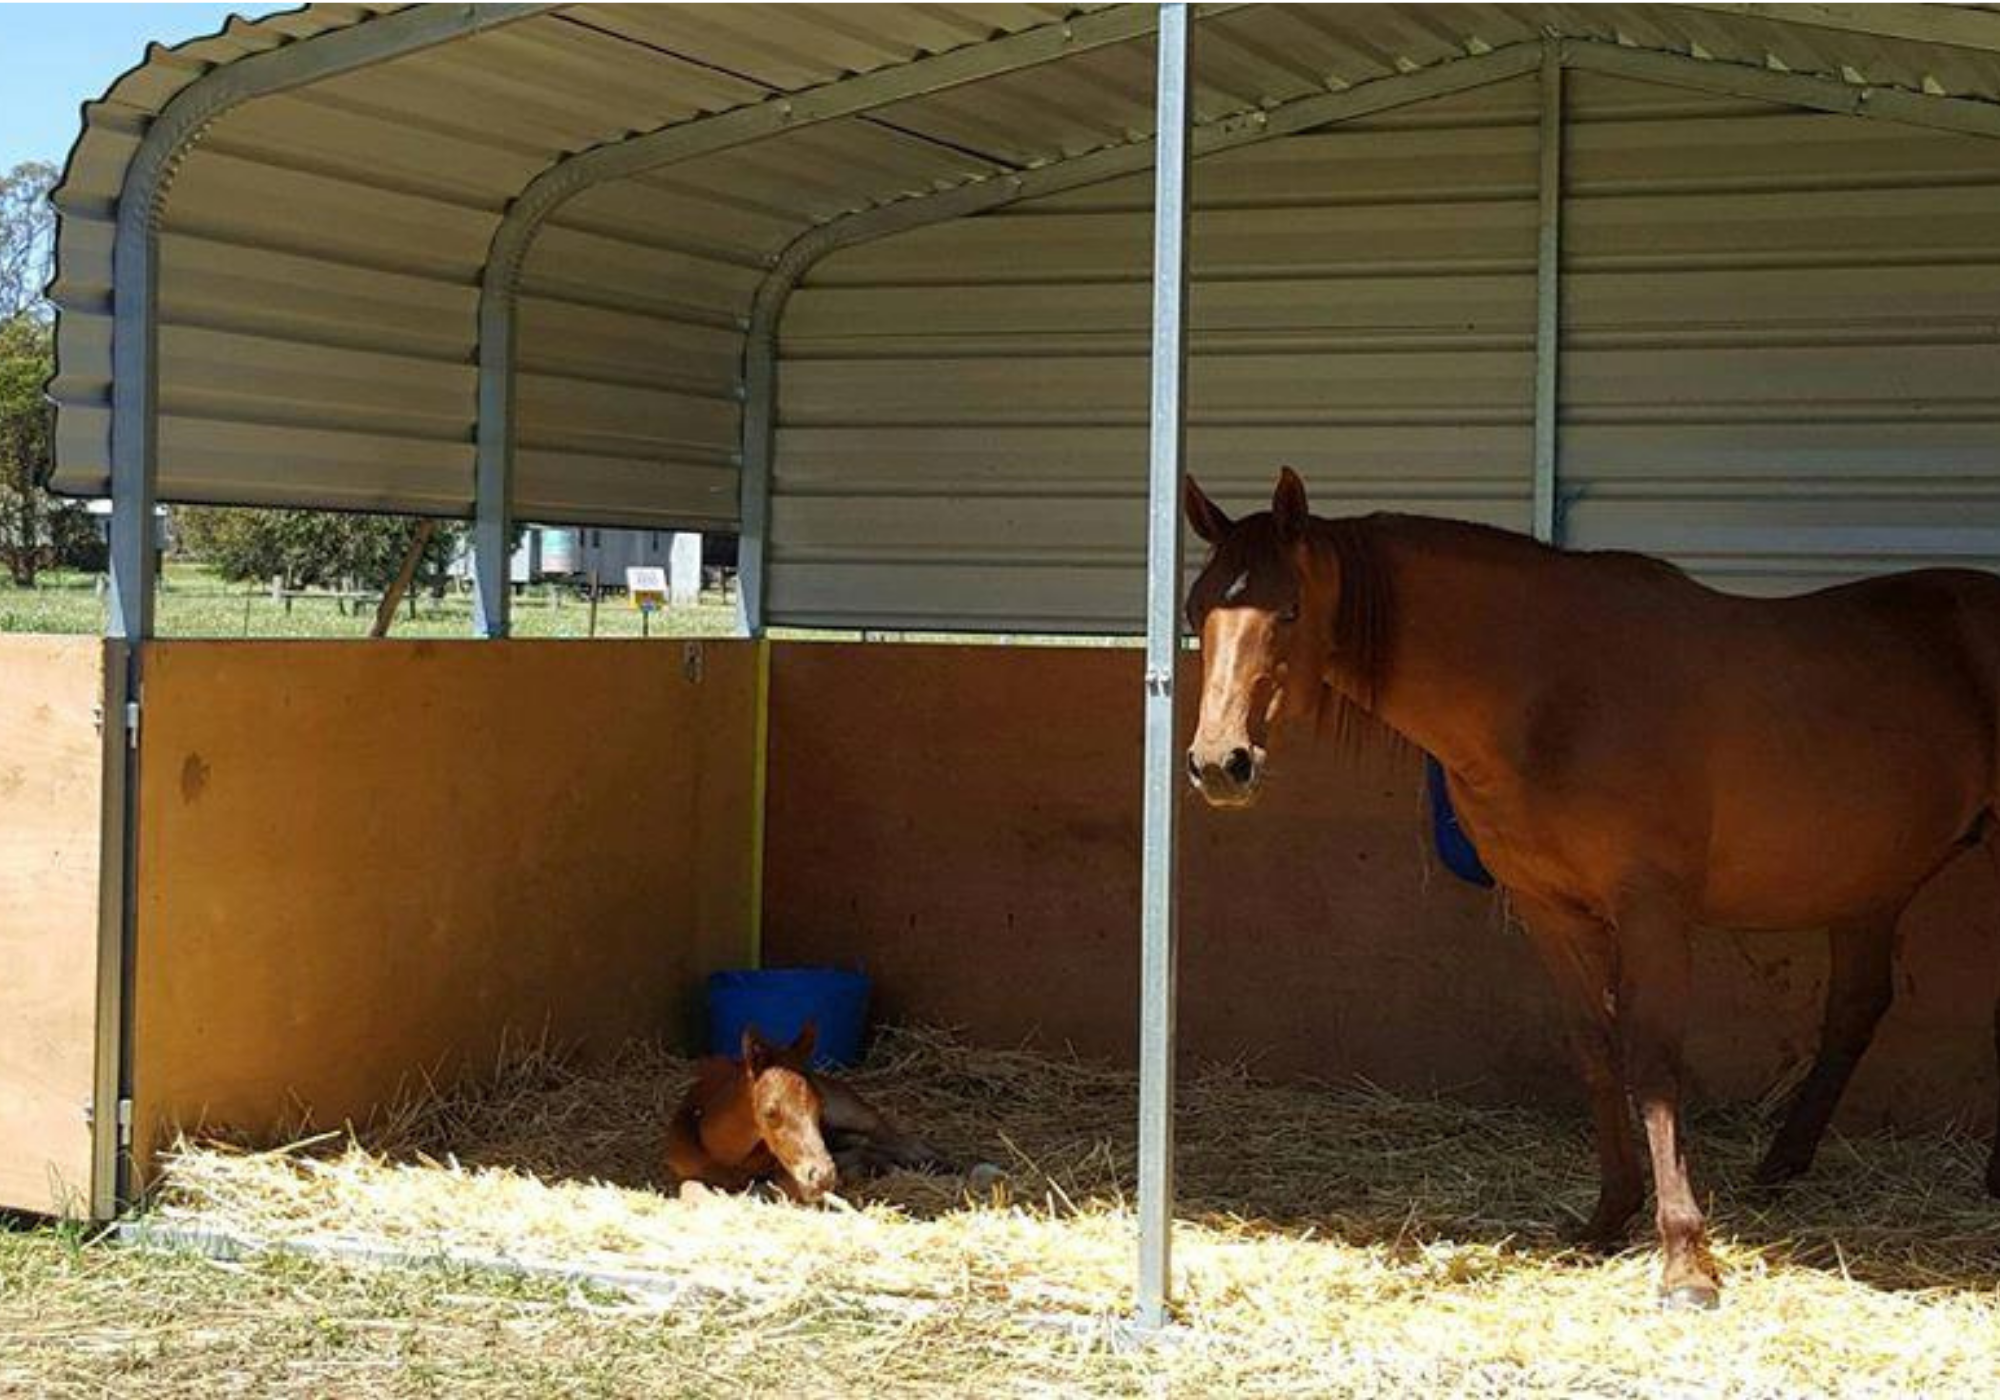
Carports
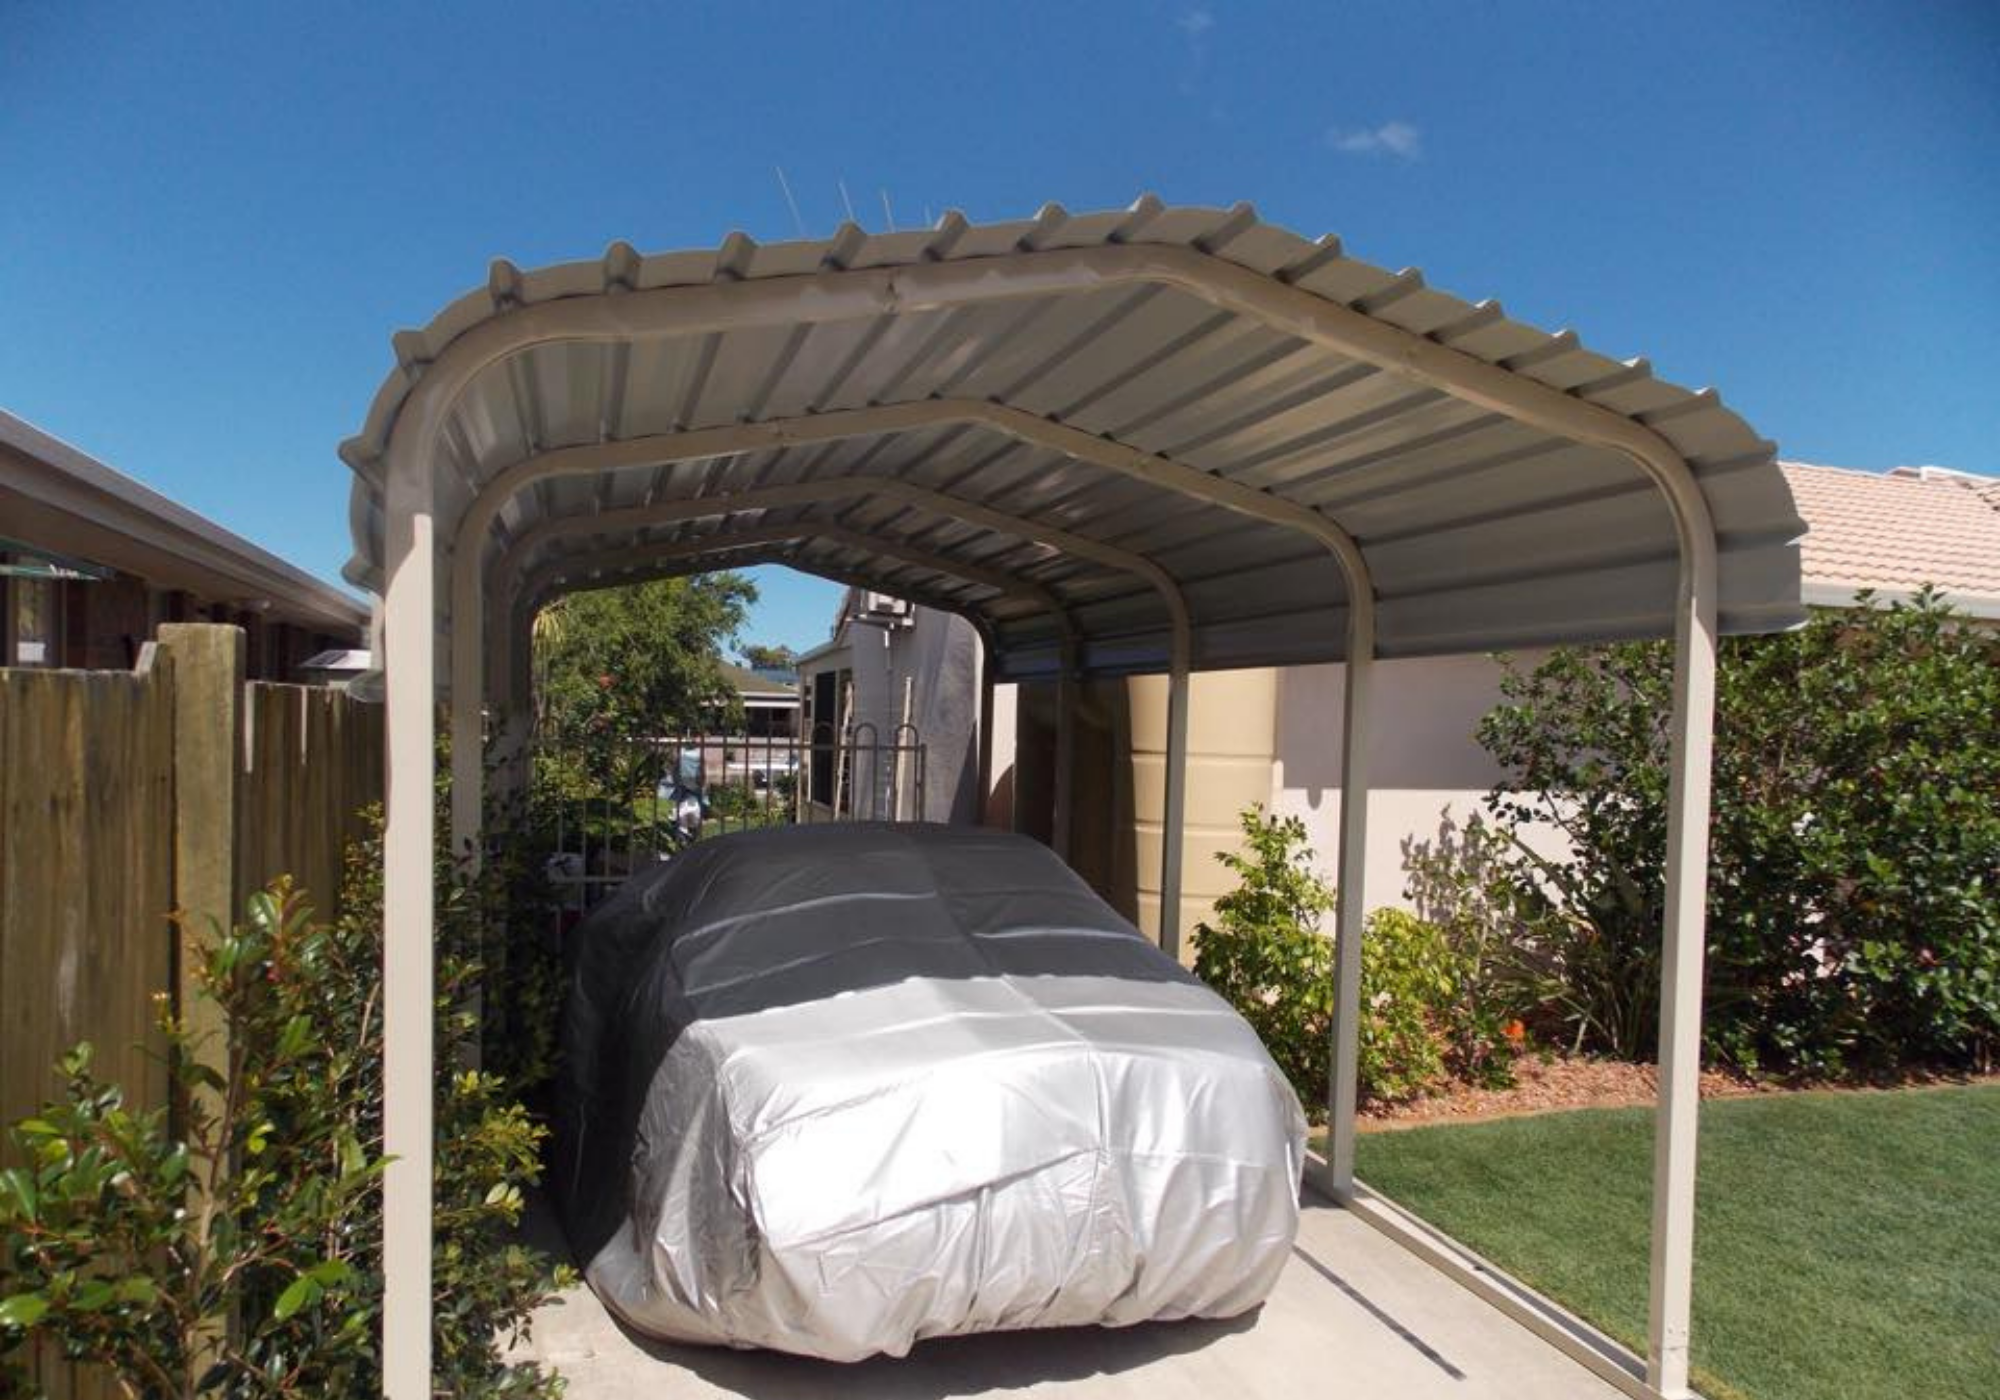
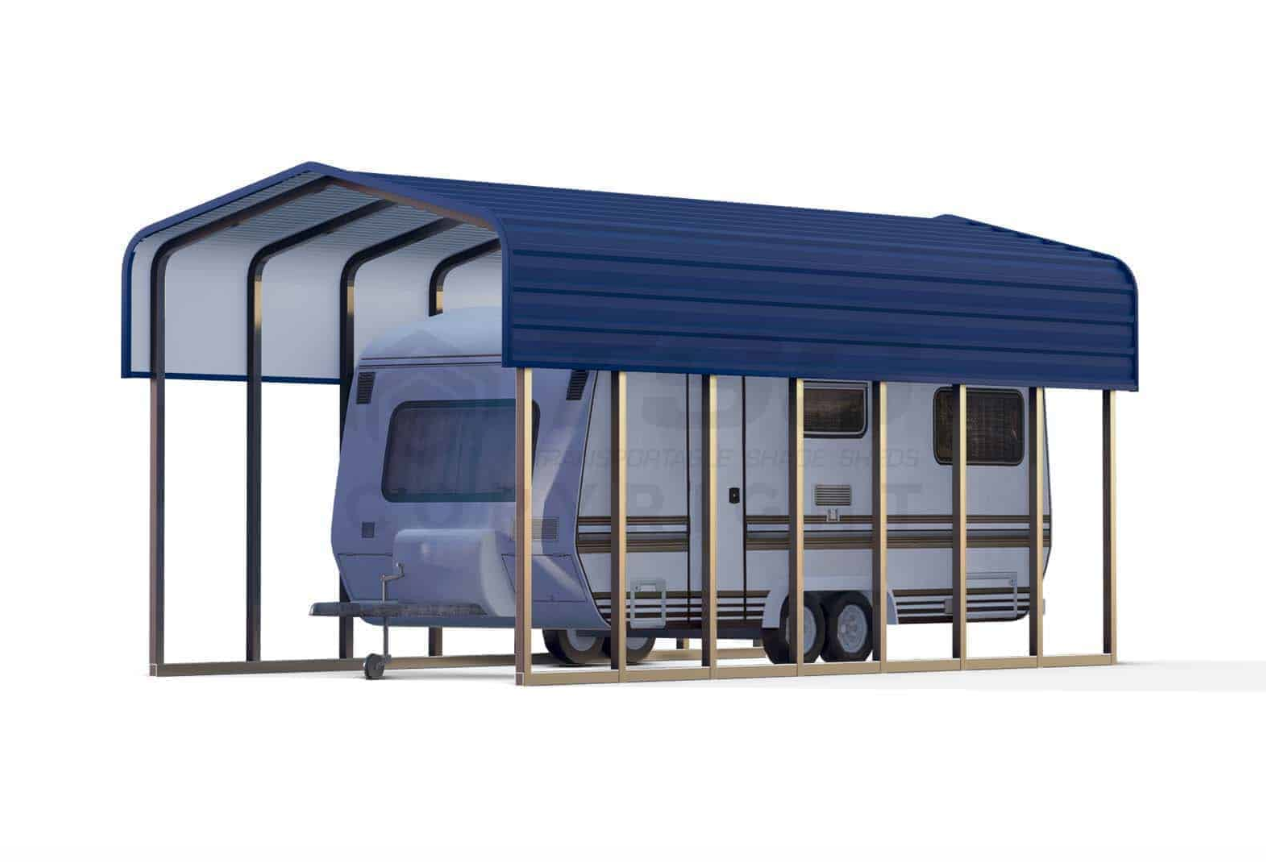
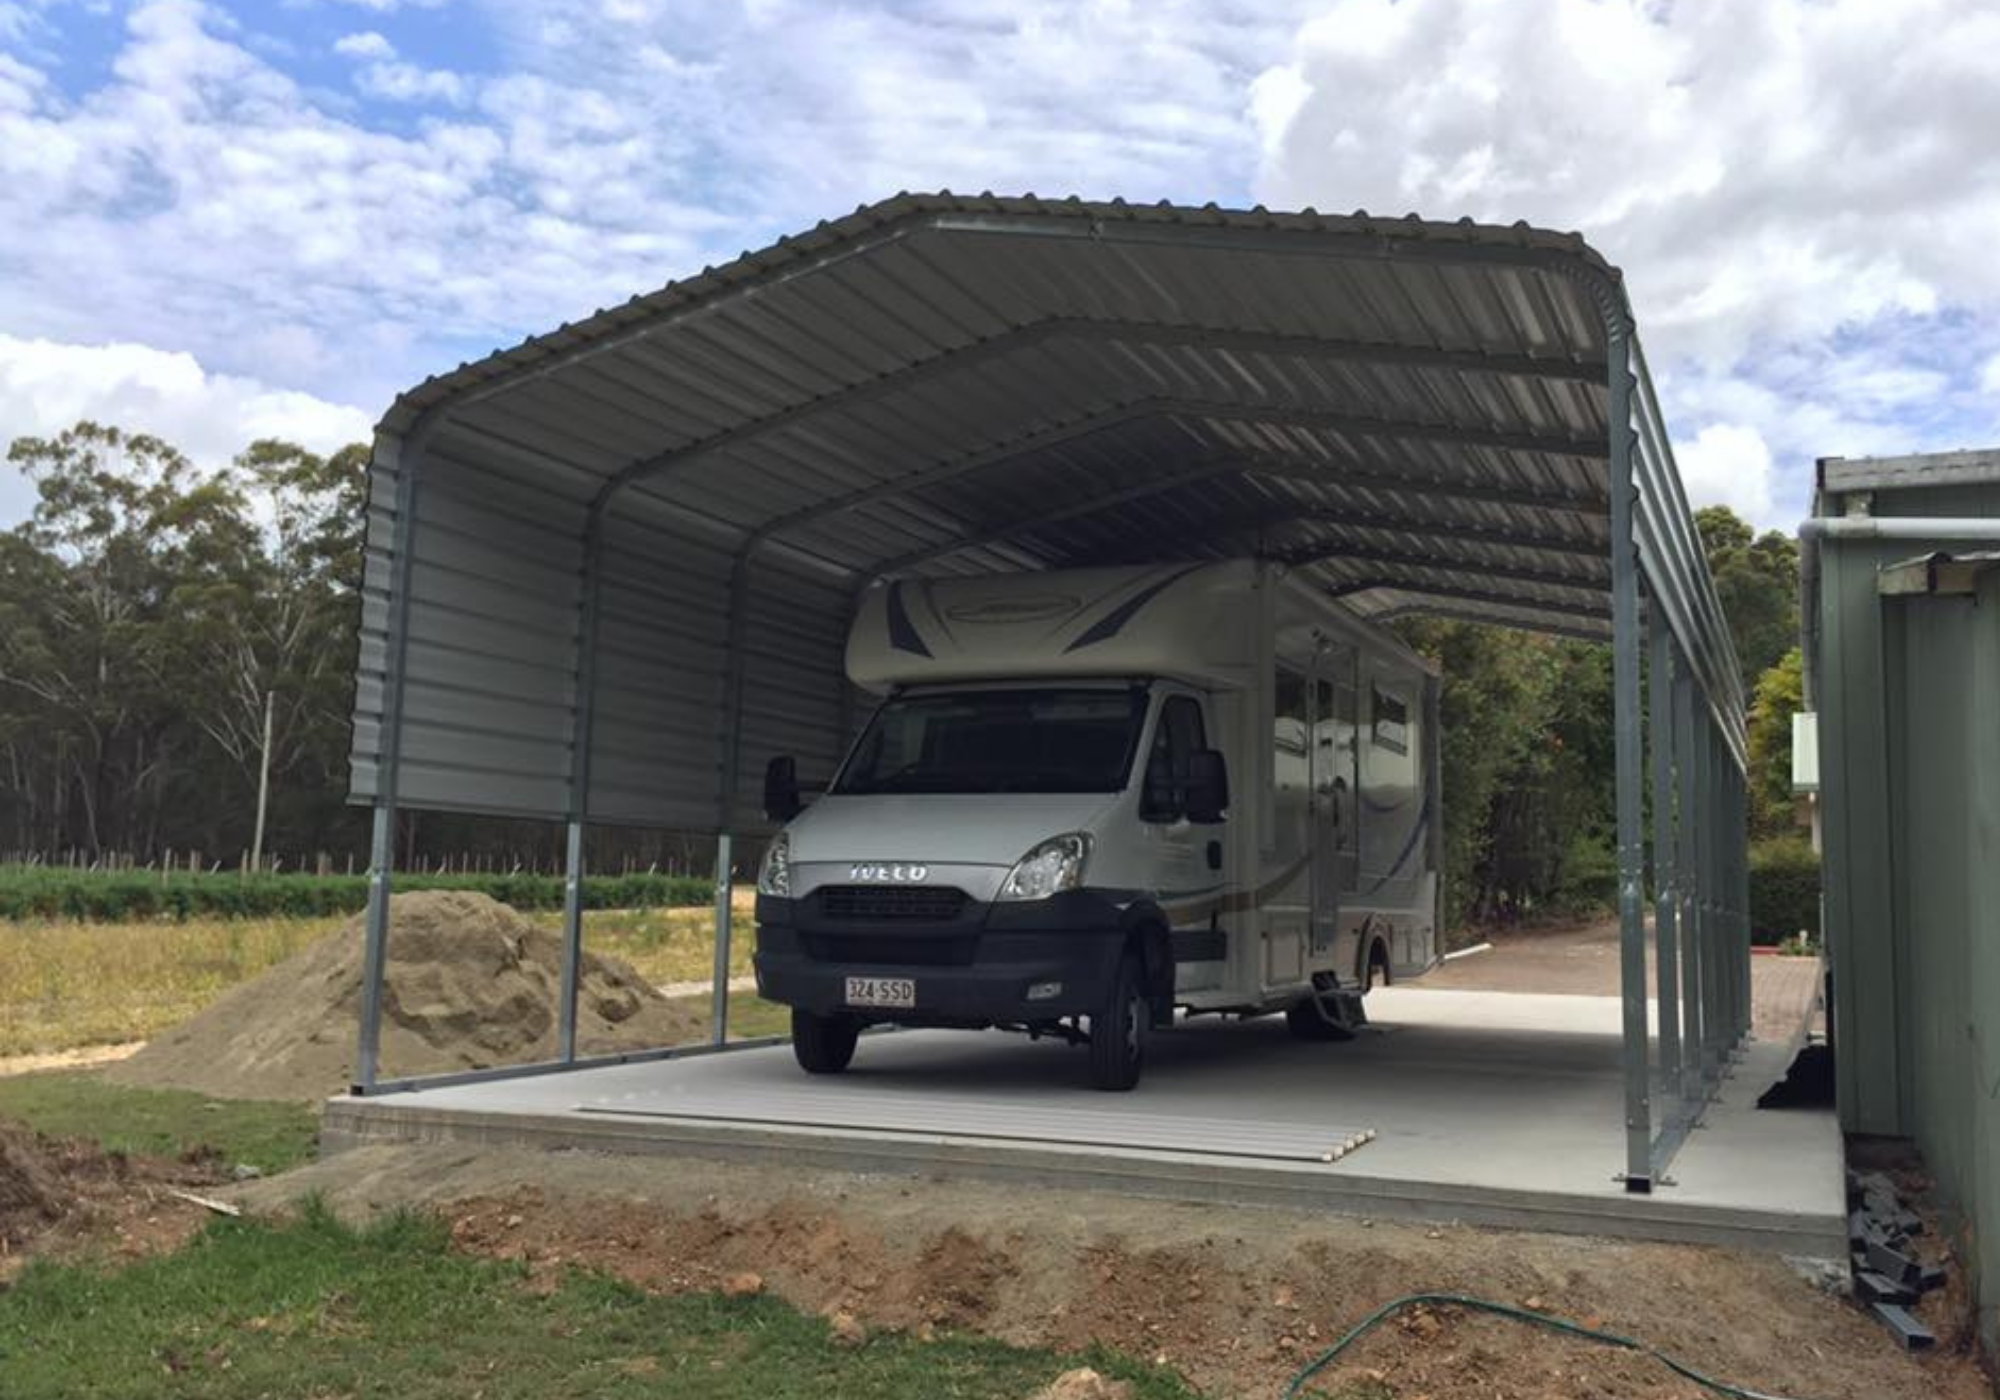

Caravan Storage

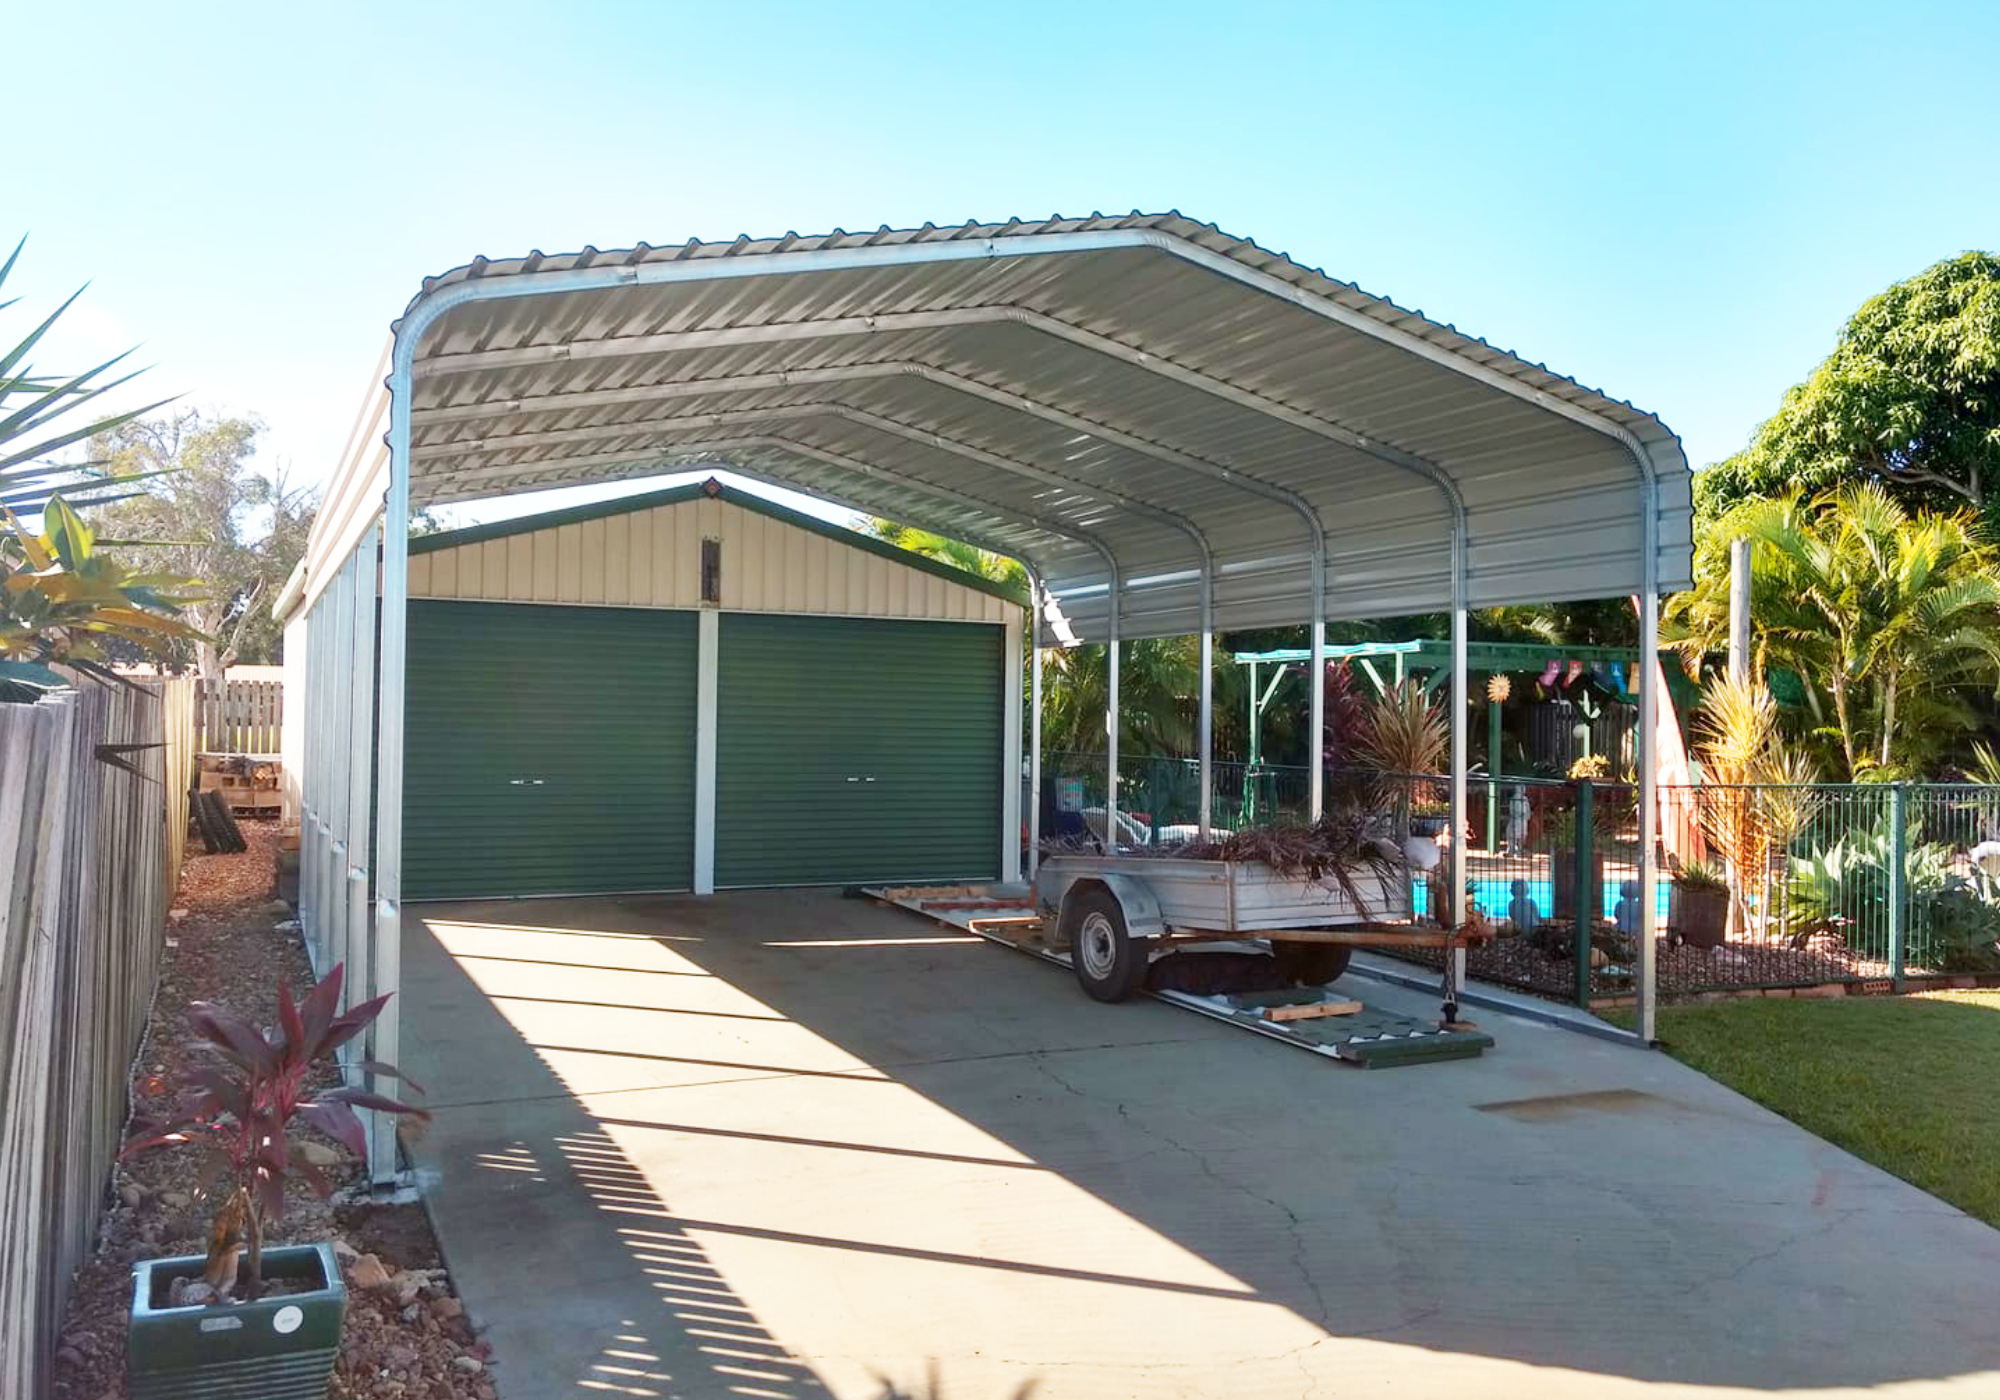
Farming
Designed for Strength and Simplicity
Designed around real‑world use — delivering strength, simplicity, flexibility, and long‑term confidence.
Built for Australian Conditions
Engineered to perform reliably in harsh Australian environments, delivering long‑term structural durability.
Simple Installation
One complete kit delivery means no missing parts, fewer delays, and a straightforward installation process.
Transportable by Design
Easily relocated as site requirements change, providing flexibility without compromising performance.
Confidence Backed
Every transportable shade shed is supported by a 10‑year structural warranty.
Why Choose TSS Shade Shed Solutions?
From residential storage to large industrial coverage, the full TSS range is designed to provide practical, dependable protection for Australian conditions.
Wide Product Range
Explore 3170W, 4670W, 6170W, 9000W and 12000W Shade Sheds, plus Canvacon and Quickshade solutions for a wide range of applications.
Built for Australian Conditions
Manufactured using fully Galvanised BlueScope Steel and practical engineered designs built to handle harsh Australian environments.
Nationwide Delivery
Pre-engineered kits can be delivered Australia-wide for convenient installation across residential, rural, and commercial properties.
Need help finding the right Shade Shed, Canvacon, or Quickshade solution for your application?
Contact UsDIY INSTALLATION
DIY Install
Our shade sheds are supplied as pre-engineered, easy-to-assemble kits designed for straightforward DIY installation. Each kit arrives with all required components and clear instructions, allowing customers to install their shed without specialised tools or the need for a concrete slab.
Optional anchoring systems are available for added stability depending on site conditions. Thanks to our slip-fit (swaged) design, assembly is quick, simple, and secure.
Tools Required
- Impact driver
- Tape measure
- Level or string line
- Sledgehammer (if using Ground Anchors)
- Tin snips (for flashing)
Tip: Lay out all parts first and check your site is reasonably level before starting.


Base Rails & Portal Frames
1) Build the Base Rails (Slip-Fit)
Shed construction starts at the base rails. Some rails have swaged (reduced) ends that slip inside the next rail — this is our slip-fit system.
Slide each swaged end into the next rail and ensure everything is aligned. Secure every slip-fit connection with screws on both sides before moving to the next rail.
2) Grounding (If Selected)
If you’ve chosen a grounding option, place anchors beside the base rail between portal positions, mark the locations, then move the rail aside and drive the anchors into the ground.
Reposition the base rail over the anchors and fasten the saddle brackets down to secure the rail.
3) Assemble Portal Frames
Assemble each portal frame by slipping the swaged ends together. Depending on your shed design, this may include pitched pillars, apex, risers, and rafters.
Check your frame is square by measuring across the top and bottom. Secure each connection with screws on both sides.


Riser Kit & Rafters
1) Optional Riser Kit
When building on uneven ground, the optional riser kit helps level the shed. Run a string line across the base rails and adjust the risers until the string sits level.
Measure from the string line down to the base rail to confirm the correct rise needed.
2) Square Up & Install Portals
Install the front and rear portal frames first. Adjust the base rails so the top and bottom widths match, then take diagonal measurements.
When both diagonal measurements are equal, the shed is square. Install the remaining portal frames and use a string line along the top to ensure consistent height.
3) Rafters (If Included)
If your shed includes rafters, install them between the apex and pillars. Once aligned, secure all connections with screws.

Roofing & Flashing
1) Align the First Roof Sheet
Place the first sheet on the frame and align it so it sits straight and centred. Mark screw positions at the front, middle and rear portal frames.
2) Fix Sheets & Overlaps
Screw the first sheet to all portals. Slide the next sheet under the previous one, screw the overlap, then fasten it to the frame.
3) Flashing (If Selected)
Cut small relief cuts (~10mm) so the flashing bends cleanly. Attach from one corner and work your way around the shed.

Protection you can trust
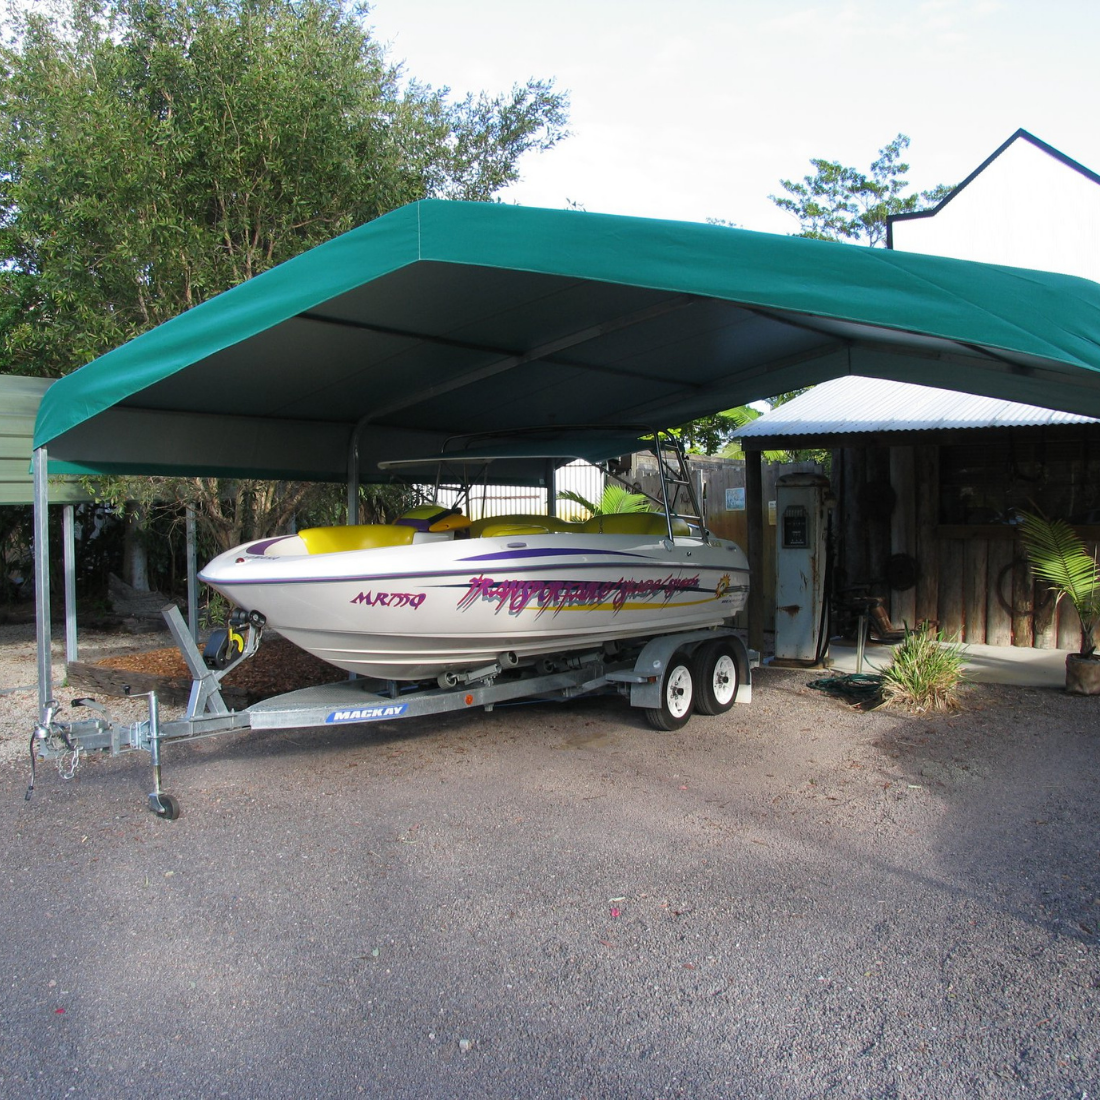
Ready to Protect your Assets?
Whether you want a shelter for your boat, caravan or machinery, we got a shade shed for every application. Speak to our team about the perfect solution for you.