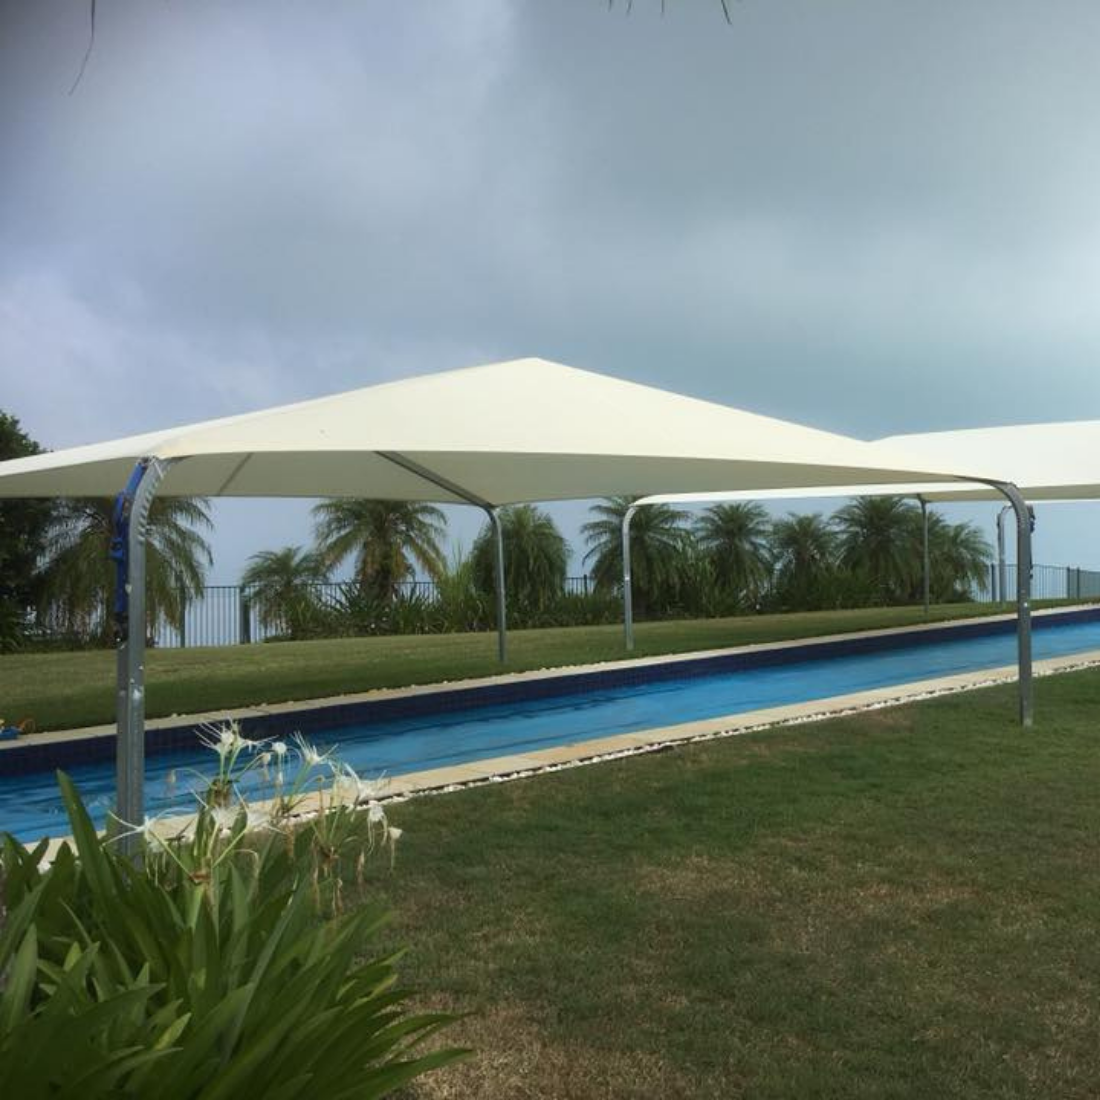
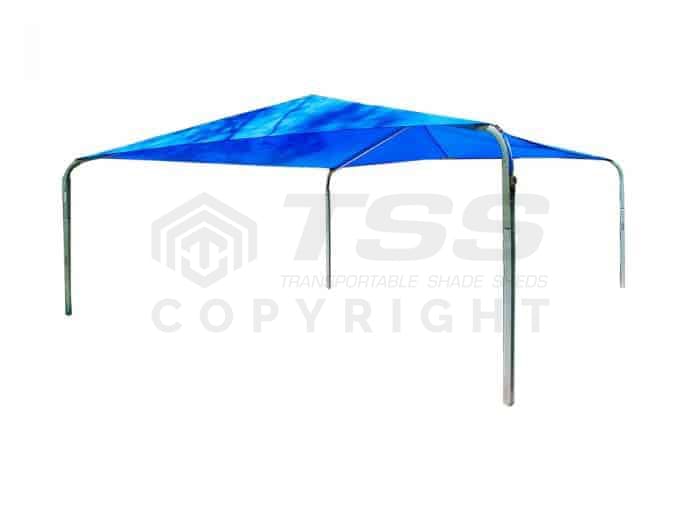
Double Quickshade | 6000W x 6000L x 2800 Apex
Hold Downs
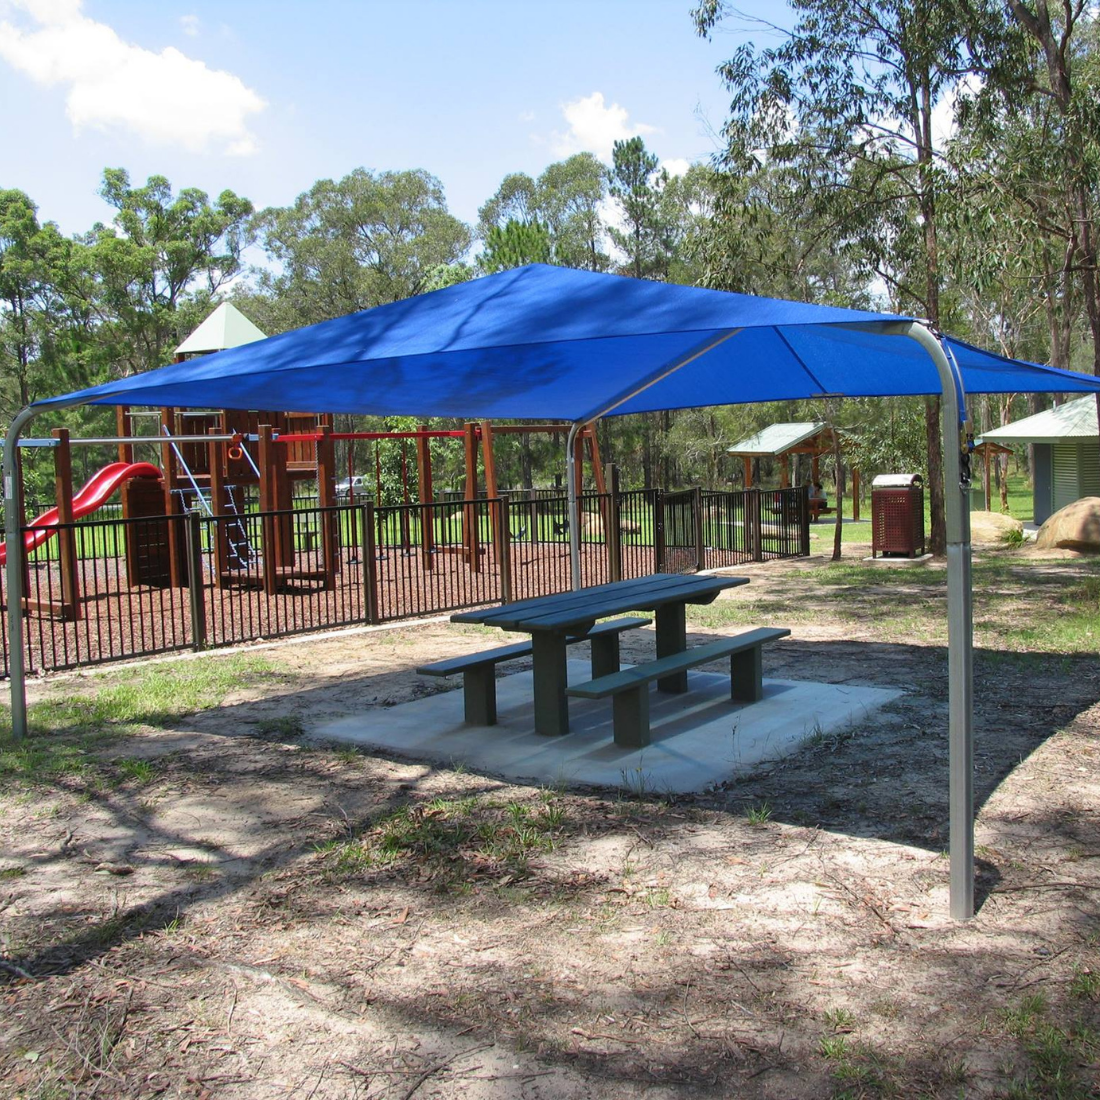
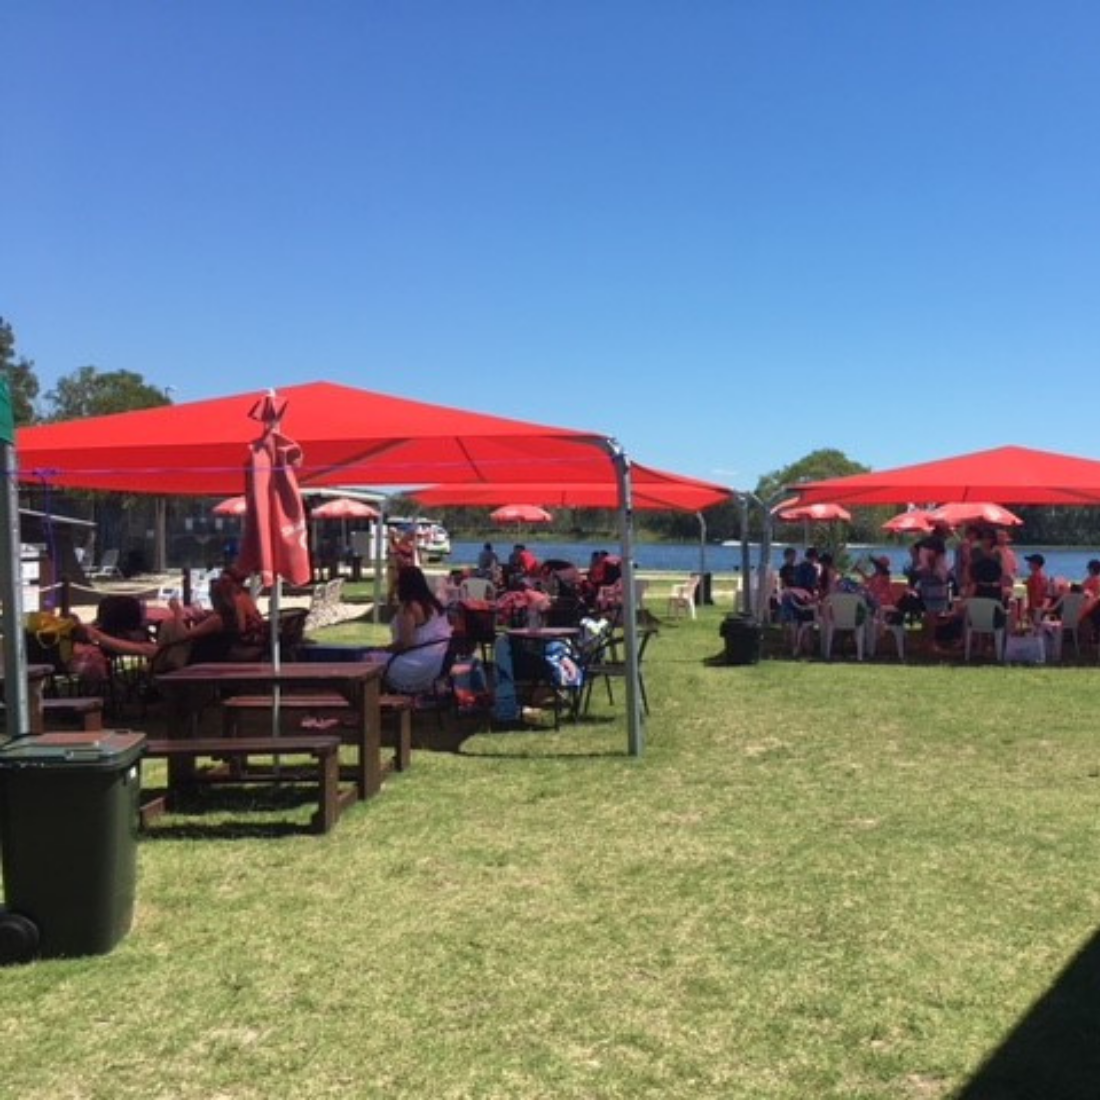
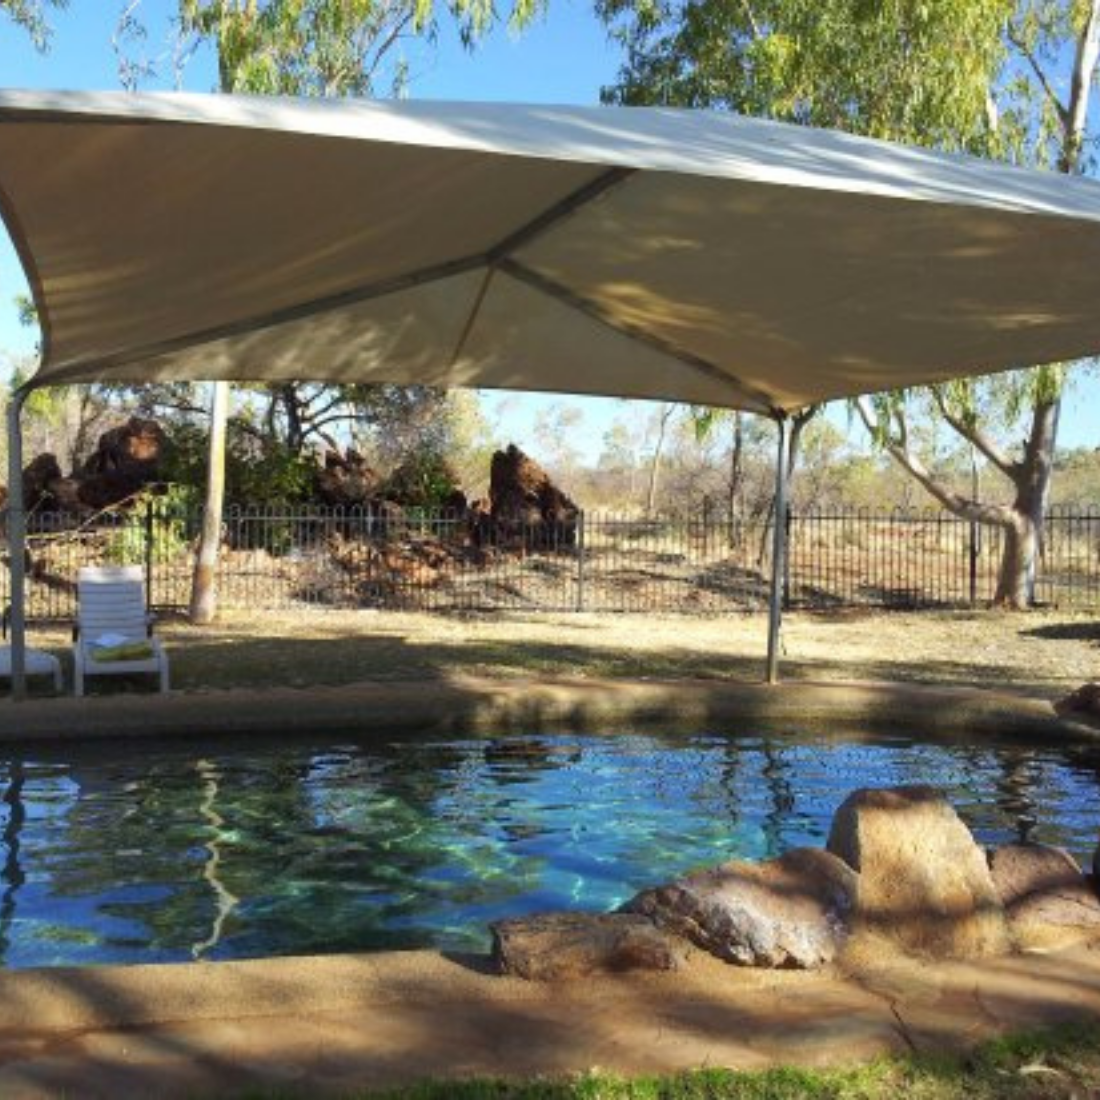
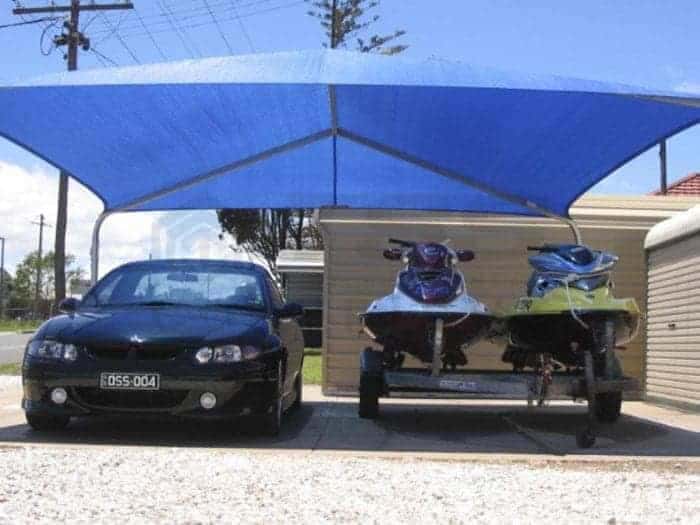
The TSS Double Quickshade is your no-fuss, high-strength carport — made to order and built to last with our patented frame design and slip-fit system. Installs in hours, no welding needed, with anchoring options for almost any surface. Shipping Australia-wide.
Please note: This product is not cyclone rated. If you need cyclone rated, check out our Cyclonic Caravan Shade Shed.
The Shade Shed — Original. Strong. Simple.
*Please note, some images shown may include optional additional sheeting to rear and side walls. Standard roof sheeting extends 400mm past the shoulder of the frame only. Extra cost applies.
Choose options
Hold Downs
Hold Downs
product info
GROUNDING OPTIONS

CONCRETE PIER KIT
Concrete Piers are used for securing semi-permanent structures.

ALUMINium GROUND ANCHORS
Aluminium Ground Anchors are our most popular grounding option. They are light, rust free and easy to install. Each Ground Anchor comes with a bracket, nuts and bolts to secure the Base Rail of the Shade Shed to the anchor.

SADDLE WITH DYNABOLTS
The Saddle and Dynabolts are used for securing structures to a concrete slab.
Nationwide Delivery
Transportable Shade Sheds Australia provides reliable delivery services across the country. Our efficient packaging and logistics processes help ensure your shed is transported safely and arrives ready for customer installation.
built for australian conditions
strength you can trust
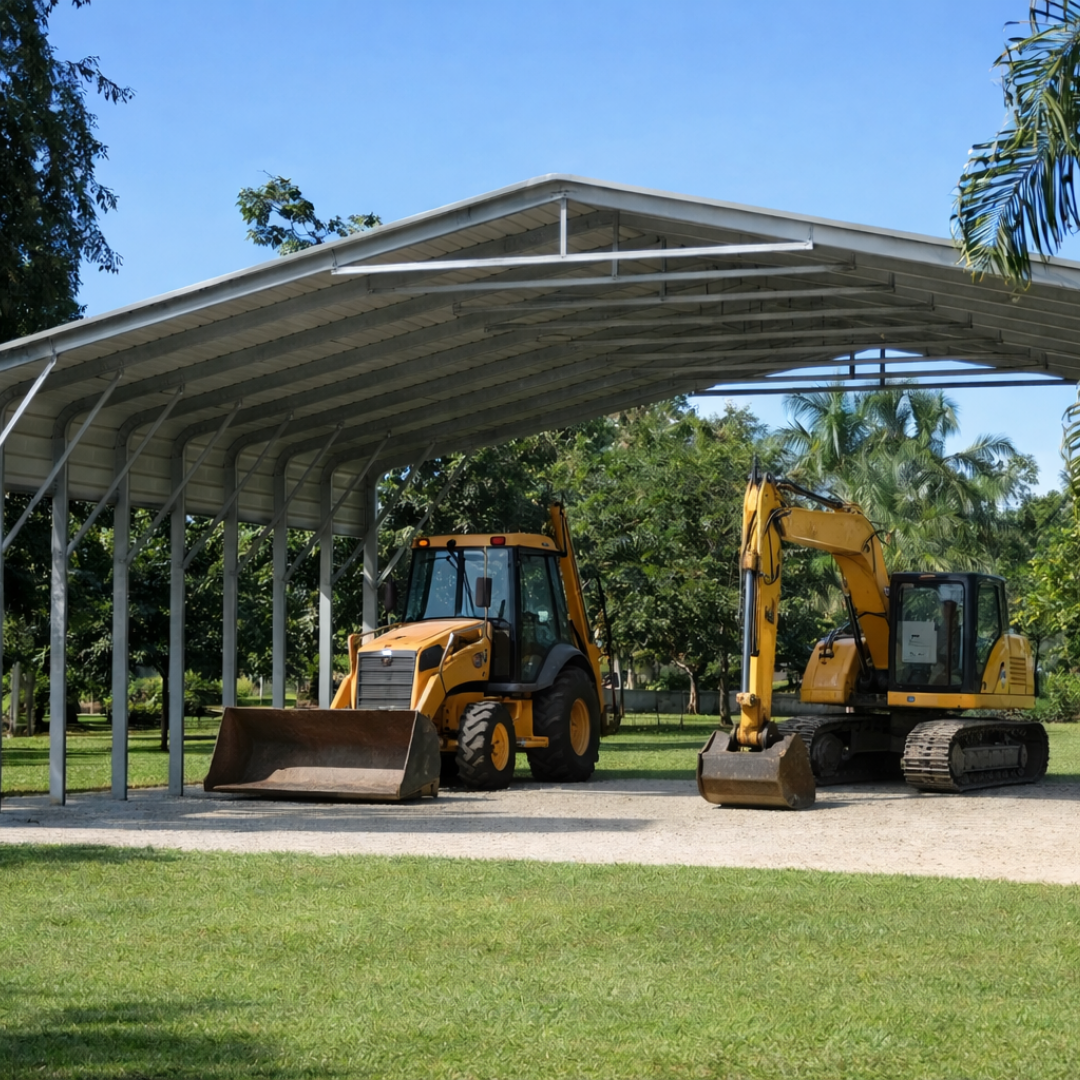
Our shade sheds are designed and engineered to handle the demands of Australian environments, where strength, durability, and reliability are essential. Using high-quality materials and fully galvanised steel frames, each structure is built to withstand harsh conditions while maintaining long-term performance and structural integrity.
From residential setups through to rural and industrial applications, our sheds are trusted by customers across the country to provide dependable protection for vehicles, machinery and industrial equipment, and valuable assets. With a focus on quality, engineering, and practical design, every shed is built to deliver lasting results where it matters most.
Customer Reviews
See what our customers are saying
Really happy with the product great people to deal with and easy to assemble. Would definitely go back and buy another product in the future.
Prompt service, top delivery of a big, heavy package and it was relatively easy to set up for 2 people. It is sturdy, well anchored and has already weathered a couple of storms that left it completely unharmed while shredding other sheds. Very good value for money!
I am very happy with my TSS carport. The team are excellent to deal with and the delivery was great. The kit is very easy to assemble and the finished product is fantastic. I highly recommend TSS.
Ordering the product was as easy as 1,2,3, the staff etc couldn’t have been more helpful. The transportation was on time and we were well informed on tracking. The TSS was easily put together by myself and one other person. Everything fitted together nicely. Overall, I would highly recommend this product.

Understanding Your
Wind Rating
C1 - Non Cyclonic - recommended for applications in the Region A & Region B sections.
C2 - Cyclonic - recommended for applications in the Region C Sections.
Still unsure of your cyclone rating? Reach out to our team for assistance.
AUSTRALIAN MADE
All Transportable Shade Sheds products are proudly Australian-made. Every component is manufactured in Australia using high-quality, fully galvanised steel that’s designed to withstand Australia’s harsh conditions. Our sheds are locally engineered, locally produced, and locally supported — ensuring reliable durability, faster delivery times, and consistent quality control throughout the entire process. Choosing TSS means supporting Australian manufacturing and receiving a product built specifically for Australian conditions.
DIY INSTALLATION
DIY Install
Our shade sheds are supplied as pre-engineered, easy-to-assemble kits designed for straightforward DIY installation. Each kit arrives with all required components and clear instructions, allowing customers to install their shed without specialised tools or the need for a concrete slab.
Optional anchoring systems are available for added stability depending on site conditions. Thanks to our slip-fit (swaged) design, assembly is quick, simple, and secure.
Tools Required
- Impact driver
- Tape measure
- Level or string line
- Sledgehammer (if using Ground Anchors)
- Tin snips (for flashing)
Tip: Lay out all parts first and check your site is reasonably level before starting.


Portal Frames
1) Set Out & Position (If Required)
Before assembling frames, lay out your components and confirm portal spacing and orientation as per your supplied instructions. If your kit includes an anchoring/grounding option, mark locations as required for your site.
2) Grounding (If Selected)
If you’ve chosen a grounding option, position anchors/brackets where required for your portal locations, mark the positions, then fix them into place according to your selected system and site conditions.
Once fixed, ensure all anchor points are aligned and ready to accept the portal frames.
3) Assemble Portal Frames
Assemble each portal frame by slipping the swaged ends together. Depending on your shed design, this may include pitched pillars, apex, risers, and rafters.
Check your frame is square by measuring across the top and bottom. Secure each connection with screws on both sides.


Riser Kit & Rafters
1) Optional Riser Kit
When building on uneven ground, the optional riser kit helps level the shed. Run a string line across the base rails and adjust the risers until the string sits level.
Measure from the string line down to the base rail to confirm the correct rise needed.
2) Square Up & Install Portals
Install the front and rear portal frames first. Adjust the base rails so the top and bottom widths match, then take diagonal measurements.
When both diagonal measurements are equal, the shed is square. Install the remaining portal frames and use a string line along the top to ensure consistent height.
3) Rafters (If Included)
If your shed includes rafters, install them between the apex and pillars. Once aligned, secure all connections with screws.

Quickshade Cover
1) Assemble & Secure the Roof Section
Once your roof section is assembled and positioned on the risers, ensure all fixings are installed and tightened as per your kit instructions. Double-check the roof frame is straight and aligned before fitting the cover.
2) Place the Quickshade Cover
Lay the Quickshade cover over the roof section and pull it evenly into position. Temporarily fix the cover at each corner so it stays centred while you prepare to tension it.
3) Attach Straps & Tension Corner-by-Corner
The ratchet straps are pre-attached to the frame corners (bent shoulders). Locate the strap lengths supplied in the boxes provided and attach them to the ratchets.
Begin tensioning the cover one corner at a time, working your way around the roof so the cover tightens evenly. Continue until the cover is firm and sitting neatly with consistent tension across the roof.

size not right?
request a free quote
Don't see the size you're after, don't worry. We have more options available including a complete custom shade shed. Get in touch today
make your shed dreams a reality with
handypay
Handypay Available
We’ve partnered with Handypay to make owning a Transportable Shade Shed easier. Split your purchase into manageable repayments and get the protection you need sooner.
Approval criteria, terms, fees and conditions may apply. Finance is provided by Handypay.
